Register screens
In Smartsign, each display is called a screen. In order for a screen to display content, you must first register it in your Smartsign site.
Quick steps
- Note the registration code showing on your screens
- Sign in to Smartsign
- Register the screen by entering the registration code
Registration code

Turn on your display and note the registration code. If it doesn't show a registration code, have a look at Install & configure displays.
You can also share this guide with those responsible for mount and install your physical screens.
Sign in
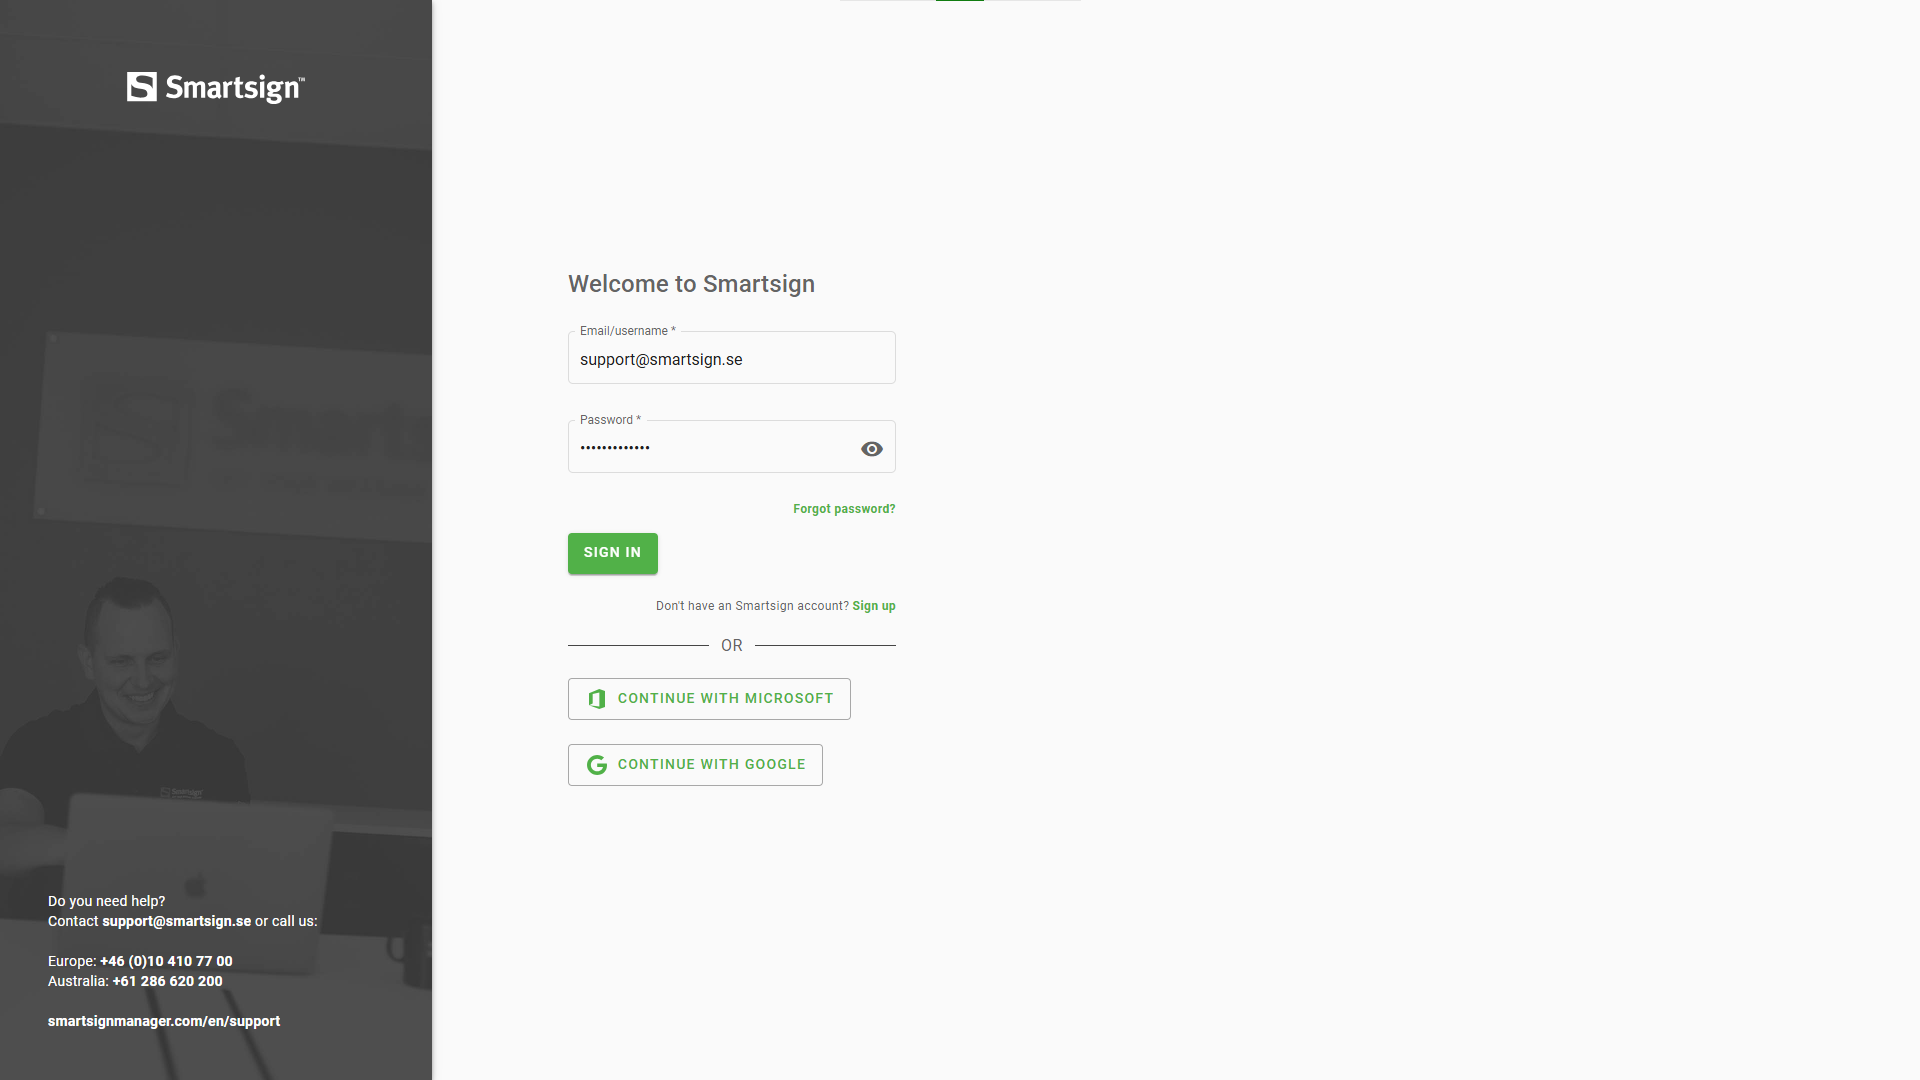
Are you using an official Smartsign cloud service?
Sign in at eu.smartsigncloud.com or
au.smartsigncloud.com, depending on where your
players are set up.
Are you using a Local server or a custom cloud service?
Contact your IT departement or support@smartsign.se if you need assistance to sign
in to your server/service.
If you don't have access to a Smartsign site, you will be asked to set up a new site when you have claimed your licenses and signed in to Smartsign.
Go to claim license & set up site to go through the steps.
If your organization is already using Smartsign, make sure you have access to the correct site where the screens should be added. Read more about Sites, users & invitations.
Register the screen(s)
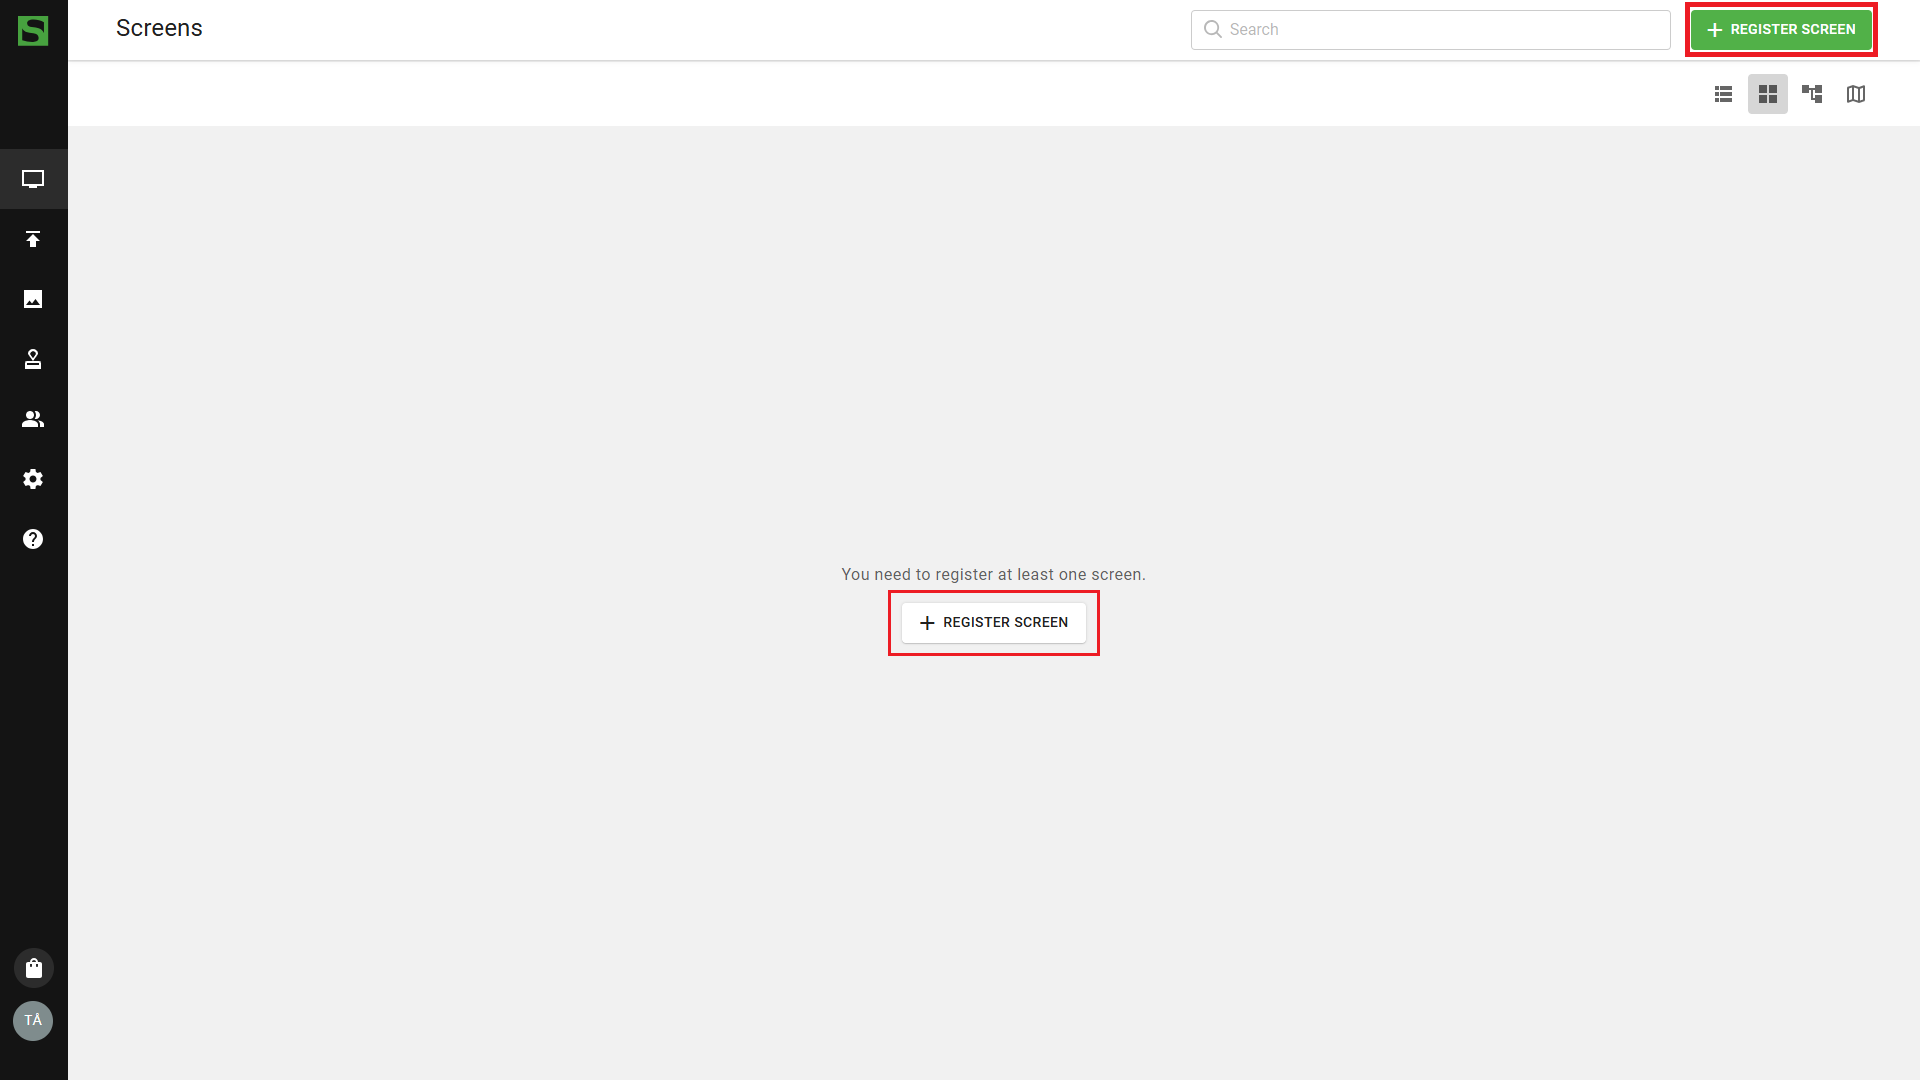
When signed in to Smartsign, go to screens and click Register screen in the middle or top right hand corner.
Screen name
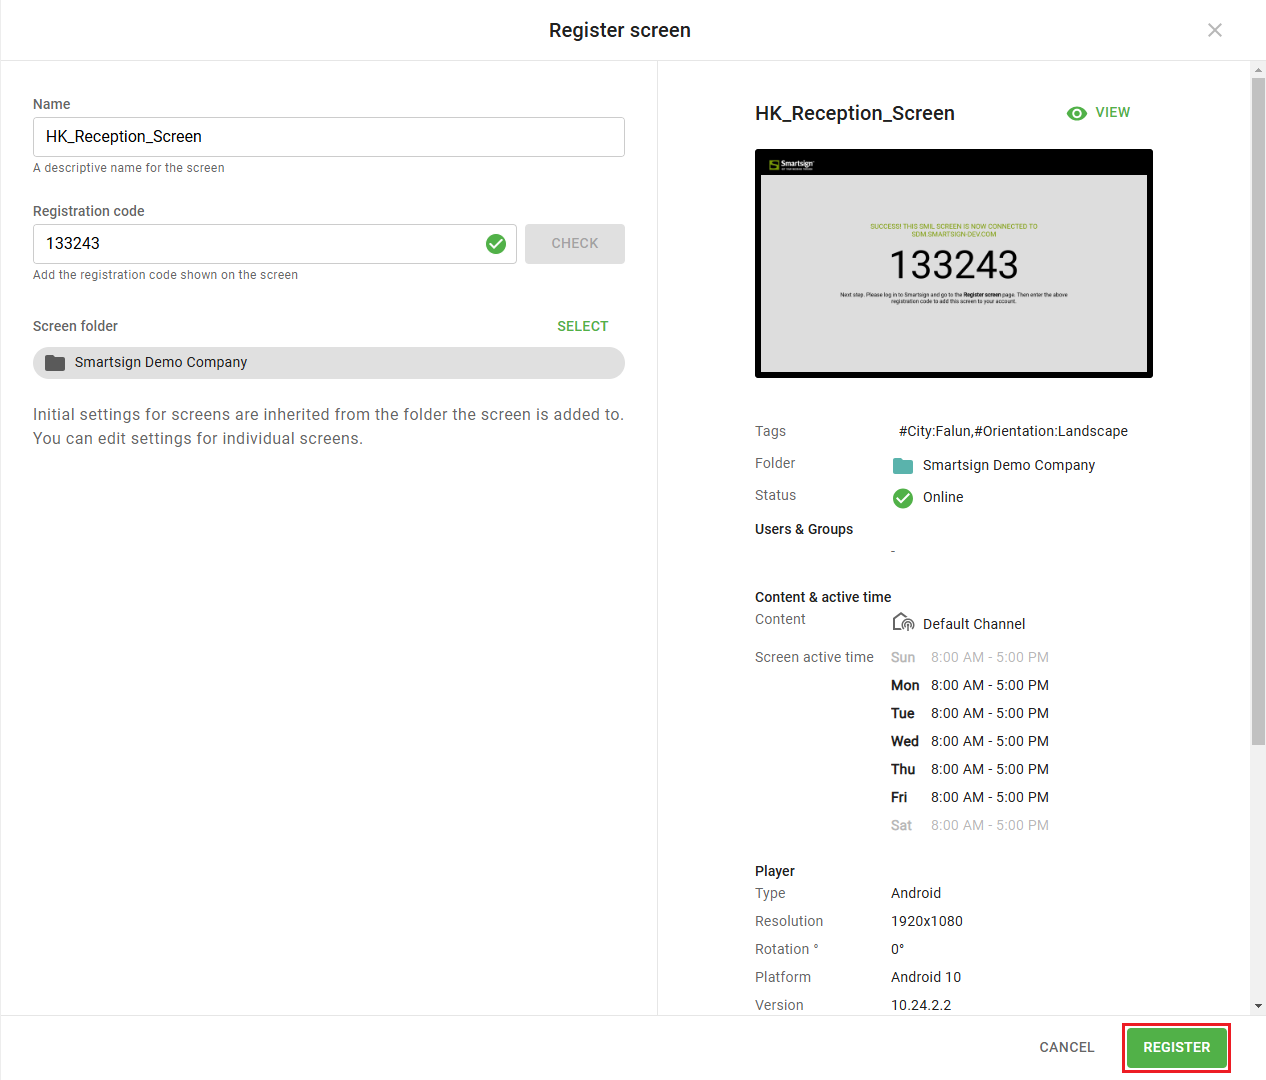
Enter screen name, description (optional) and the registration code.
Press check to verify code and screen connection.
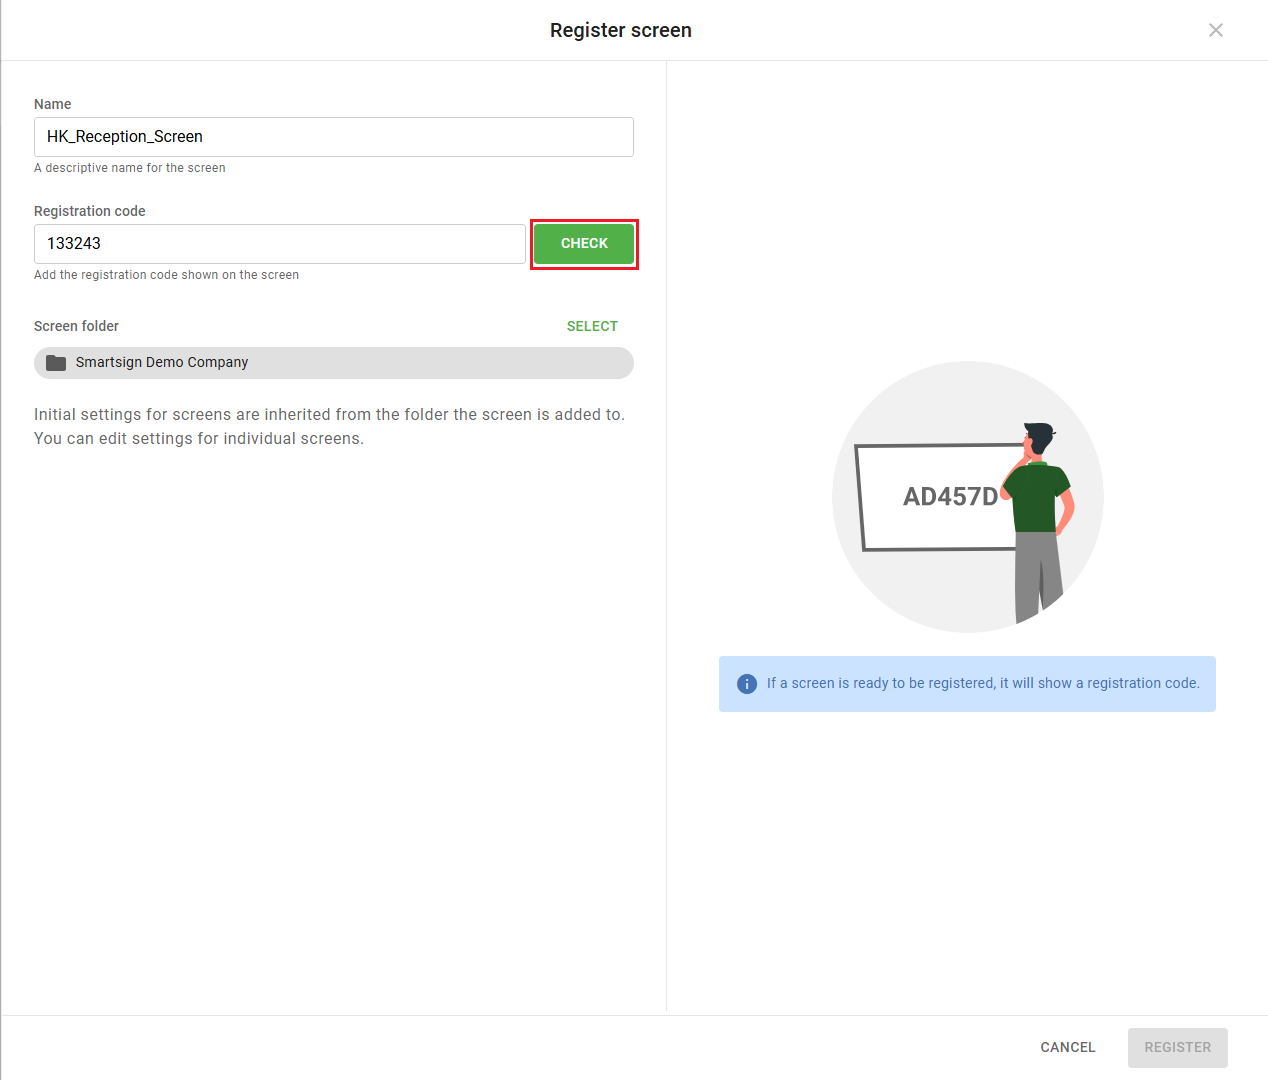
If you don't have a registration code, have a look at Install & configure displays.
You can now see details and settings of the screen. By default, screen uses settings from the screen folder.
Screen folders are used to set default channels and active time (when screens turn on and off) for all screens within that folder. It is very useful when you want to use same content on multiple screens.
As per default, the default screen folder have have standard value for active time at Mon-Fri 08.00 - 17.00. You can change this in screen folder settings or set individual settings for the screen by clicking view.
Learn more about screens and screen folder management in the Admin guide
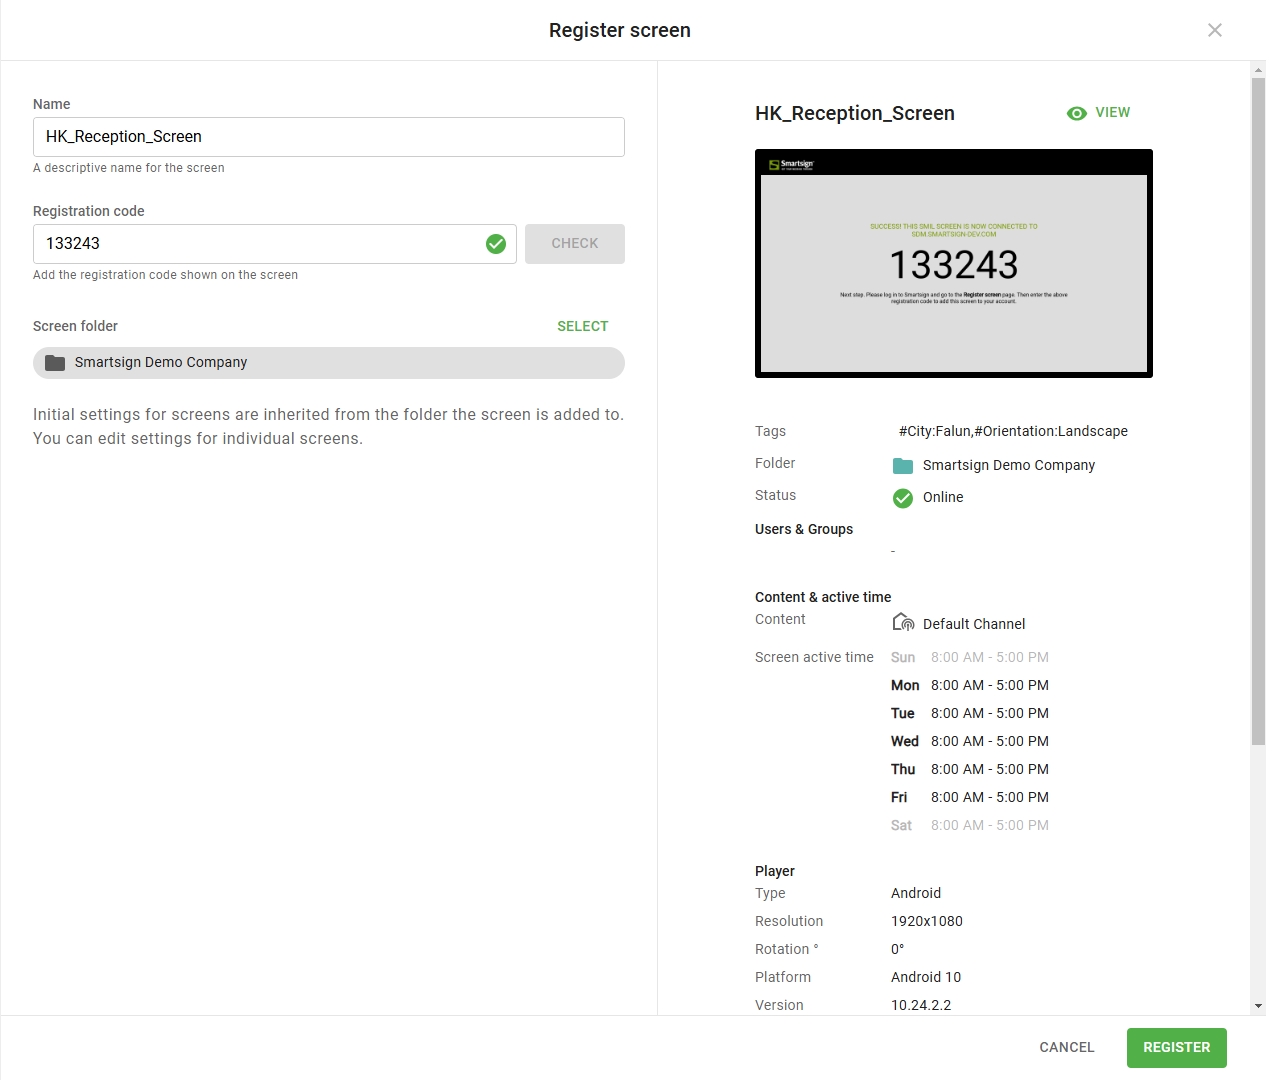
Click register to add the screen to your site.
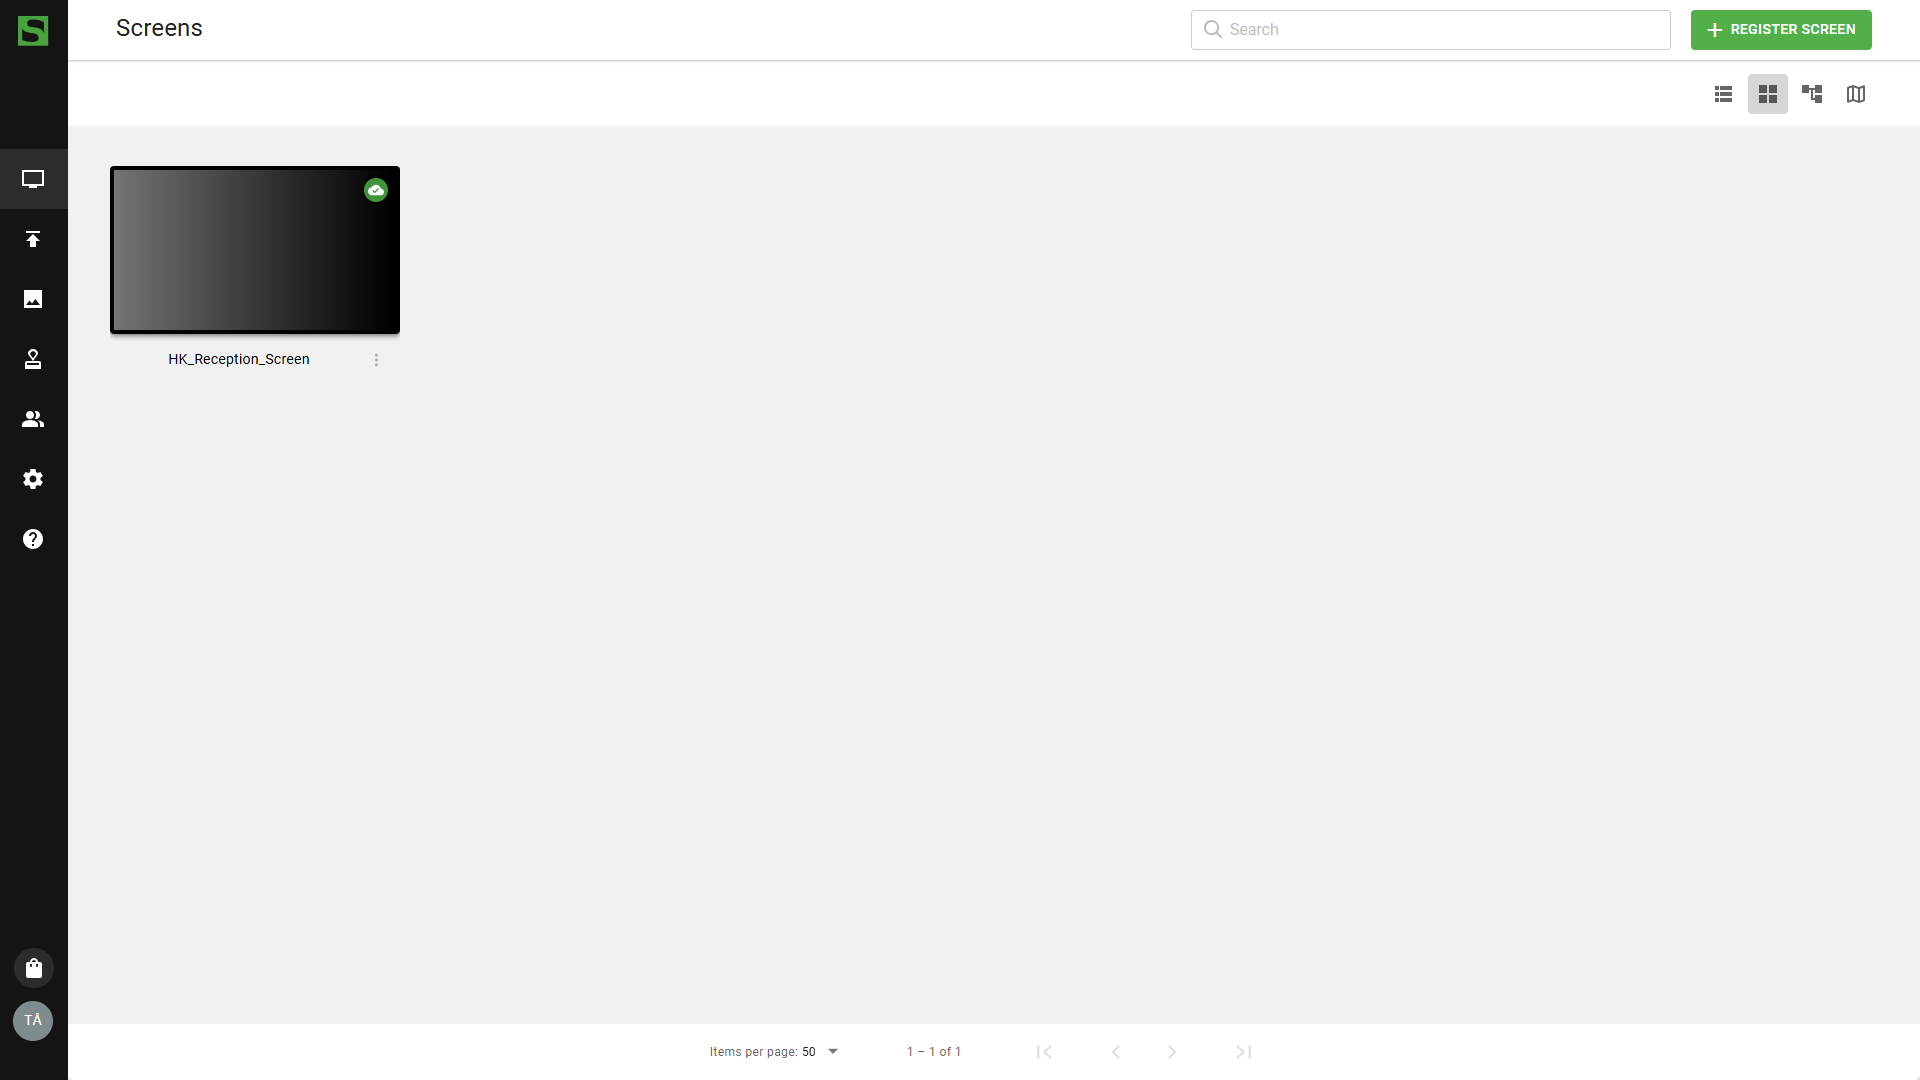
Repeat steps if you plan to add more screens.
What's next?
It’s time to publish your first message!