Publish your first message
When your site is ready and screens are registered, you can start publishing your content. We suggest you start with something simple like an image or a PowerPoint familiarize yourself with the tool.
These are the initial steps to publish your first content on your screens. You can learn more about bookings and playlists in the User Guide
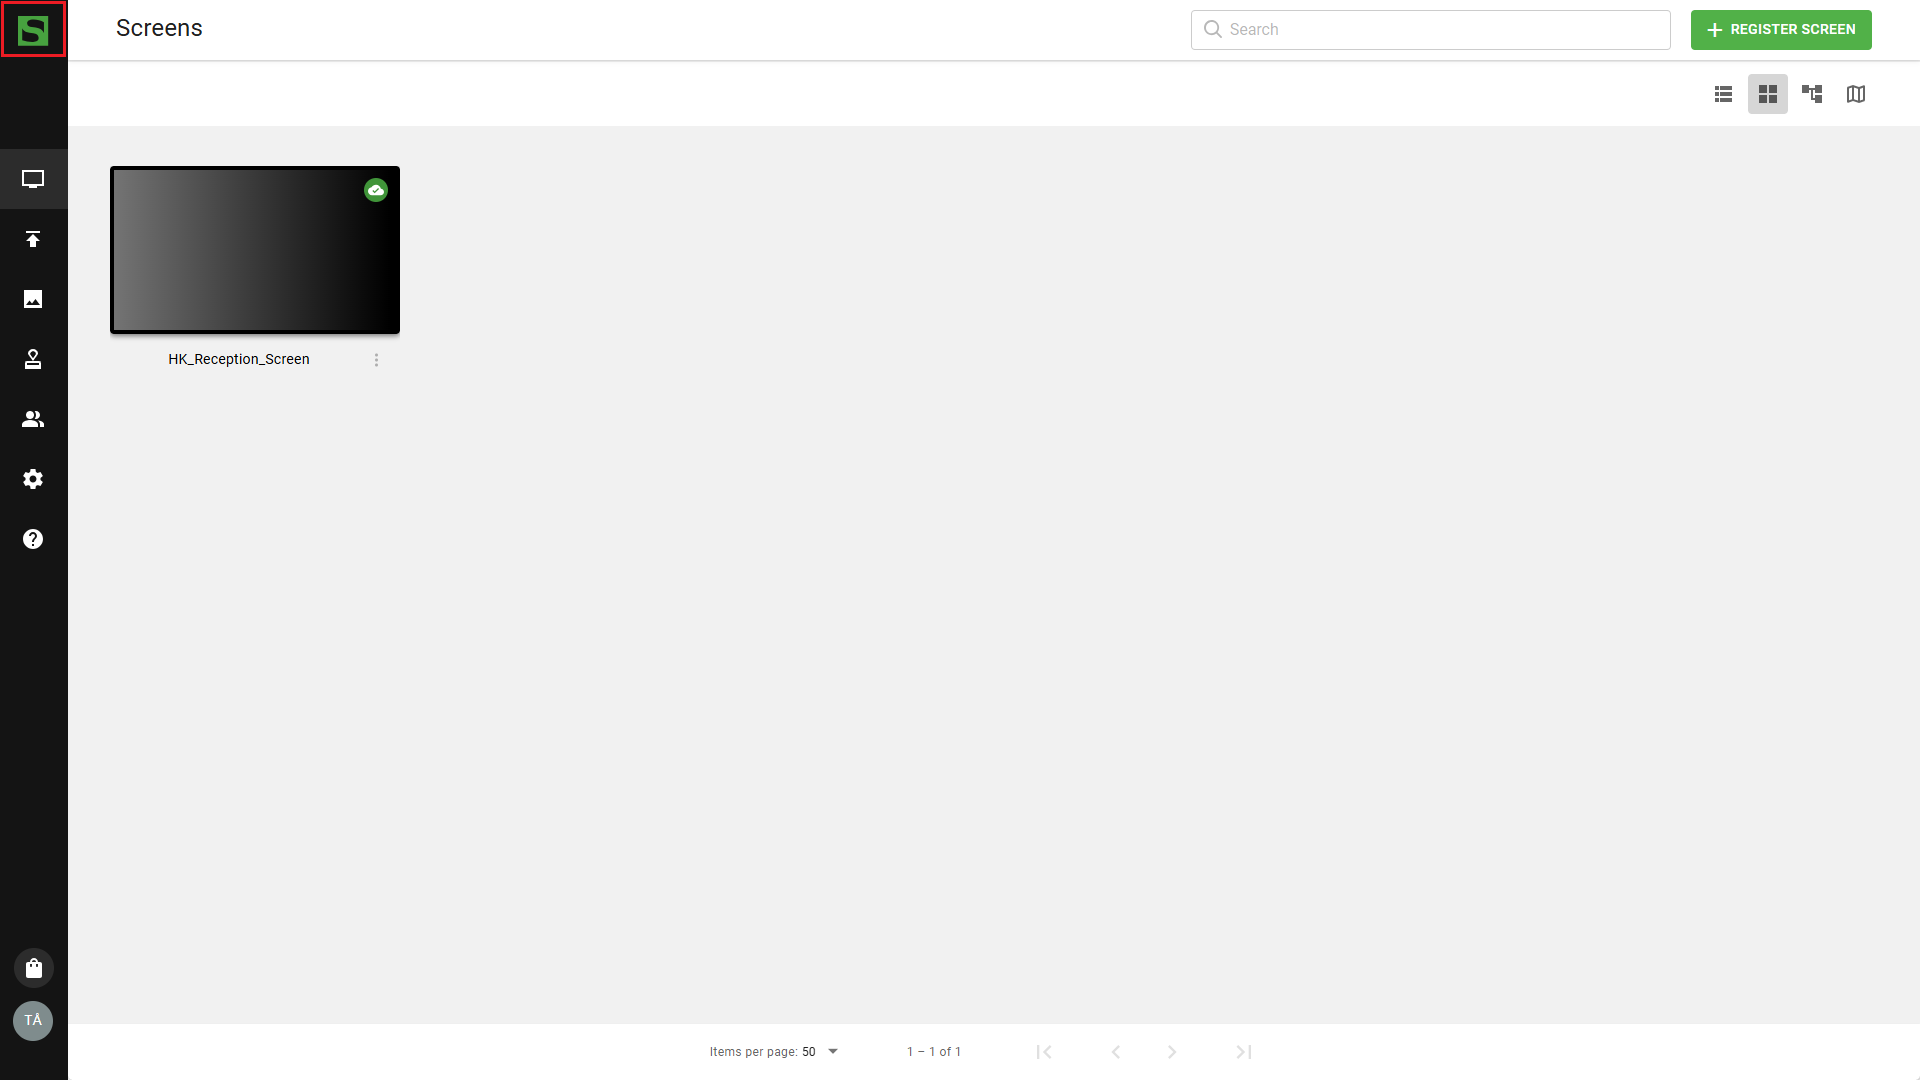
Go to the Dashboard
Press Smartsign logo in upper left hand corner to access the Dashboard where you will see the first default booking on the site.
You will see an existing default booking as a favorite booking.
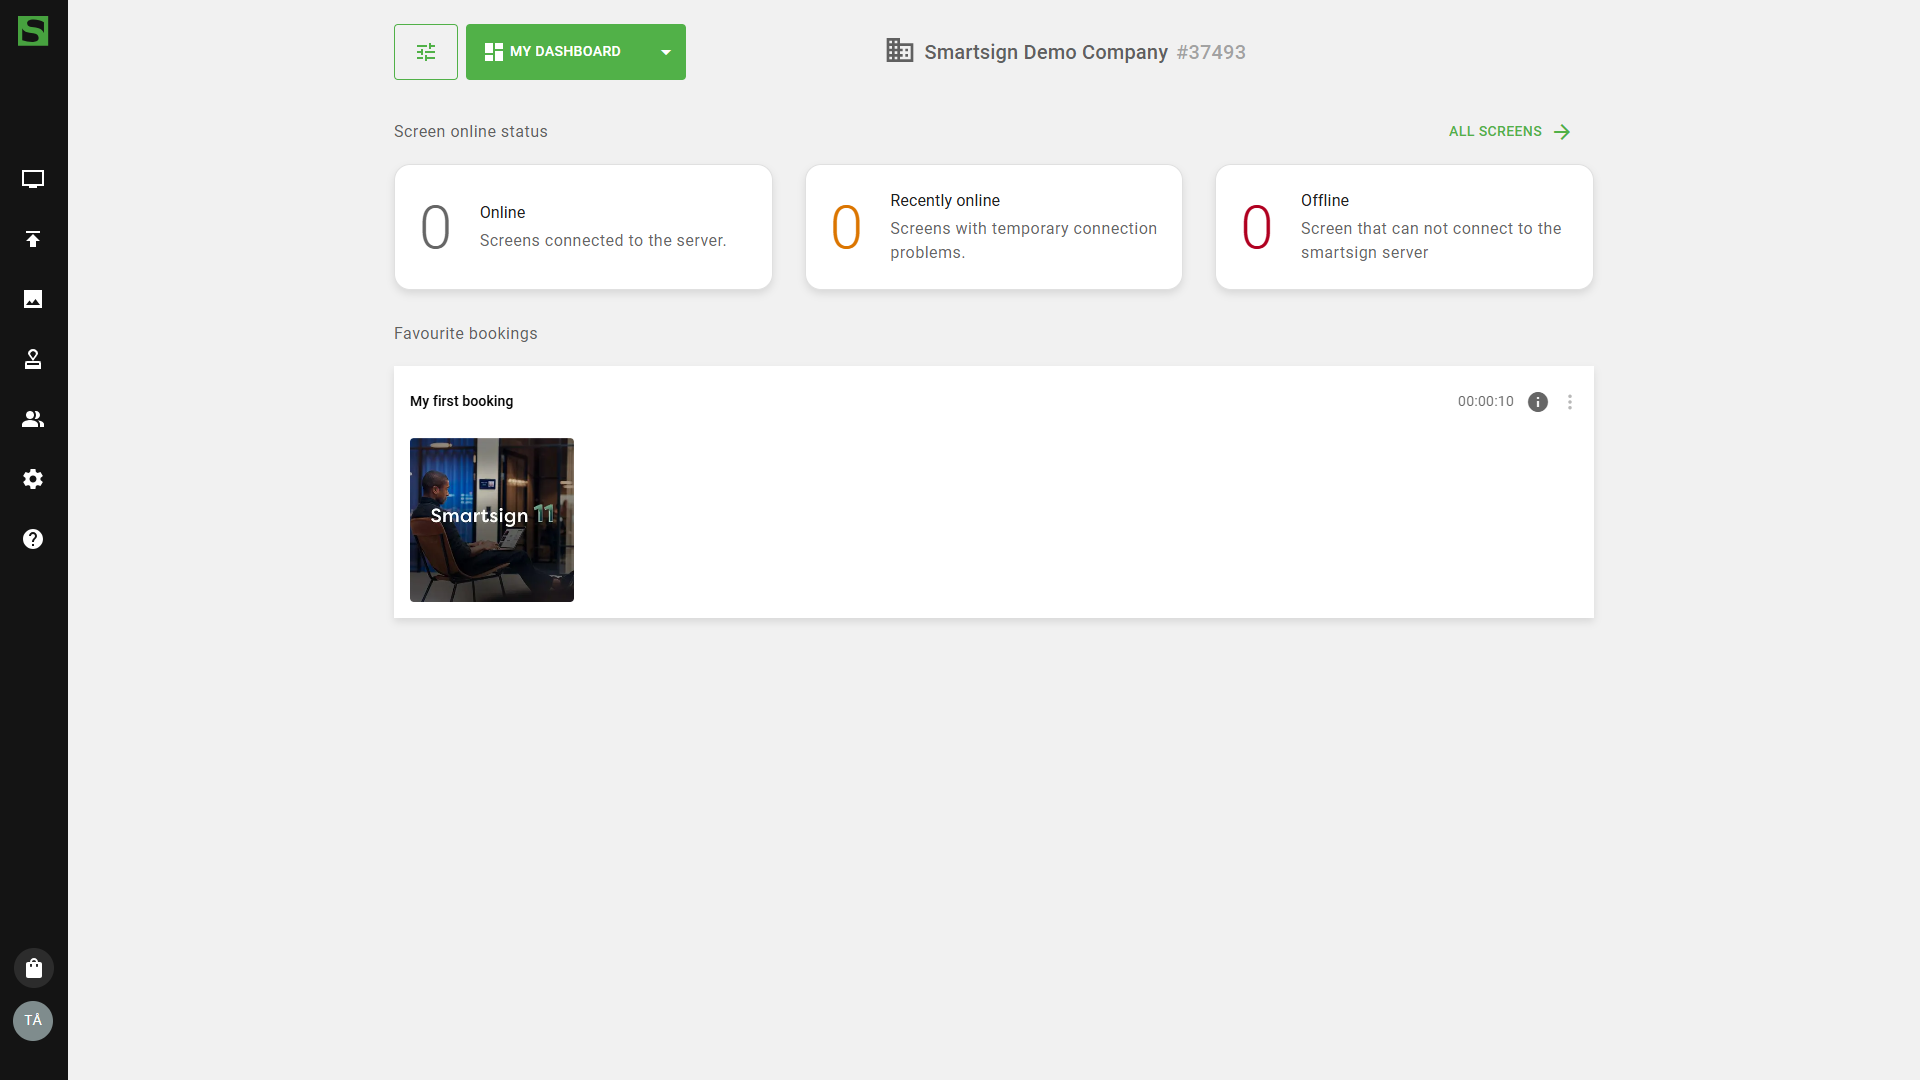
Click on the booking to enable editing.
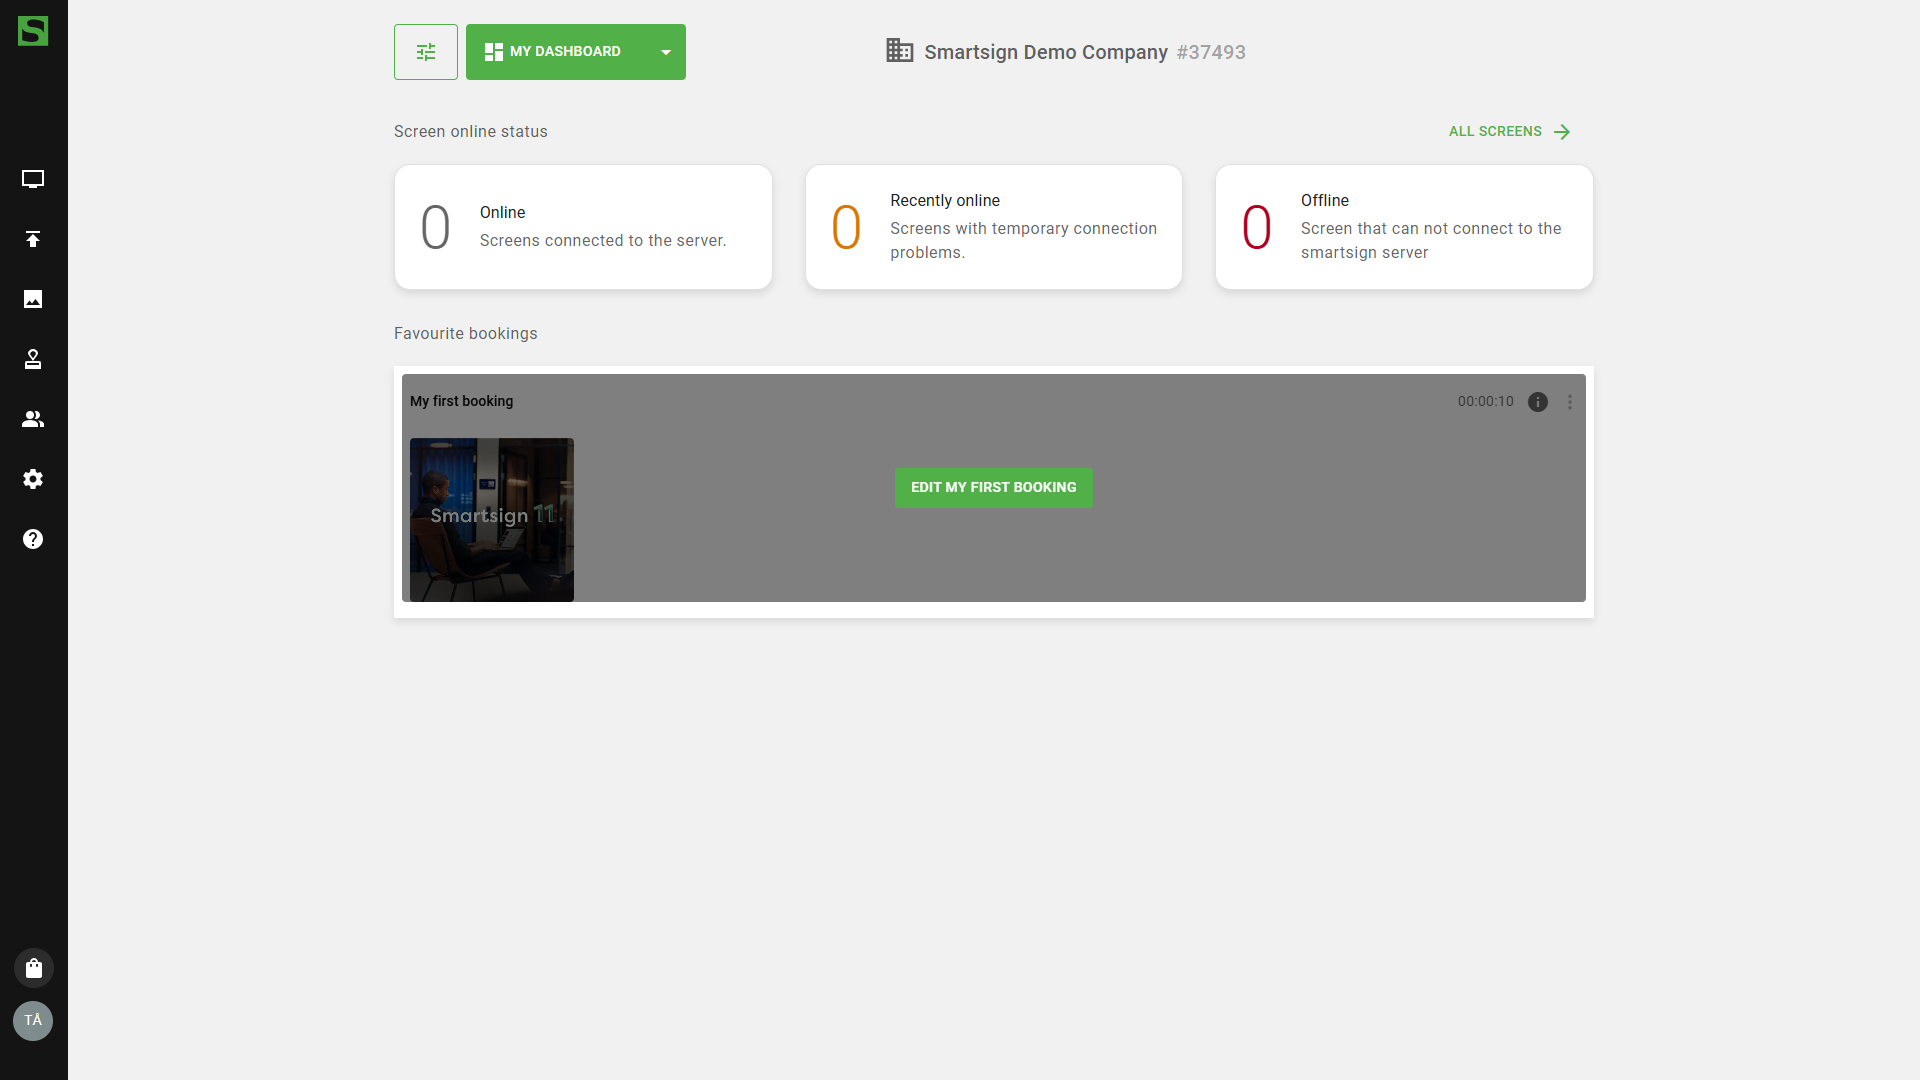
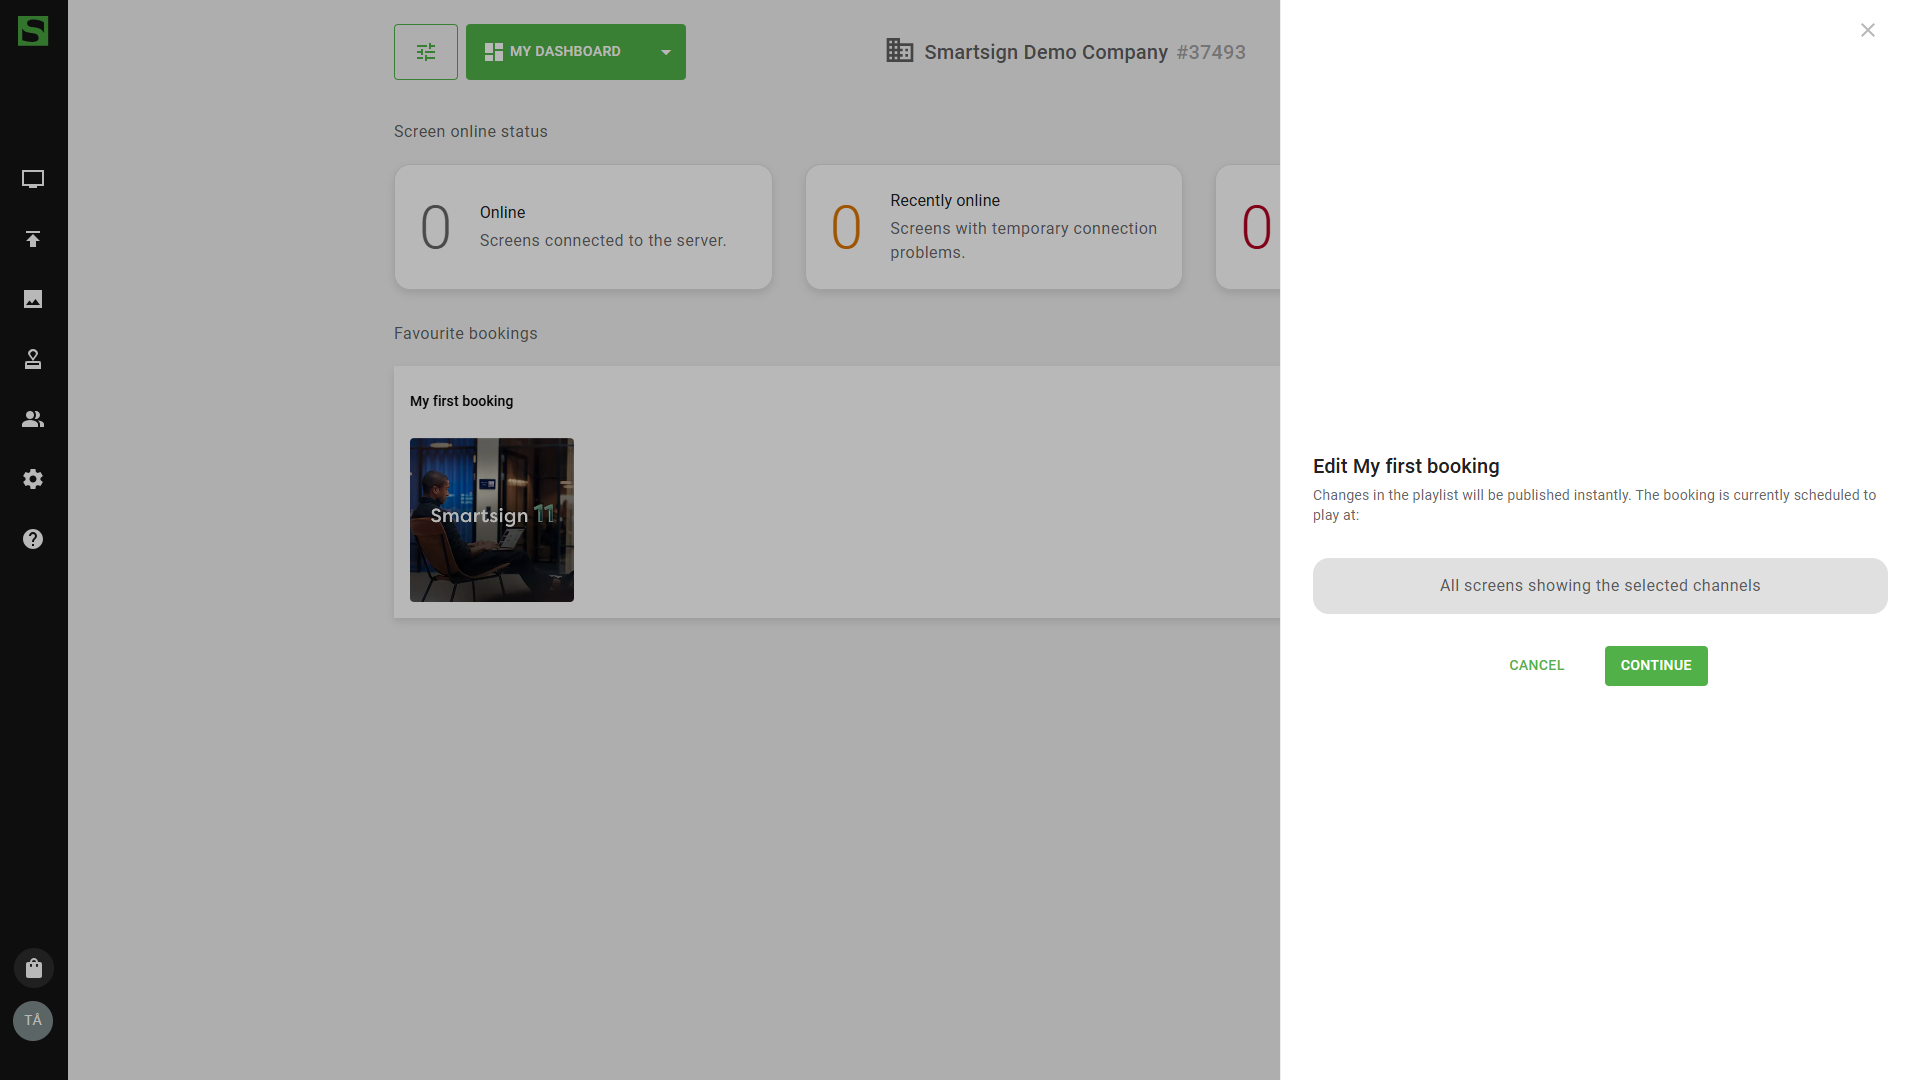
You can now instantly add or remove content.
Drag & drop items or select add media to upload from other sources. You can also access media library directly for previously uploaded content.
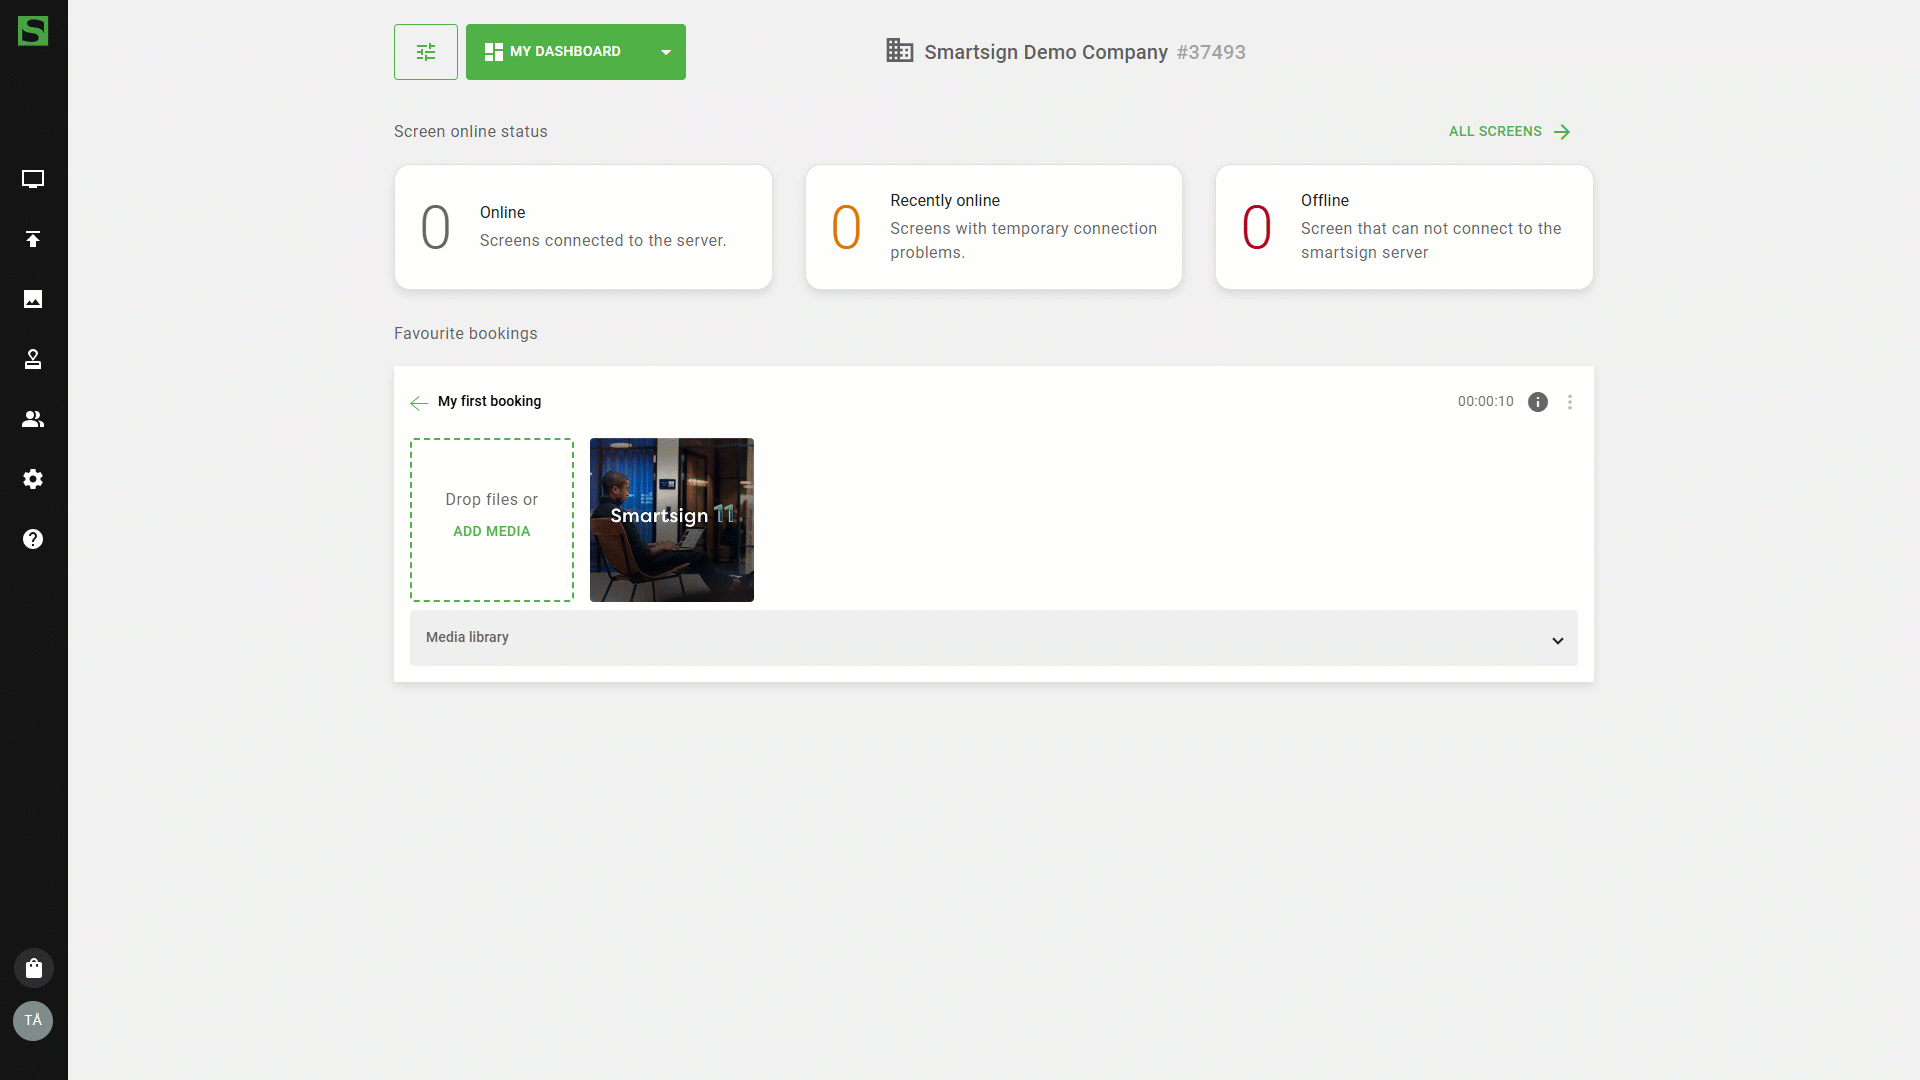
Changes are saved automatically when changes are made.
Screens will now download the published content and will play as per the schedule when done.
Now you can go to the User Guide to learn more on how to publish and manage your bookings and screens.