Claim licenses & Set up site

To start using Smartsign, you first need to sign in and claim your licenses by visiting the link in your order email
This might be something a reseller or partner is helping you with so please check before proceeding.
Quick steps
- Find the email containing the voucher code for your licenses
- Create your Smartsign account
- Set up your site and sign in to Smartsign
Find order email
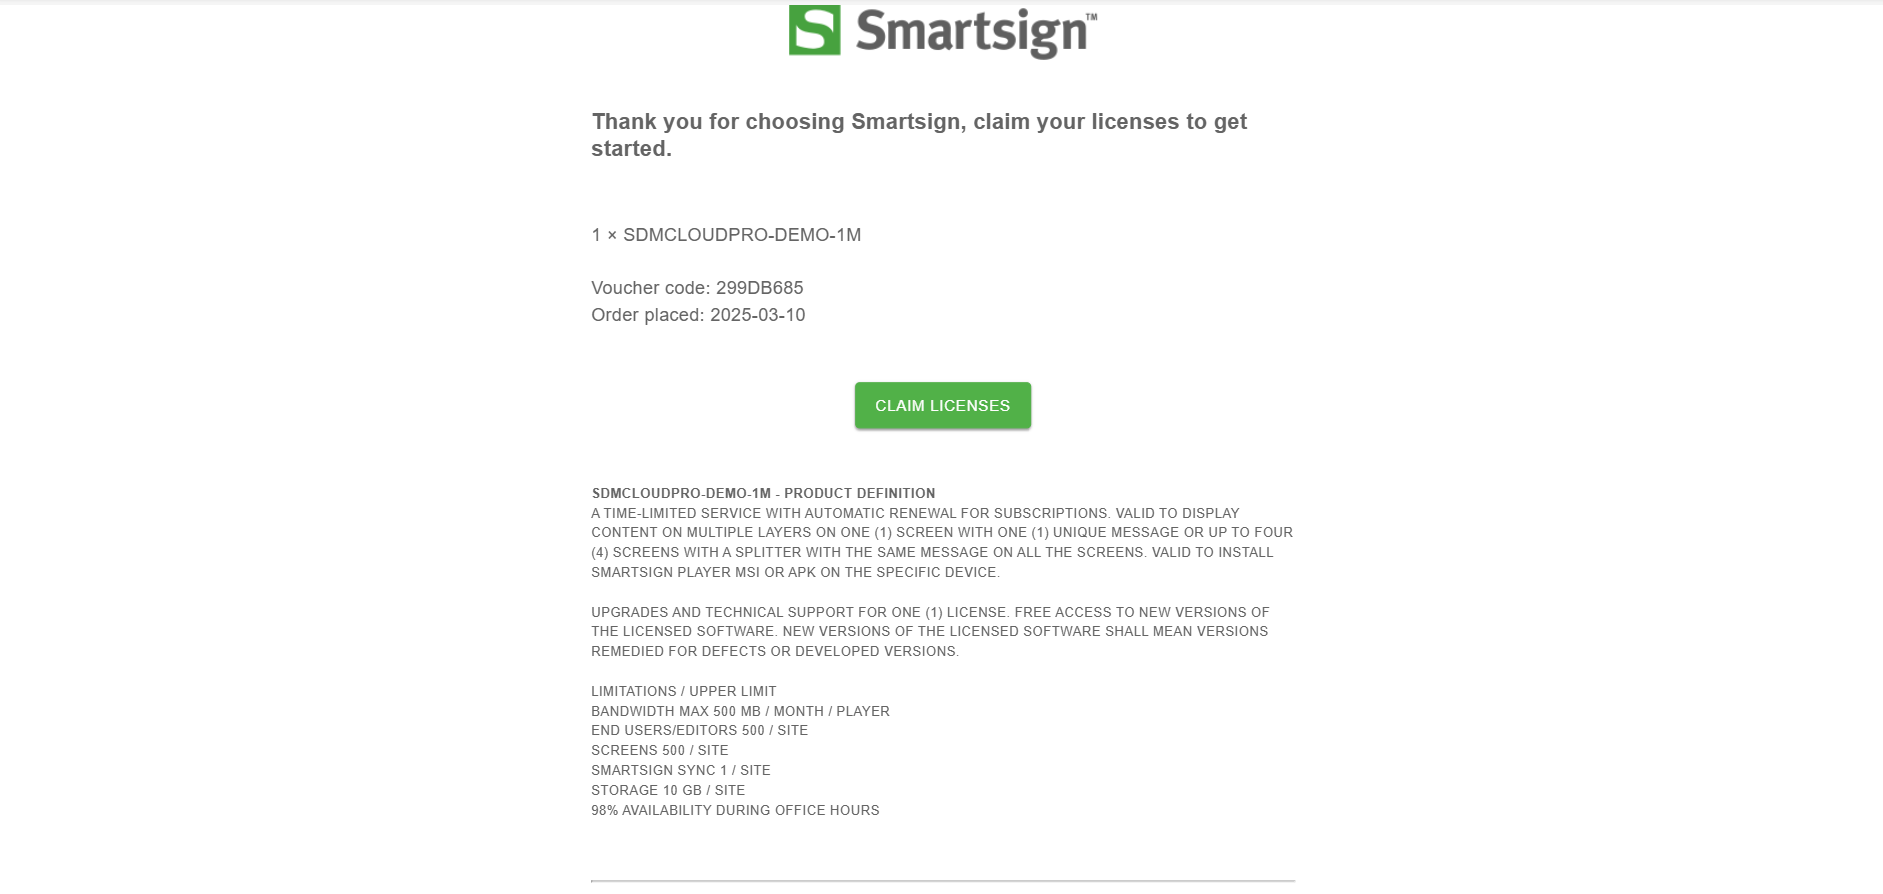
Find the order email containing the voucher code and click the claim licenses button.
When you claim licenses, you will be directed to the login page where you can create your account.
If you haven't received any email, please check with your purchase company.
Create Smartsign account
Smartsign Identity is our own Identity provider working with OpenID Connect and OAUth2.0 standards. It manages authentication for our products both in the cloud as well as on-premises where an instance is embedded together with the server. It's also Identity which provides federation with external providers such as Microsoft Entra.
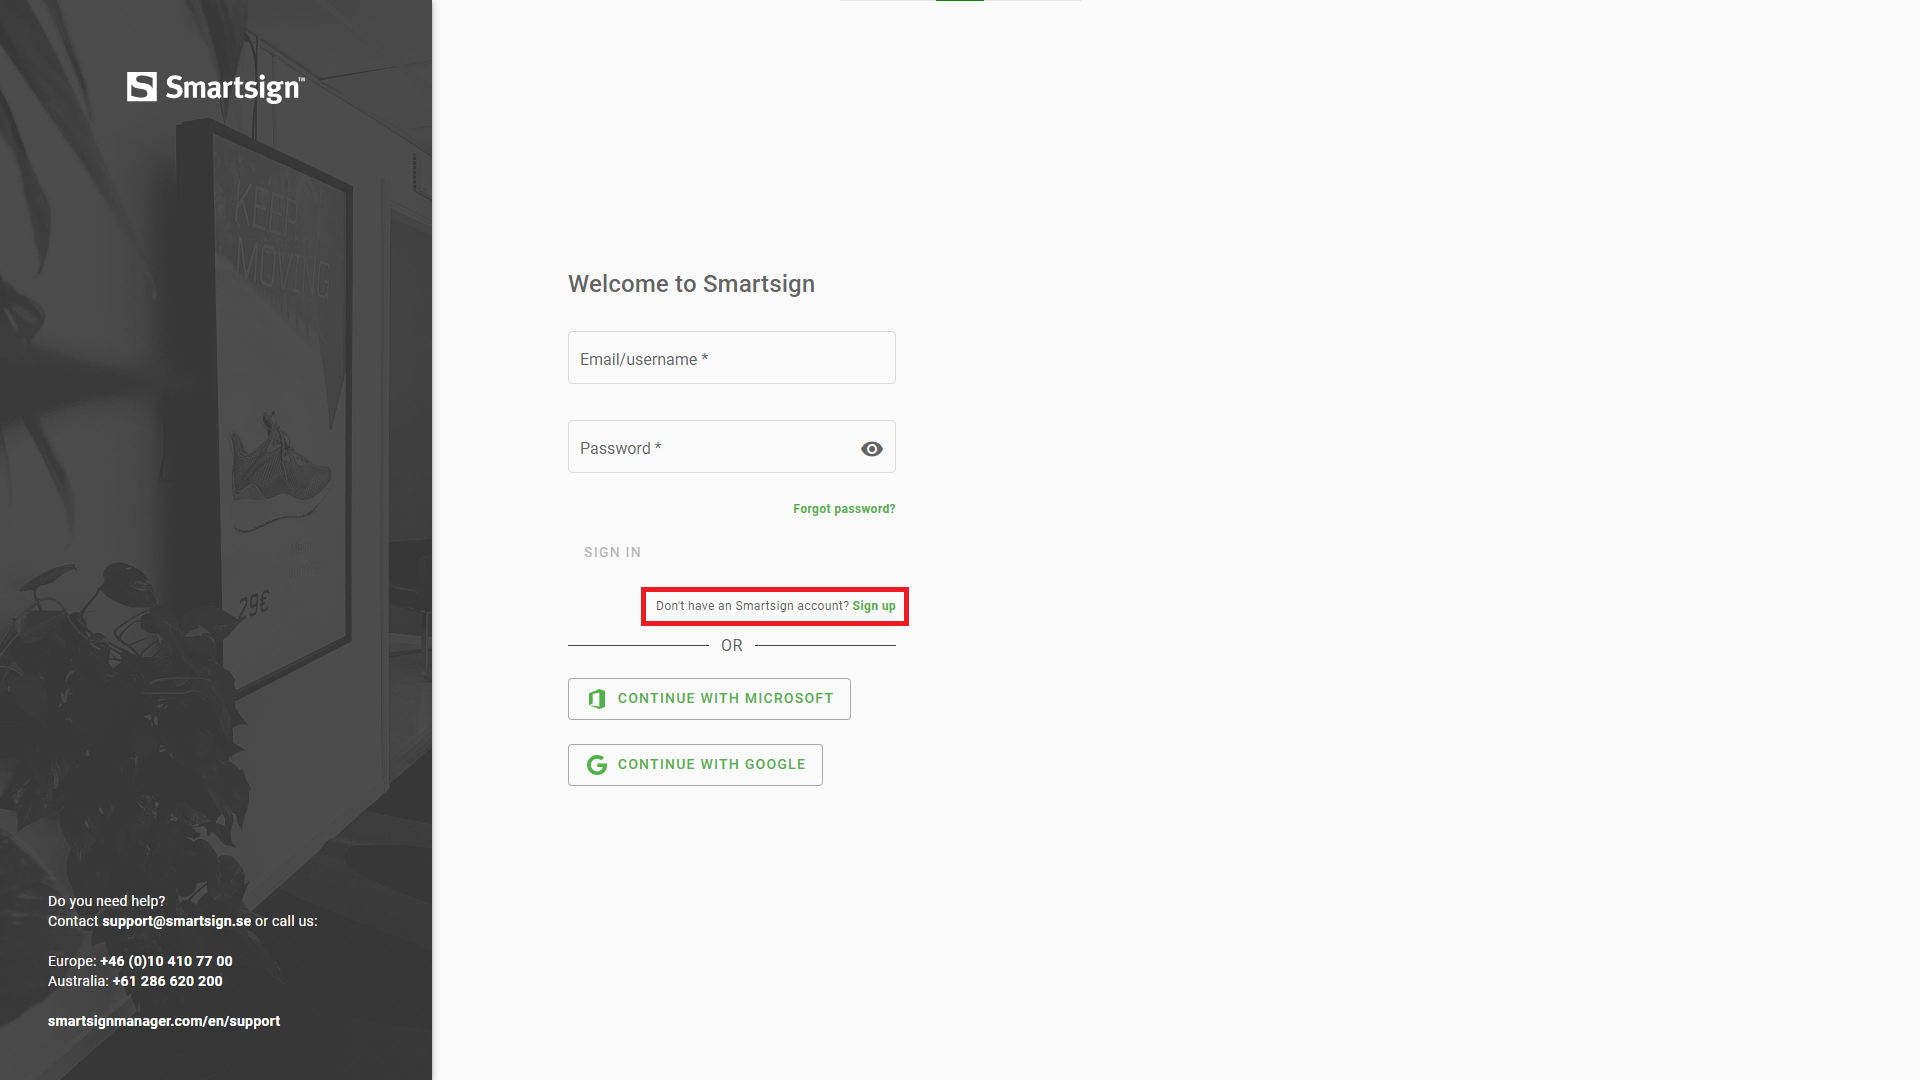
Select Sign up to begin.
Registration options
You can use different registration options to set up your account.
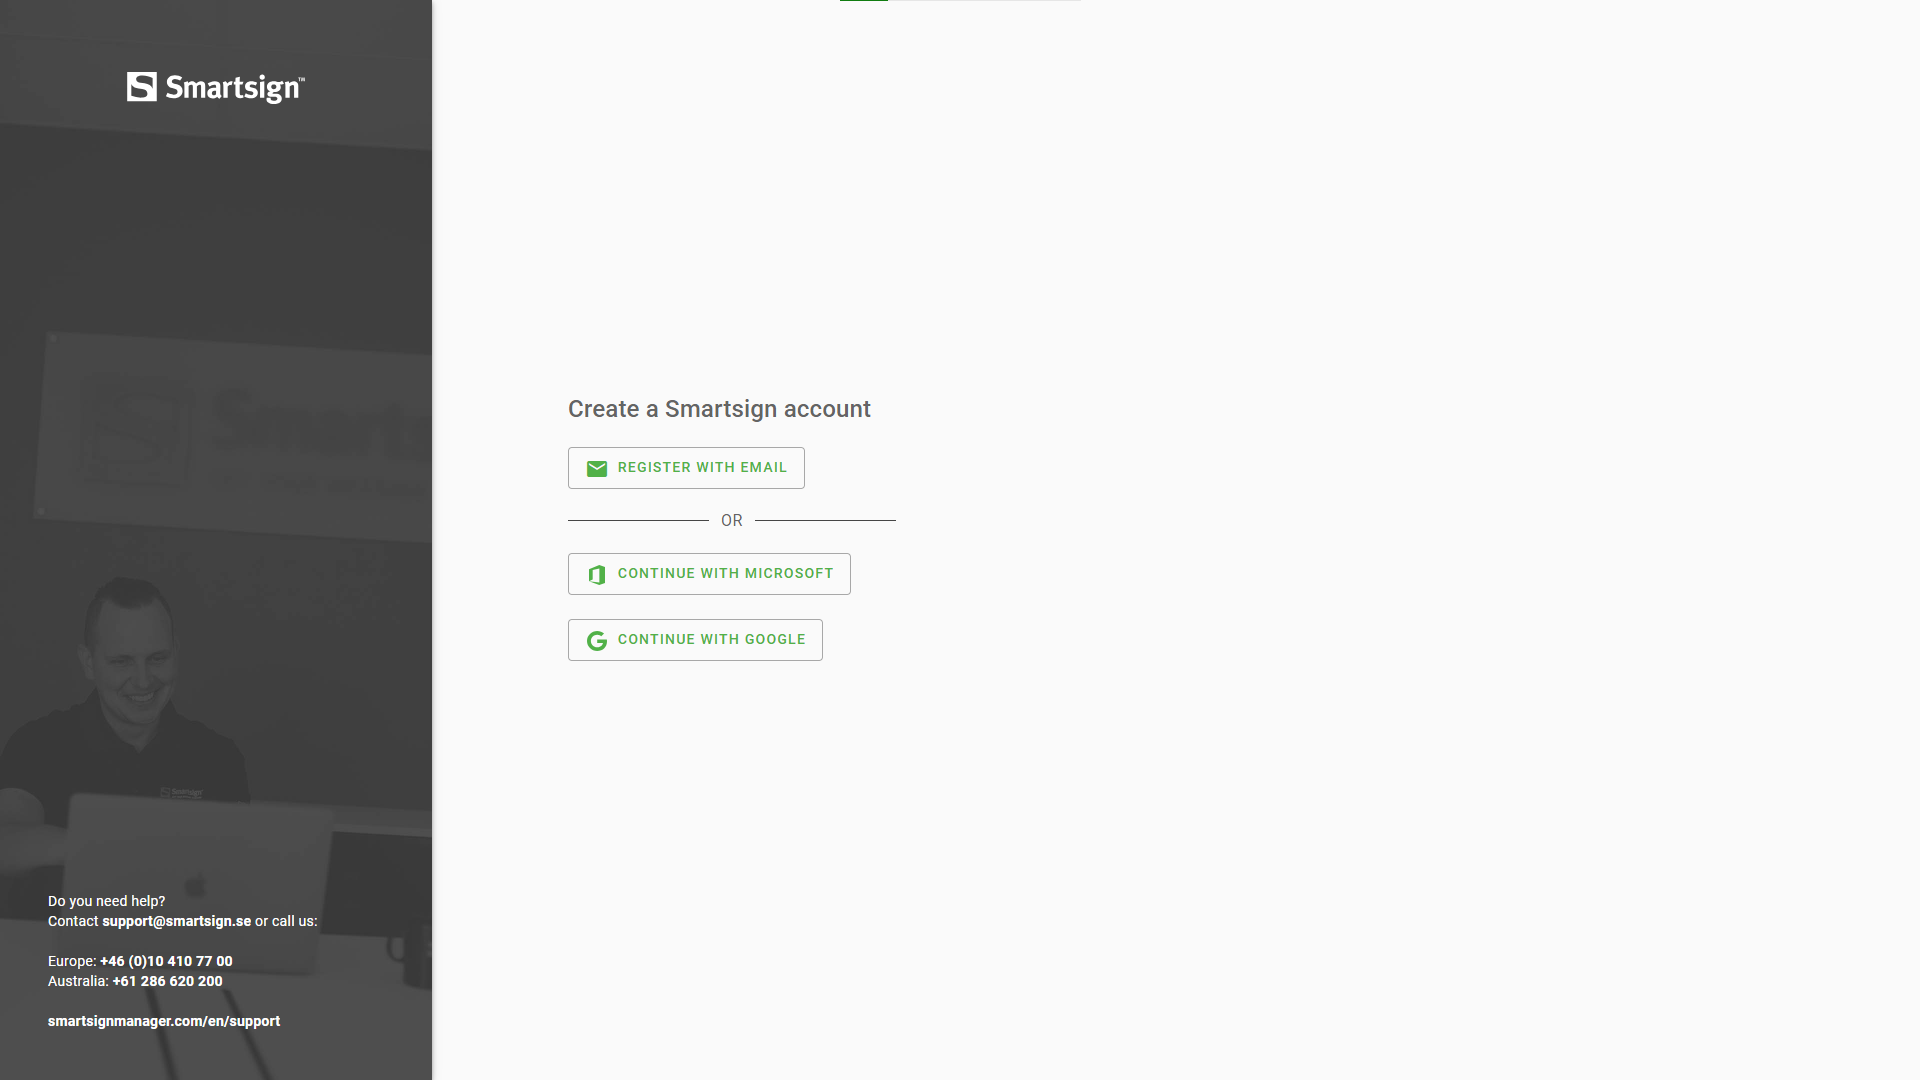
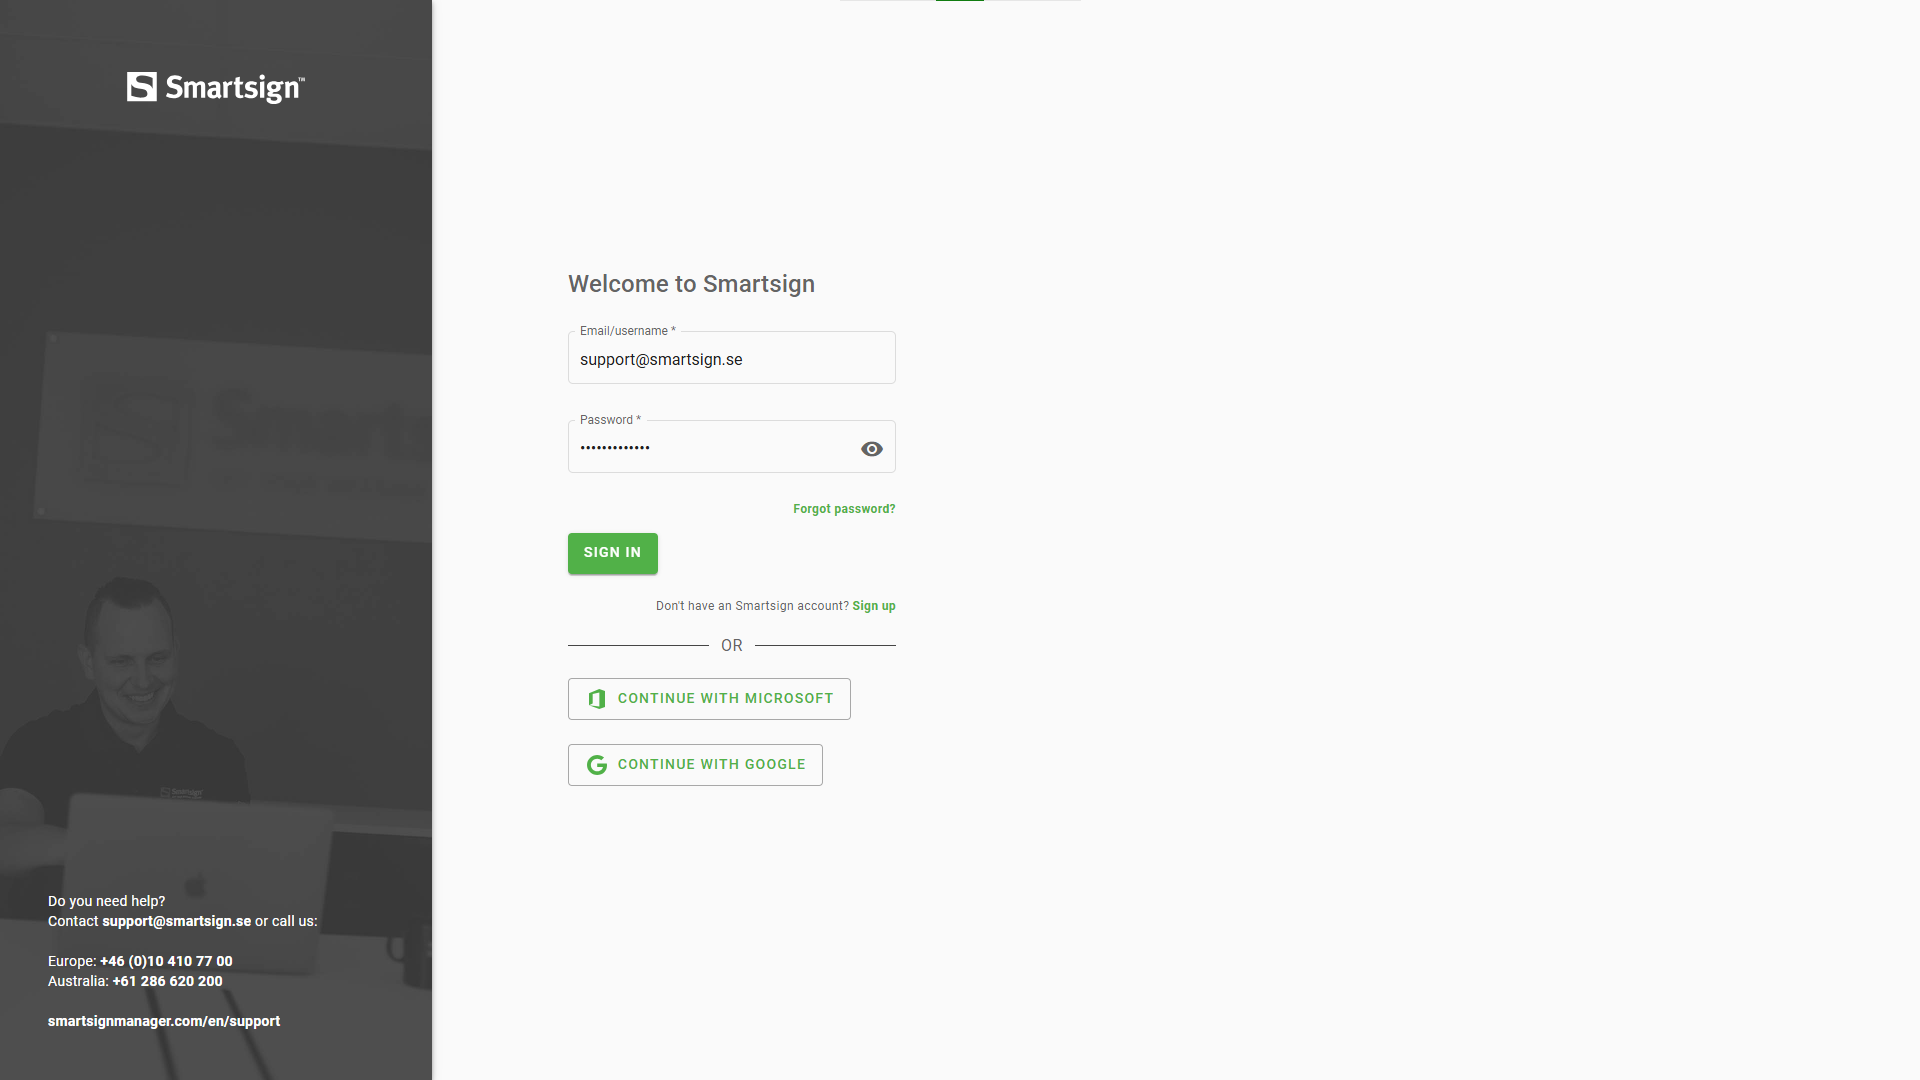
Register with Microsoft or Google
If you don't want to manually enter your credentials, you can use Google or Microsoft to register and sign in.
Permissions might be needed to be granted from an Microsoft or Google admin in your organization.
Smartsign Display Manager can be configured for external authentication using Microsoft Entra ID.
A step by step setup guide for on premise servers is provided in Azure AD Setup. For Smartsign Cloud services, please see Azure AD on Smartsign Cloud
Register with email
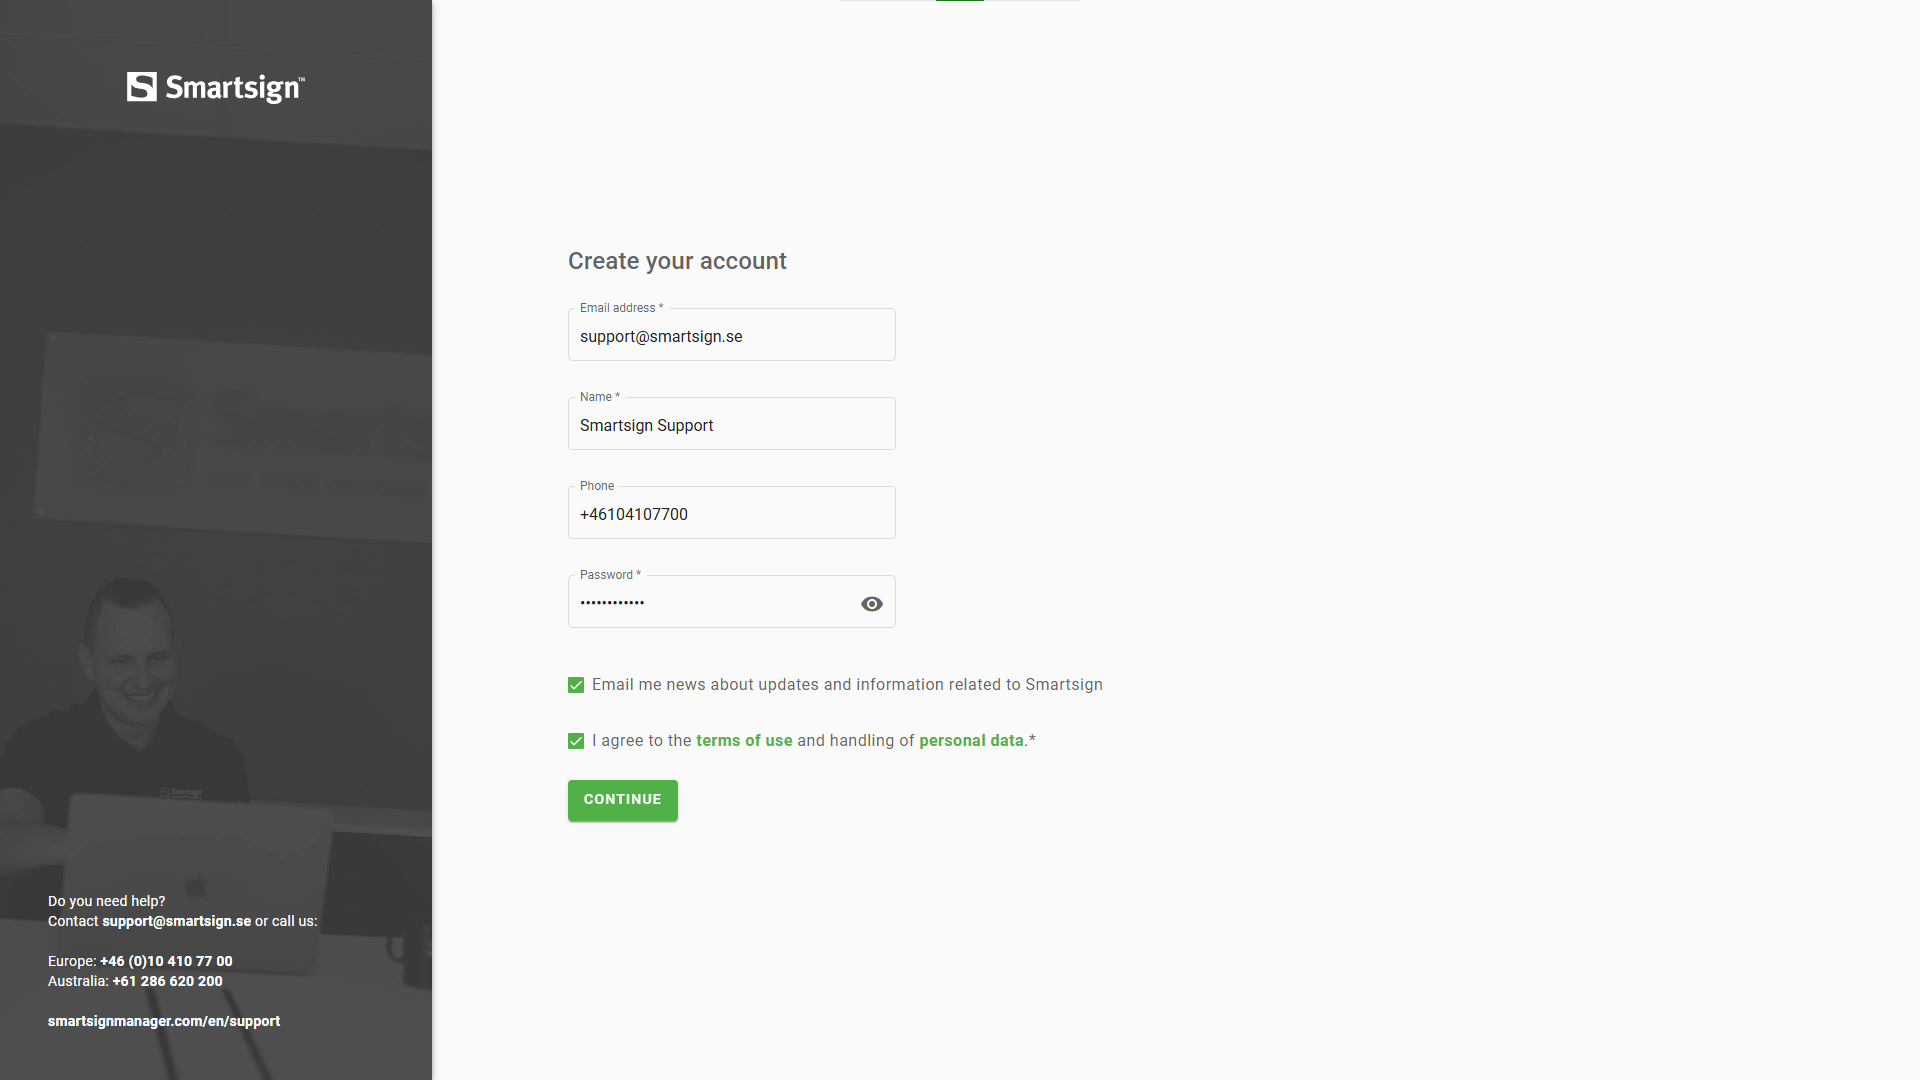
Set up an account by manually entering your email and password.
- Enter the required account details
- Verify your email address
- Sign in to your account
- Enter verification code
Your account has now been created and you can continue with the site setup.
Set up site
Licenses are claimed when they are added to a site, Smartsign's way of organizing screens, users, media, and other features.
Press continue to claim licenses
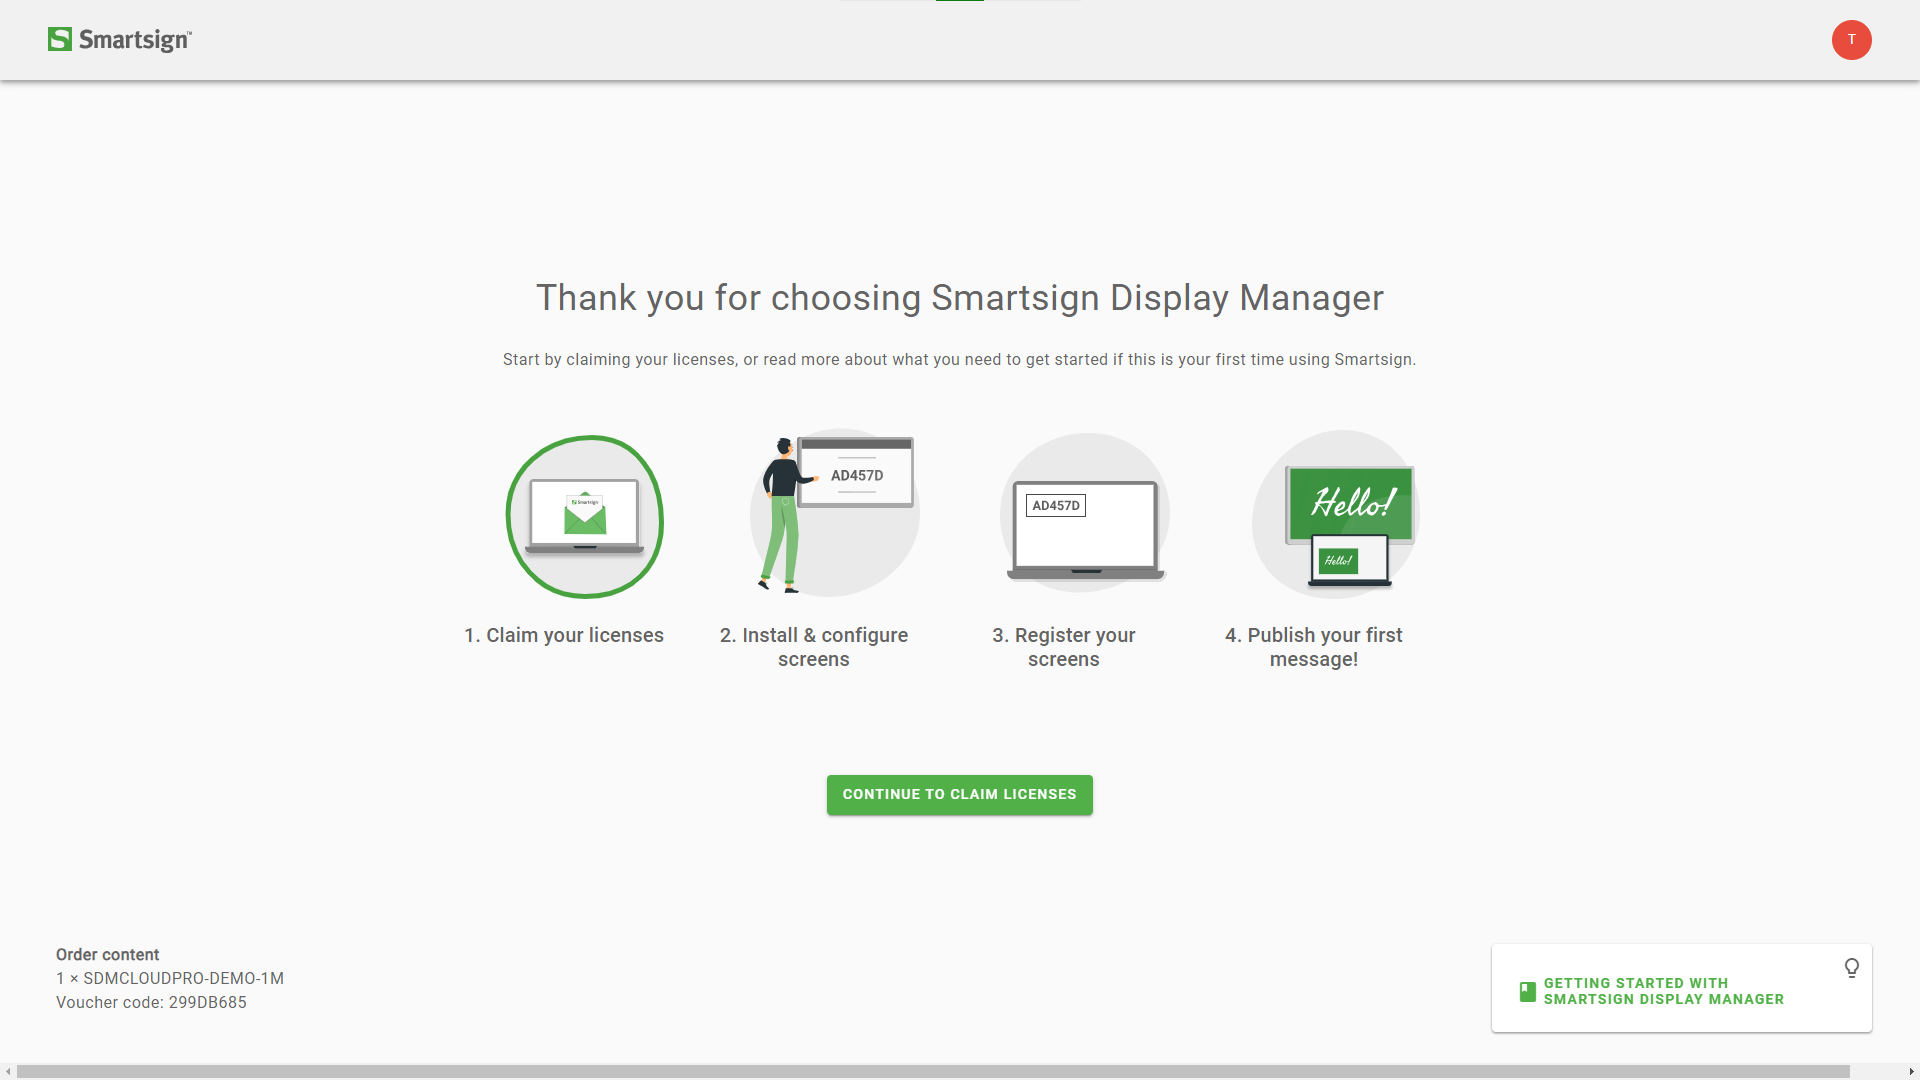
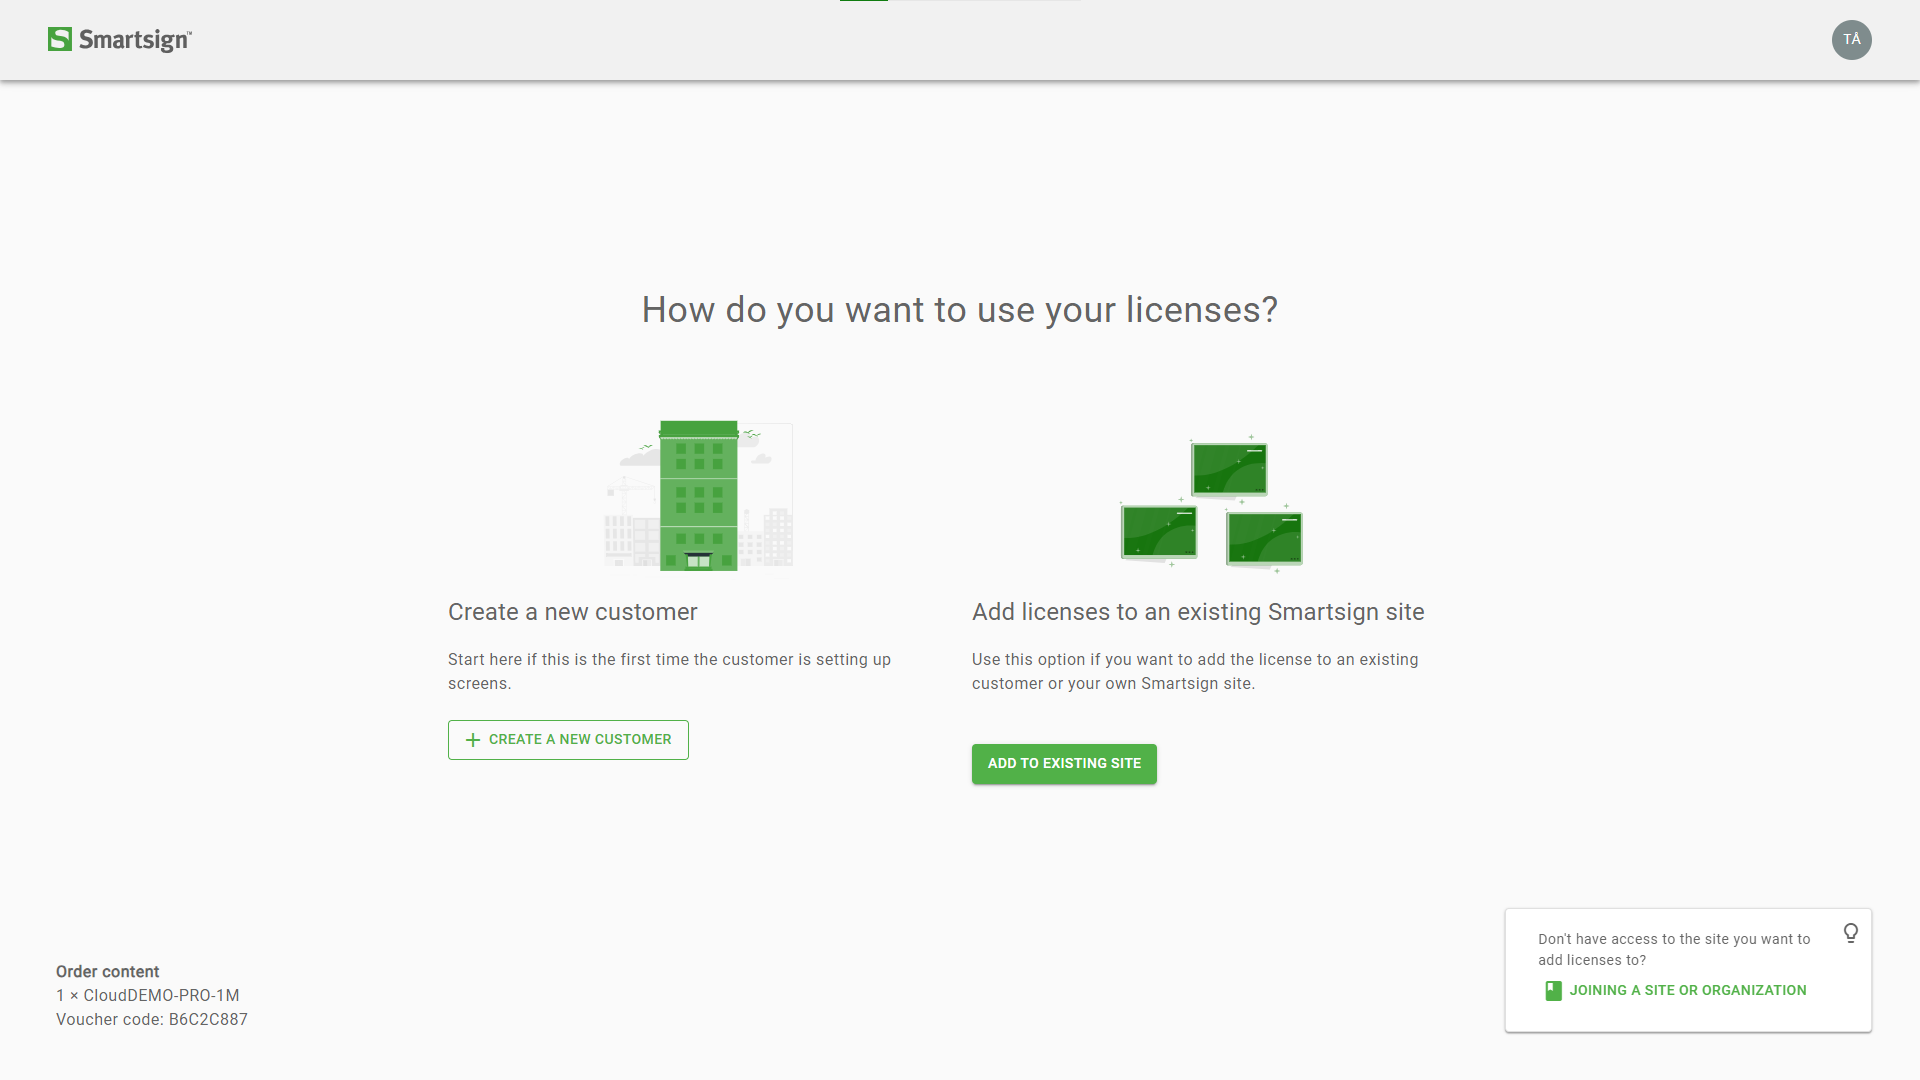
You can now choose how to add your licenses.
As this is the first time your company or organization is using Smartsign, you should select create a new customer to set up your site.
If you are already using Smartsign, you should add licenses to an existing site.
Site/customer details
Enter your customer name and country. Business area is an optional.
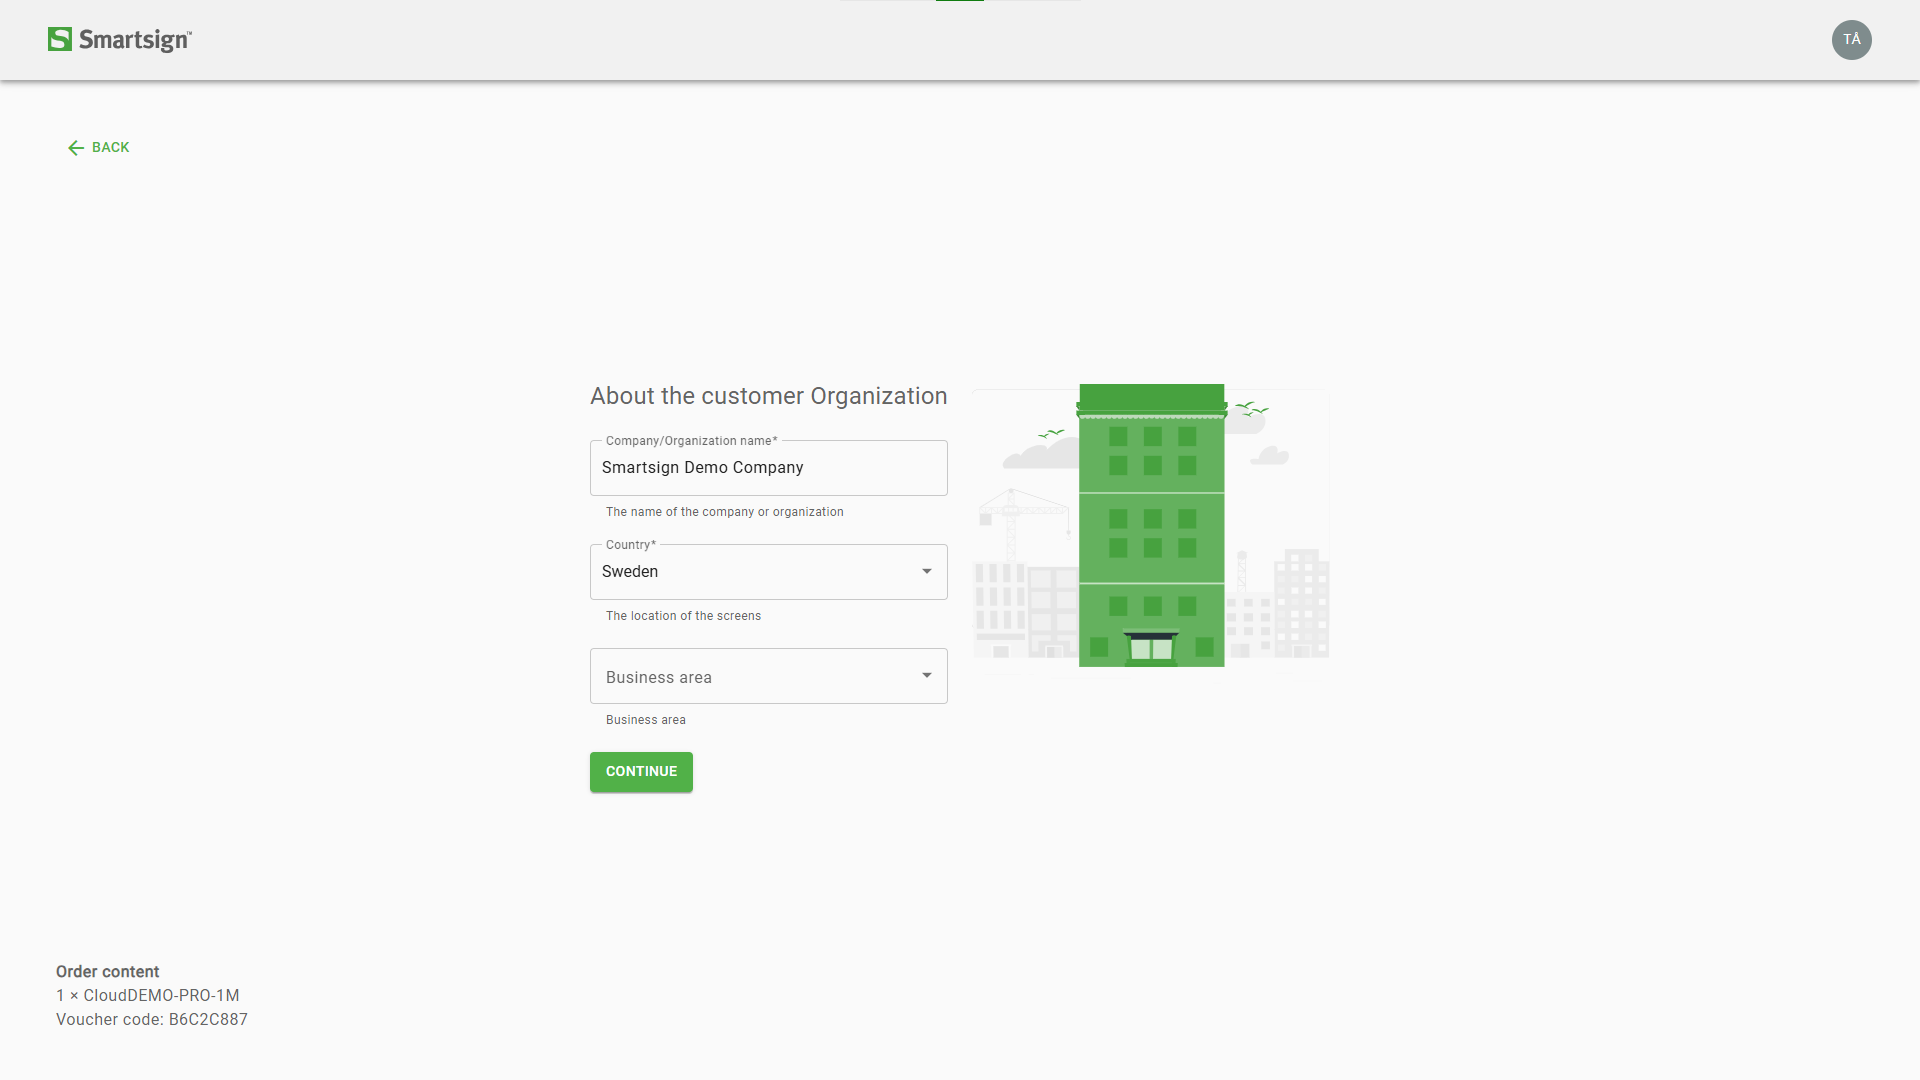
The customer name you choose will be the name of the site so it's good to use a clear name to easily identify your organization.
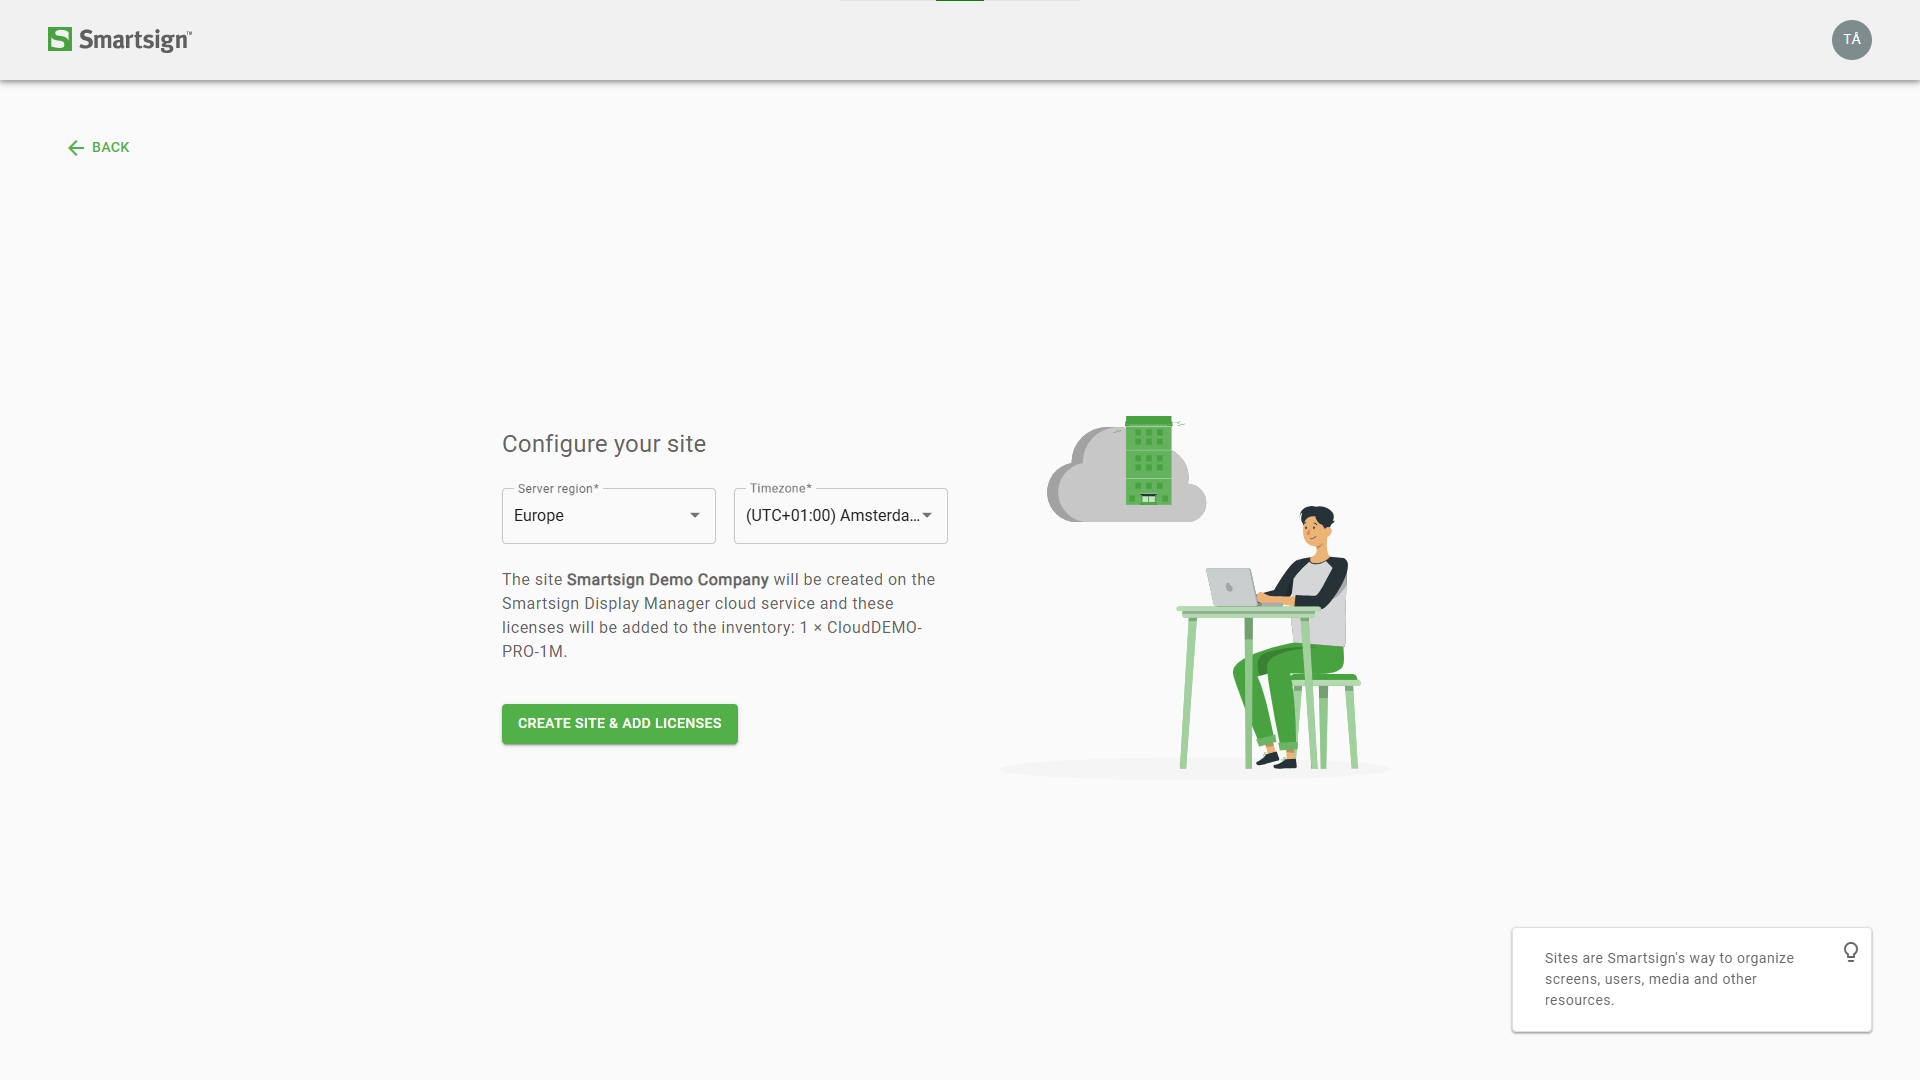
Region & timezone
Choose your cloud region and default timezone for the site.
If you are unsure about which region to use, please contact Smartsign support.
Timezones can also be set individually per screen.
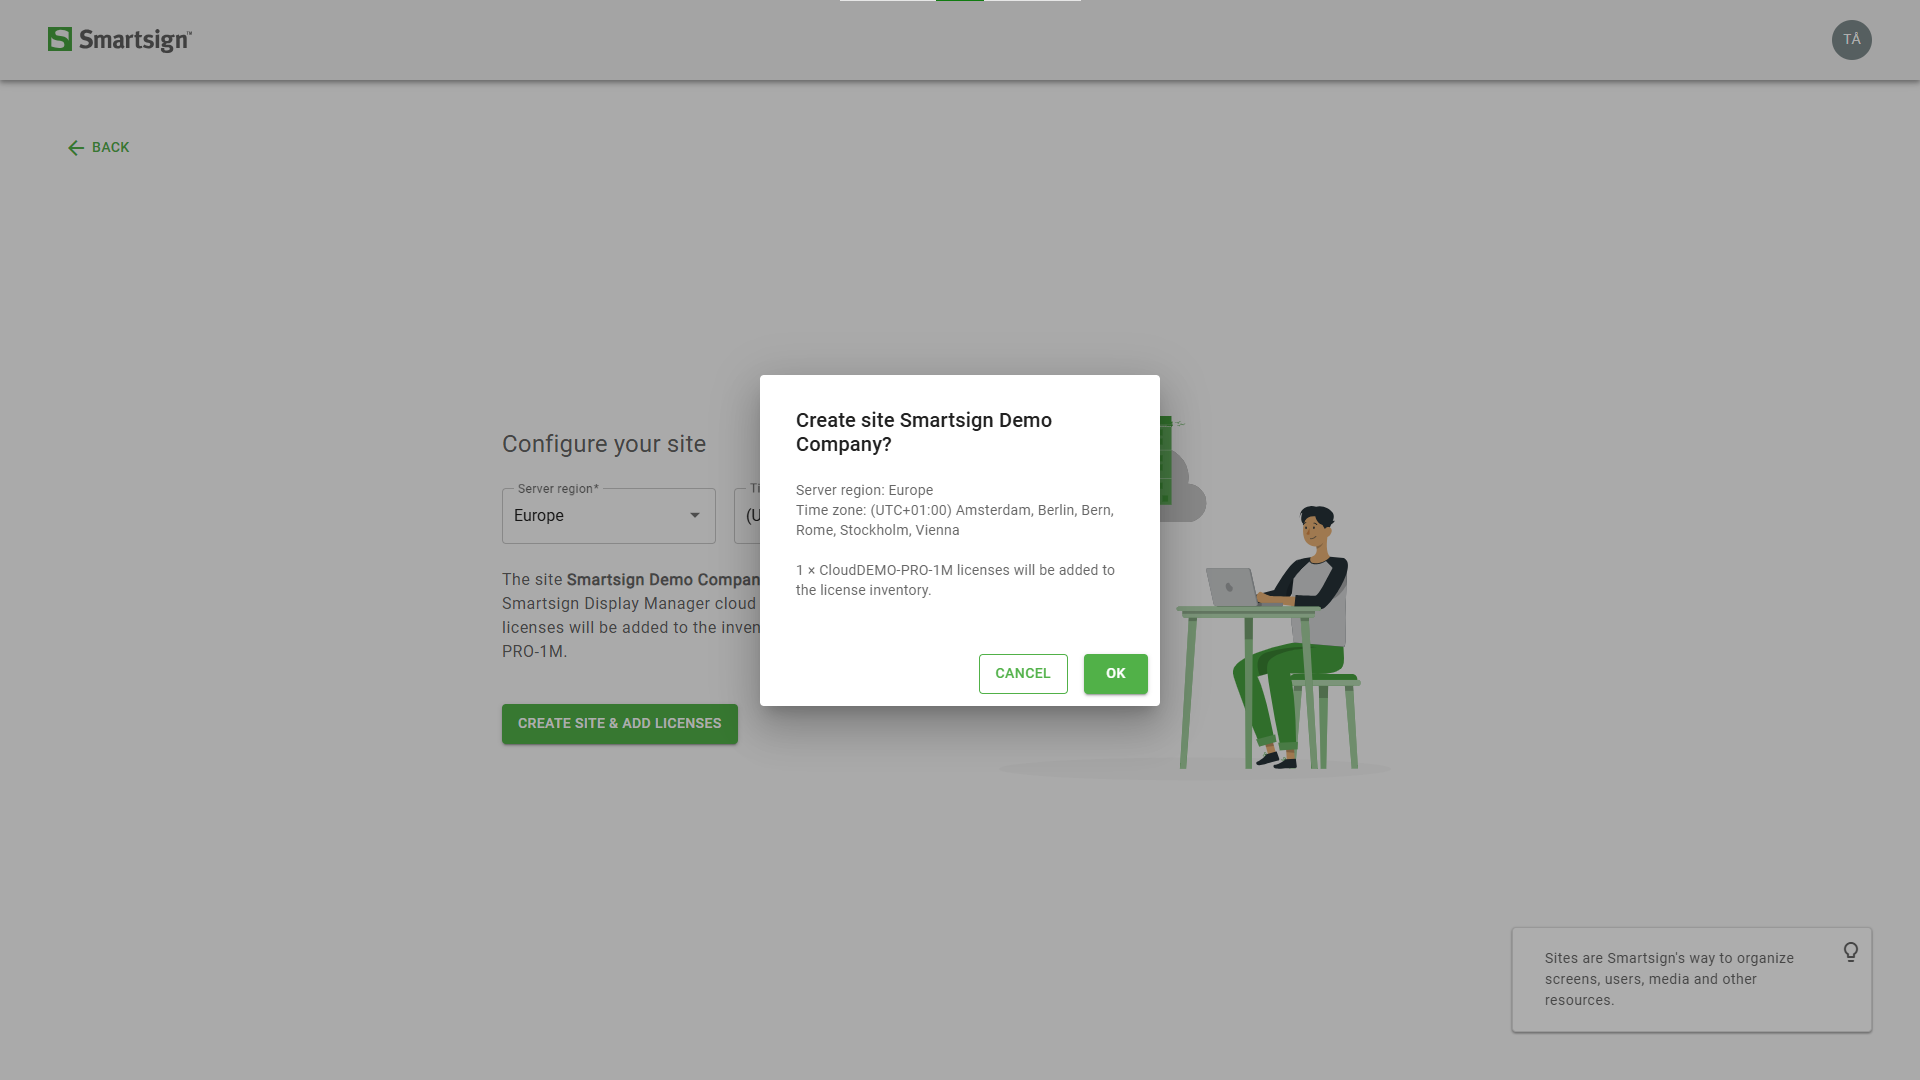
When you have made sure your information is correct, you can create the site and the licenses will be added to the inventory.
Licenses will remain in inventory and activate when you register screens to the site.
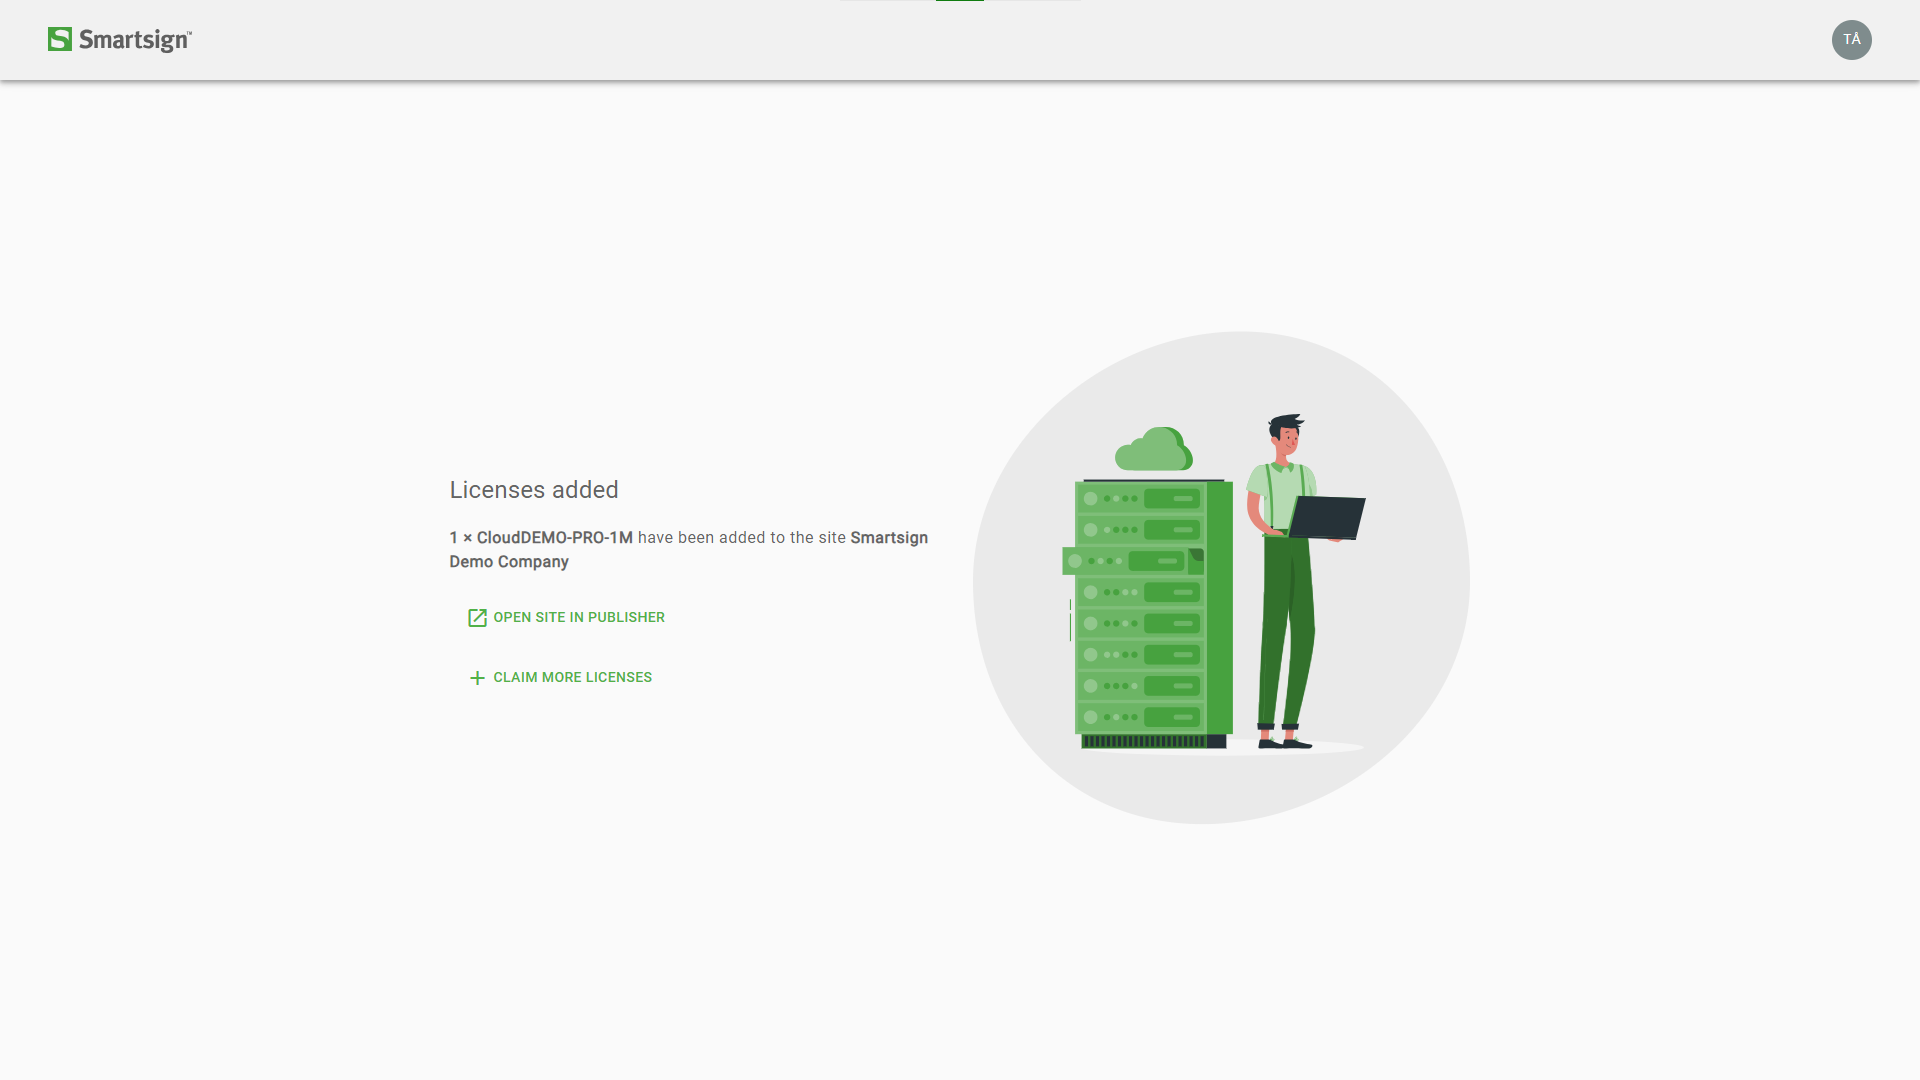
Site is now ready and you can now click open site in publisher to access Smartsign.
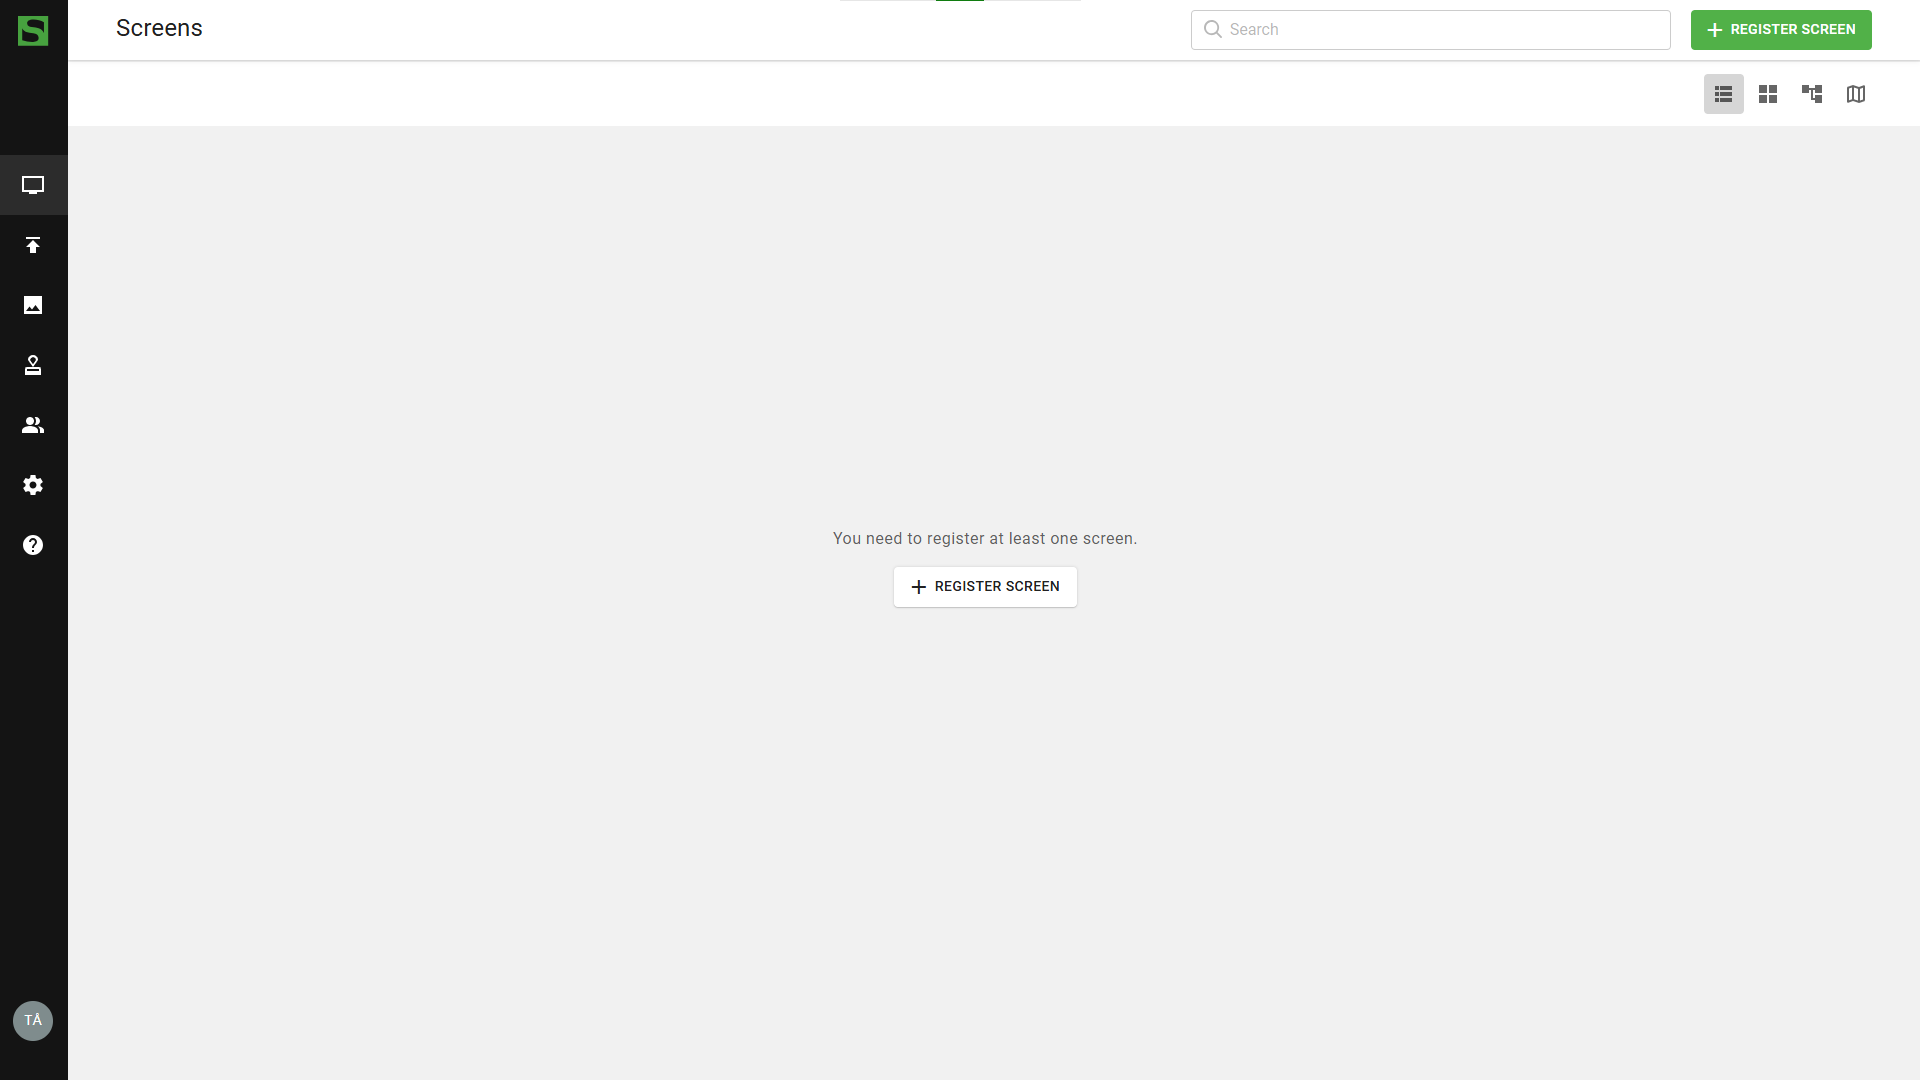
What's next?
 If your screens are not yet up and running, you need to Install & configure them before registration |  If your displays are in place and are showing a registration code, go on and Set up your site & Register screens |