SharePoint Pages
The SharePoint Pages datasource allows you to display content from pages on a SharePoint Online site directly on your screens. This makes it easy to share internal news, announcements,or other published SharePoint content across teams and locations.
How it works
When connected, Smartsign retrieves published pages from the selected SharePoint Online site using Microsoft Graph API. The fetched page content is then formatted and displayed on your screens using a SharePoint-based template.
Smartsign can retrieve and display:
- Page title
- Page body text
- Header image
- Body image
- Published date
- Author information
The datasource refreshes content at regular intervals, ensuring that updates made to the SharePoint page are automatically reflected on your screens.
Requirements
- A Microsoft 365 work account with access to the relevant SharePoint Online sites.
- Screens must be able to reach https://sharepoint.smartsigncloud.net
- A SharePoint site containing the pages
To connect to SharePoint Online, you must authenticate using your
Microsoft 365 account.
Some of the permissions required to list available sites and read
page data may require administrative approval. If you do not have
sufficient permissions, you can request approval during the connection
process and return once access has been granted.
If you have administrative rights, you can grant the required permissions immediately, either for your own account or on behalf of the entire organization. Granting consent on behalf of the organization allows all users in the tenant to use the SharePoint Pages datasource without needing to authorize it individually.
For security reasons this data source will not work on legacy hardware due to insufficient support for modern encryption standards.
Please see Legacy Hardware Support for affected devices.
Setting up the datasource
To use SharePoint Pages in a template, you must first set up and authenticate the datasource.
Note that you need one datasource per SharePoint site.
If you want to show multiple SharePoint sites, you need to set upp
multiple datasources.
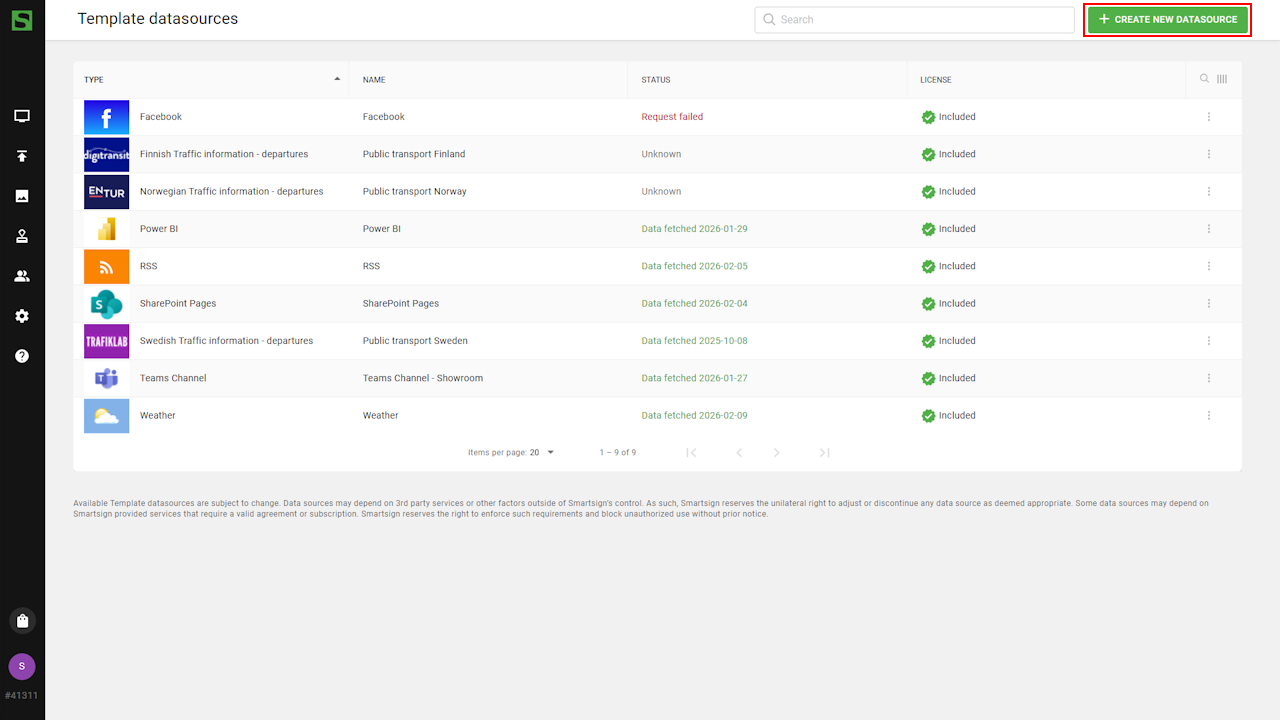
- Go to Templates and Datasources.
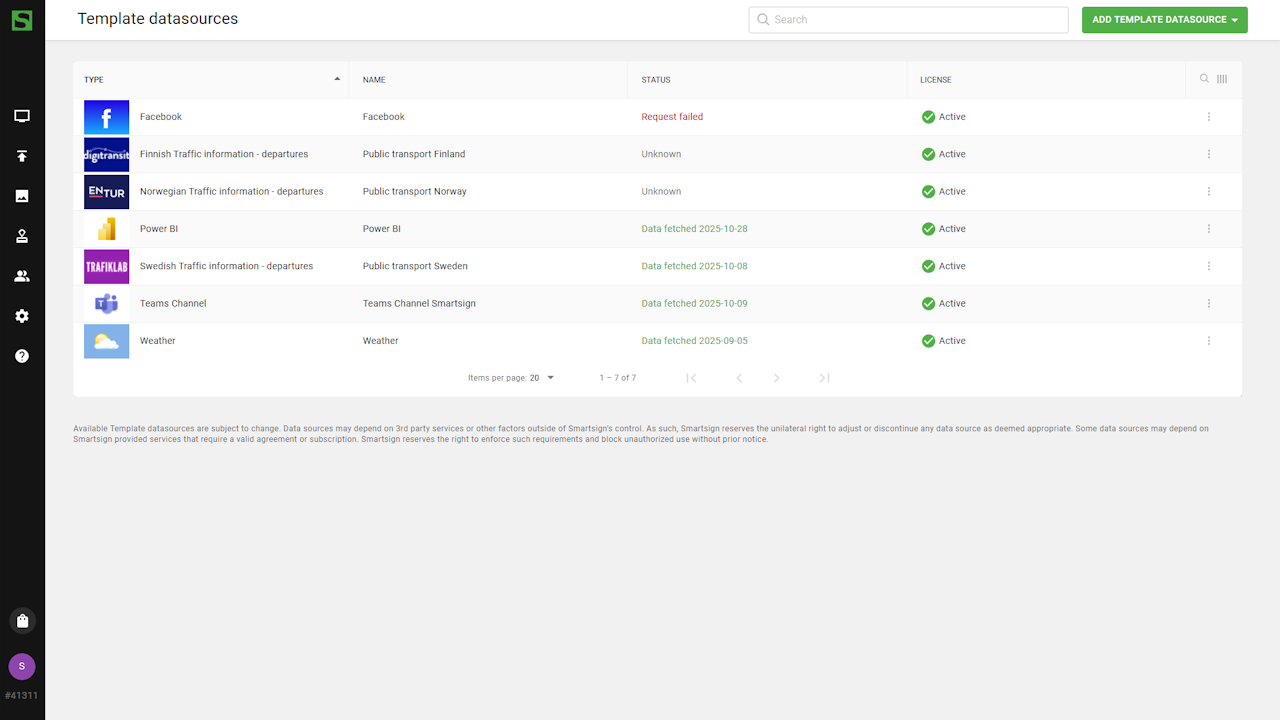
- Select Add template datasource and Create new
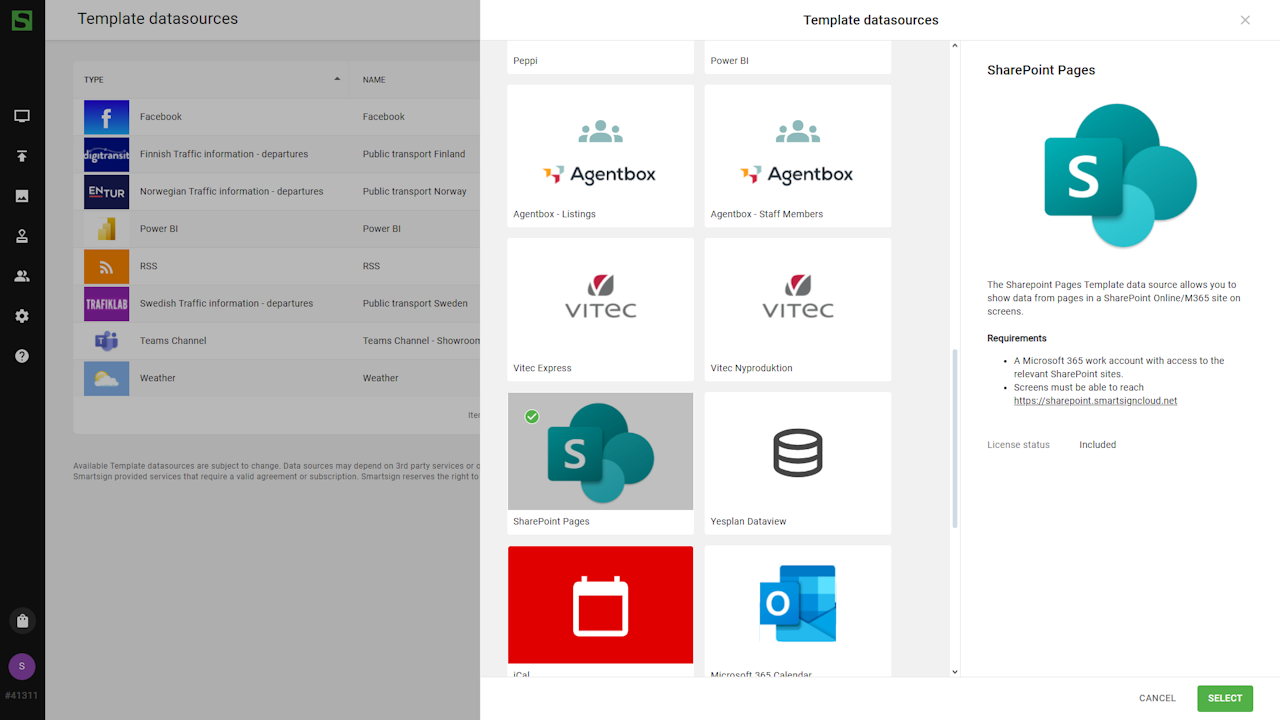
- Browse available datasources and choose SharePoint Pages.
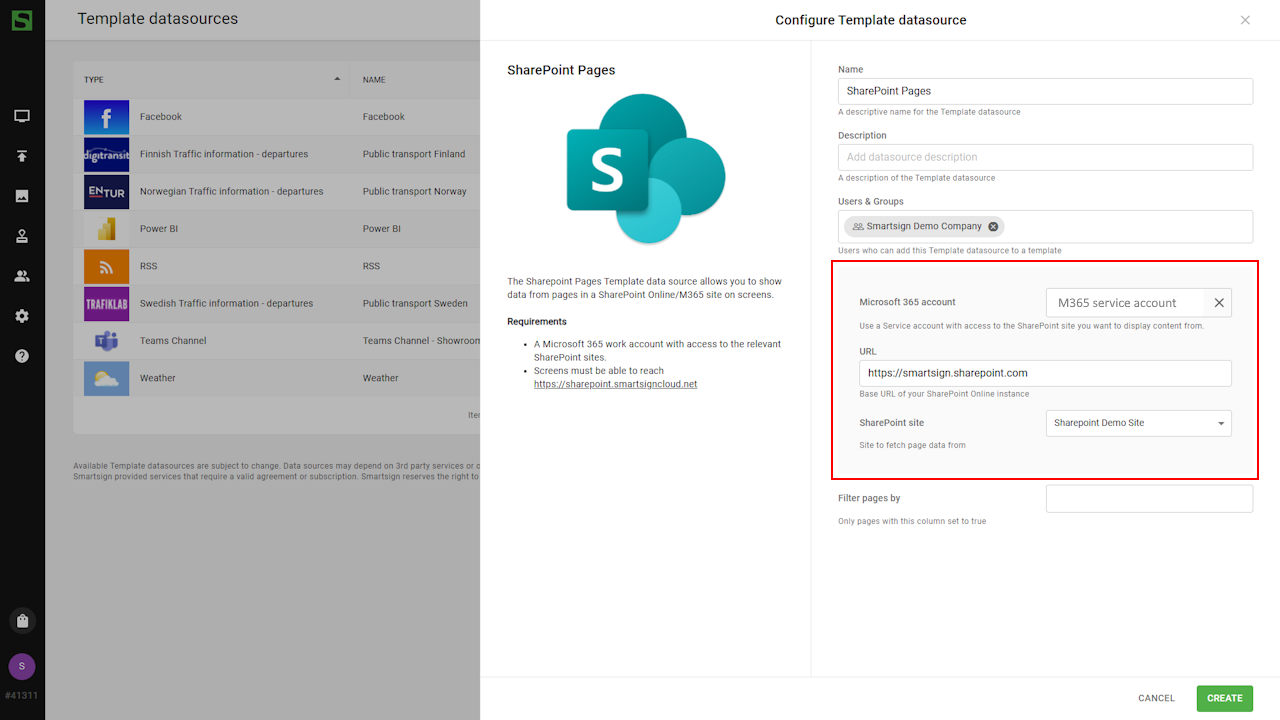
- Configure the datasource by entering name and description.

- Authenticate the datasource, then apply the settings listed in the
configuration options table below.
- Click Create to save the datasource. It is now ready to be used.

Datasource configuration options
|
Setting |
Description |
Example |
|---|---|---|
| Connect a Microsoft365 account |
Click to connect with a Microsoft365 account and authorize access to your data A consent dialog will appear. Some permission may require an administrator of your company to consent to before you are able to use this data source. |
A service account with access to Power BI report/dashboard you want to display content from. |
| SharePoint URL | The base URL of your SharePoint Online instance | https://MyCompany.sharepoint.com/ |
| SharePoint site | This drop-down will list all sites that your account has permission to access, select the site that you want to use | Intranet News |
| Filter pages by |
It's possible to filter the pages included by a Boolean page column (yes/no) in SharePoint. To do so enter the column name(s) here. If used, only pages that have this column set (yes) will be included. (Columns names will usually show with a display name including spaces in SharePoint, but the actual column does not have any. Therefore any spaces will be removed automatically.) Tip! Adding or changing a column value in SharePoint does not apply until you re-publish the page. |
ShowInSmartsign |
SharePoint template
Once the datasource is configured, you can create a SharePoint template to display the feed on your screens.
In this example, we will create a template based on one of the default text templates.
Create SharePoint template
-
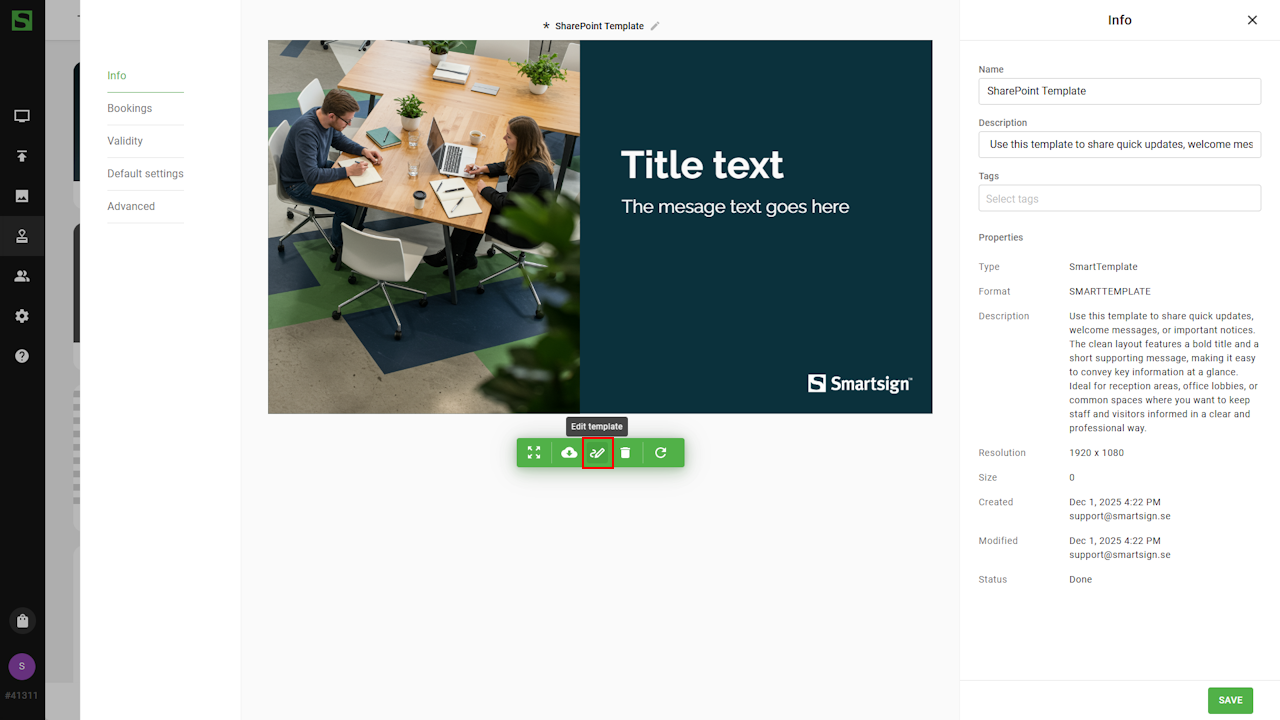
Go to Templates
-
Select an existing template and choose duplicate.

-
Rename the copy and save, then click Edit template.
-
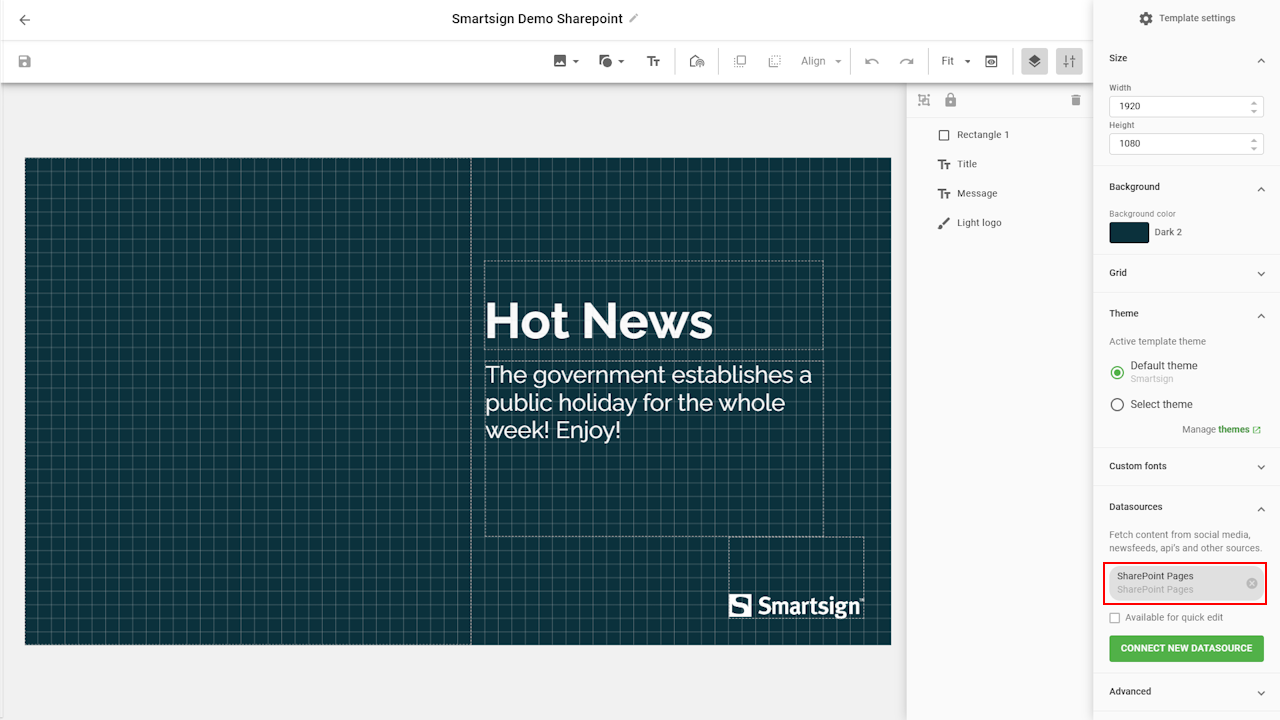
Go to Datasources panel to connect the Sharepoint datasource.
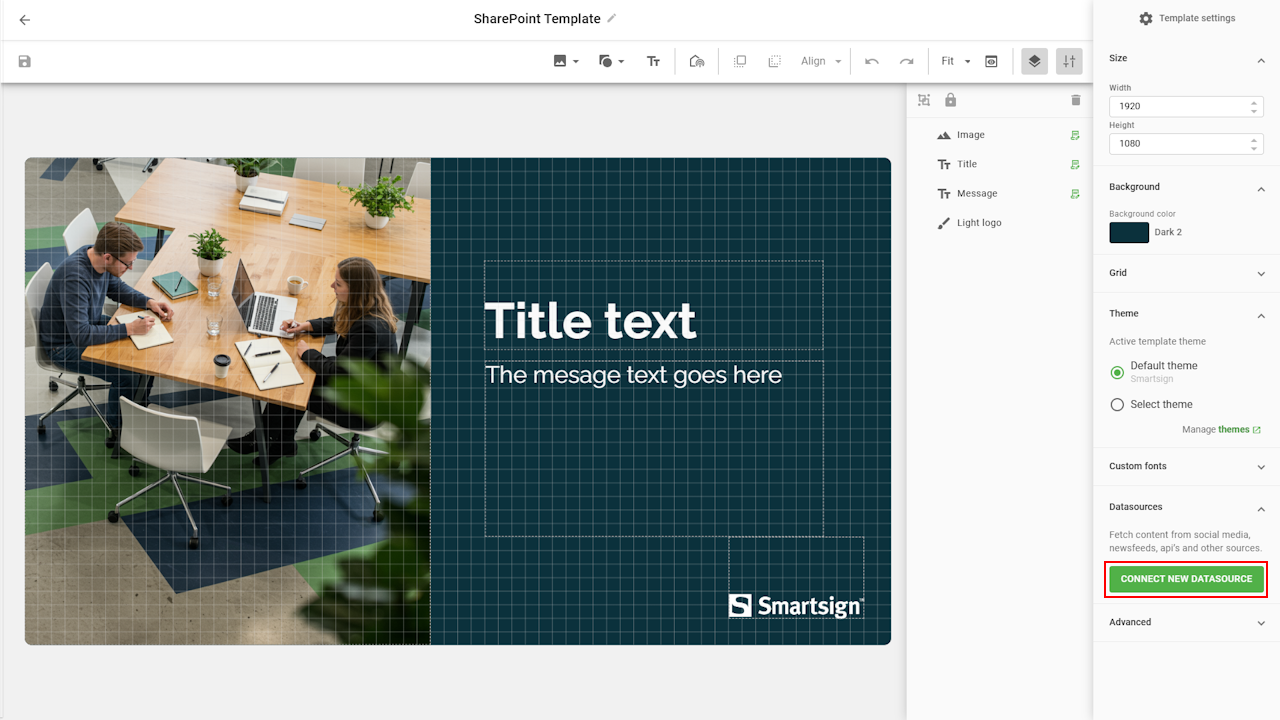
-
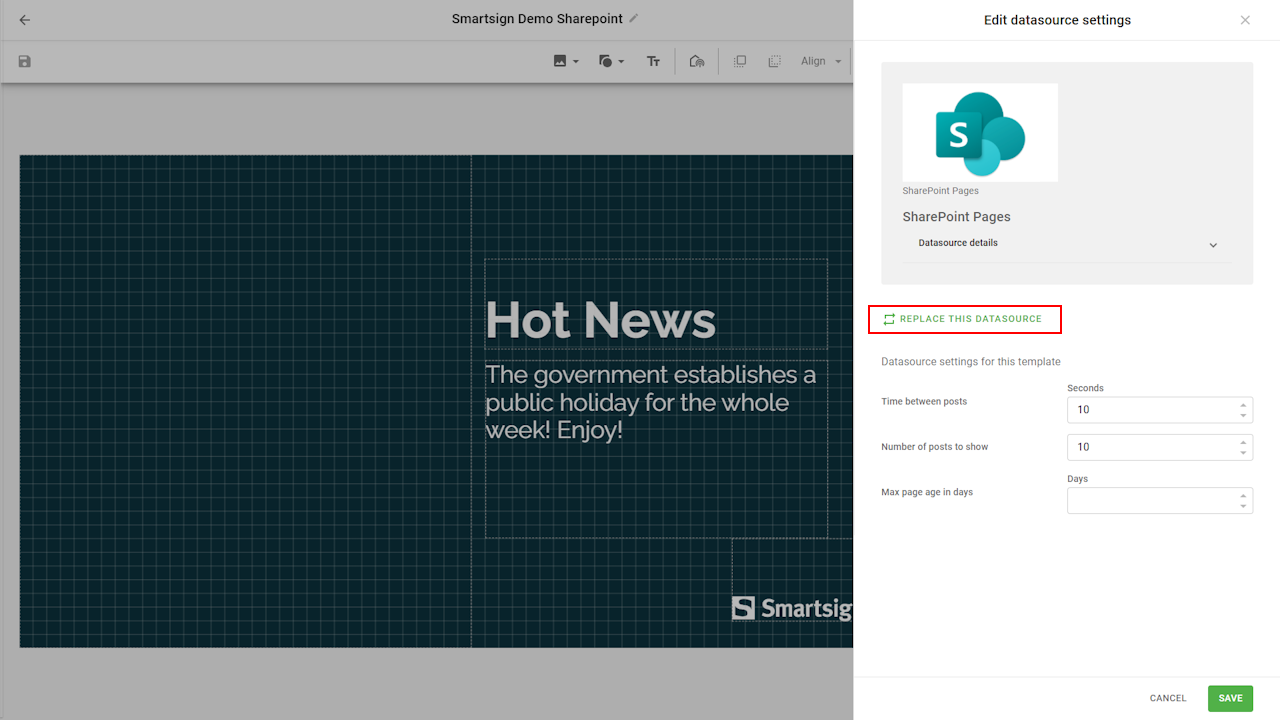
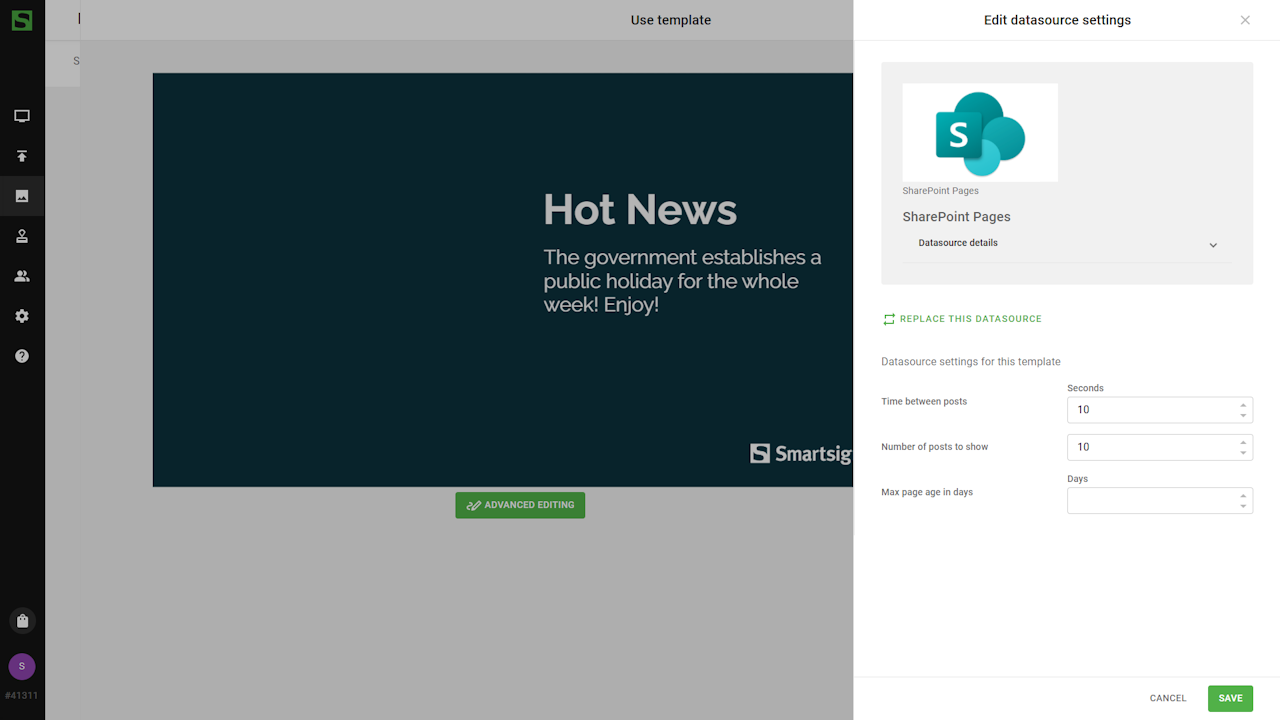
Configure the datasource settings as needed.
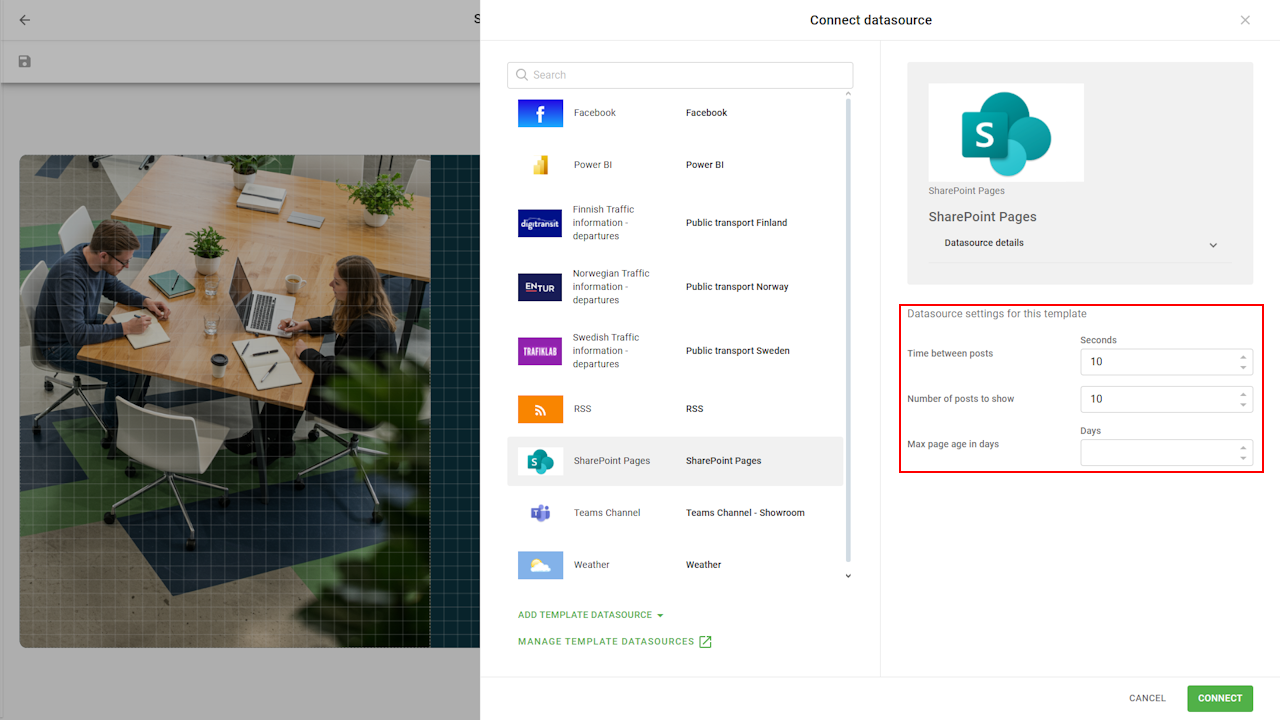
Setting
Description
Example
Time for each post Time in seconds to show each post 10 Number of posts The maximum number of posts to show (max setting is 20) 10 Max page age in days The maximum age of pages to show (By creation date, if all posts are older, the latest one will be kept to avoid an empty screen) 30 -
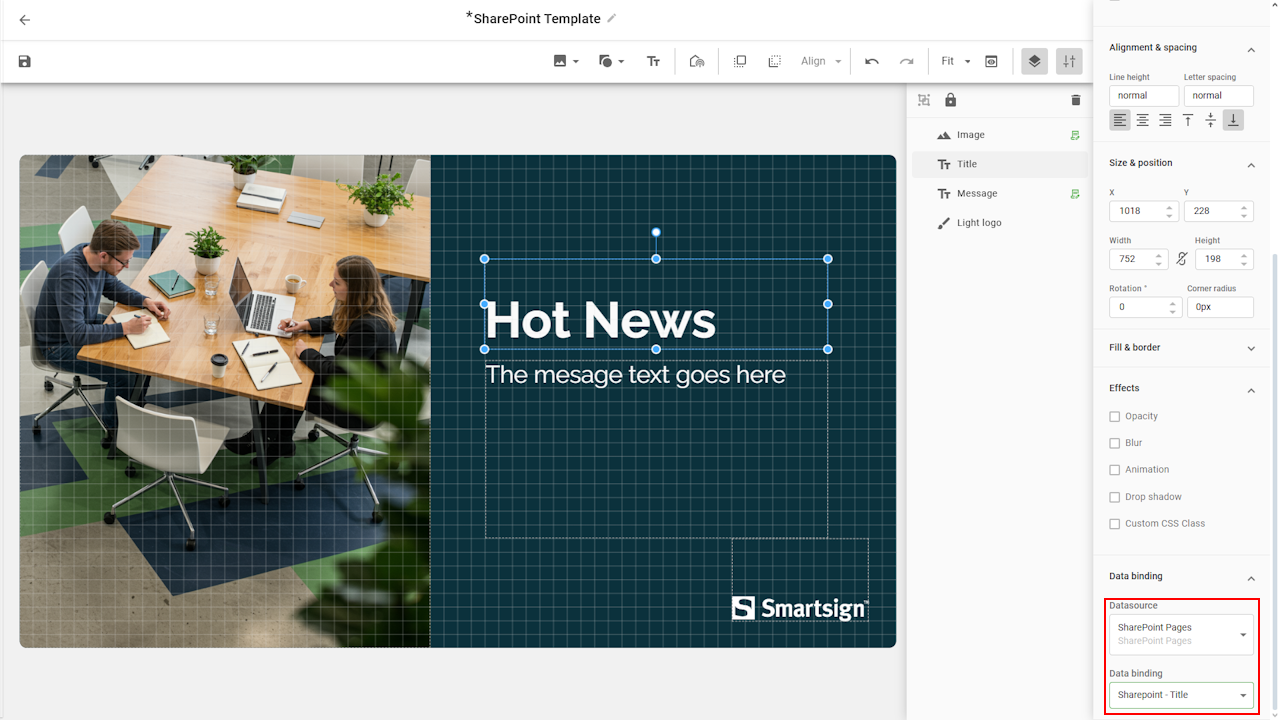
Select each individual text boxes and bind them to SharePoint data:
- Title - Page title
- Text - Page content
- Created by - Page author
- Created date - Published date
-
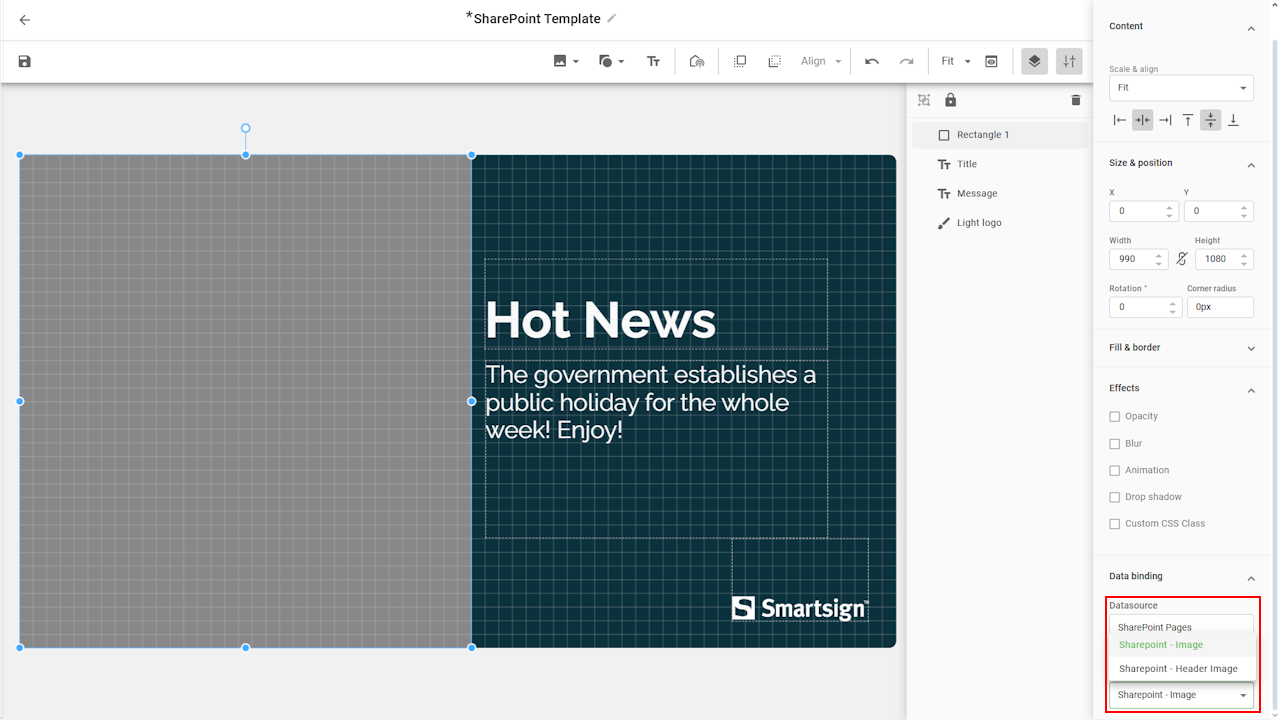
To databind an image, remove the existing placeholder and add a image frame where you want the image displayed
-
Click the frame and choose:
- Header image - Always show the page header image
- Image - Use the first body image to override the header image
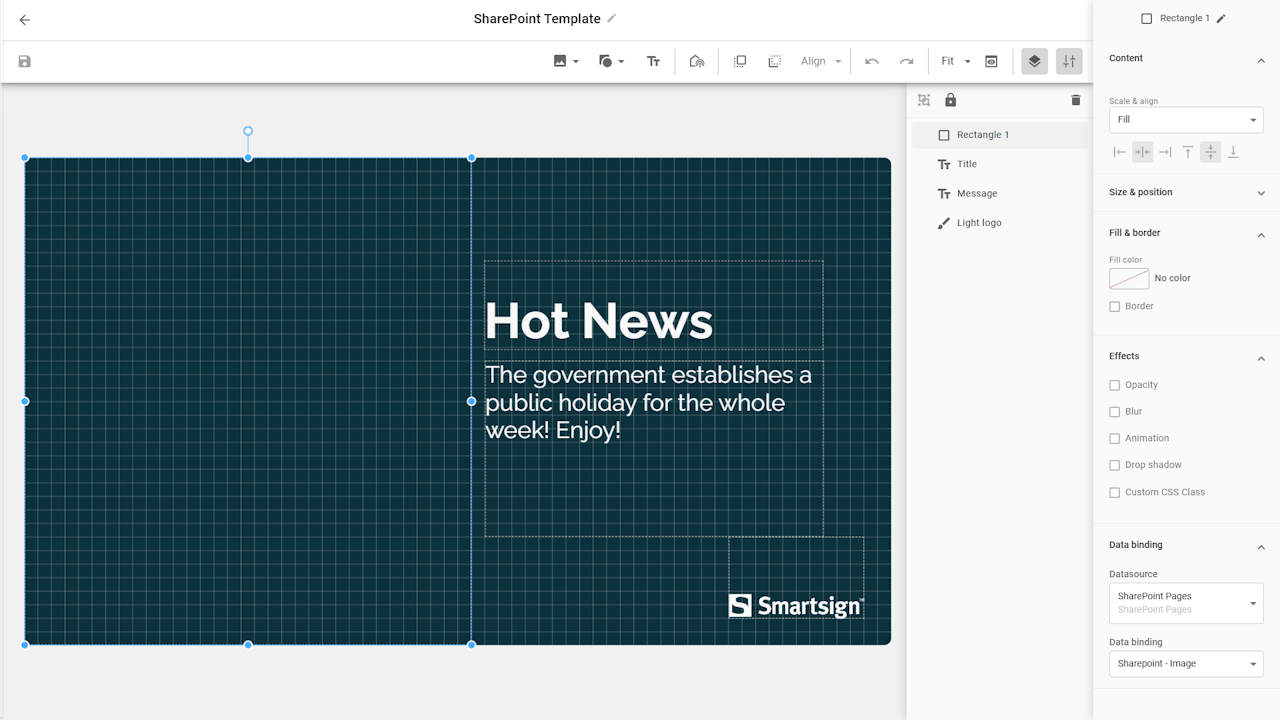
-
Adjust the image scale, alignment and background color as needed.
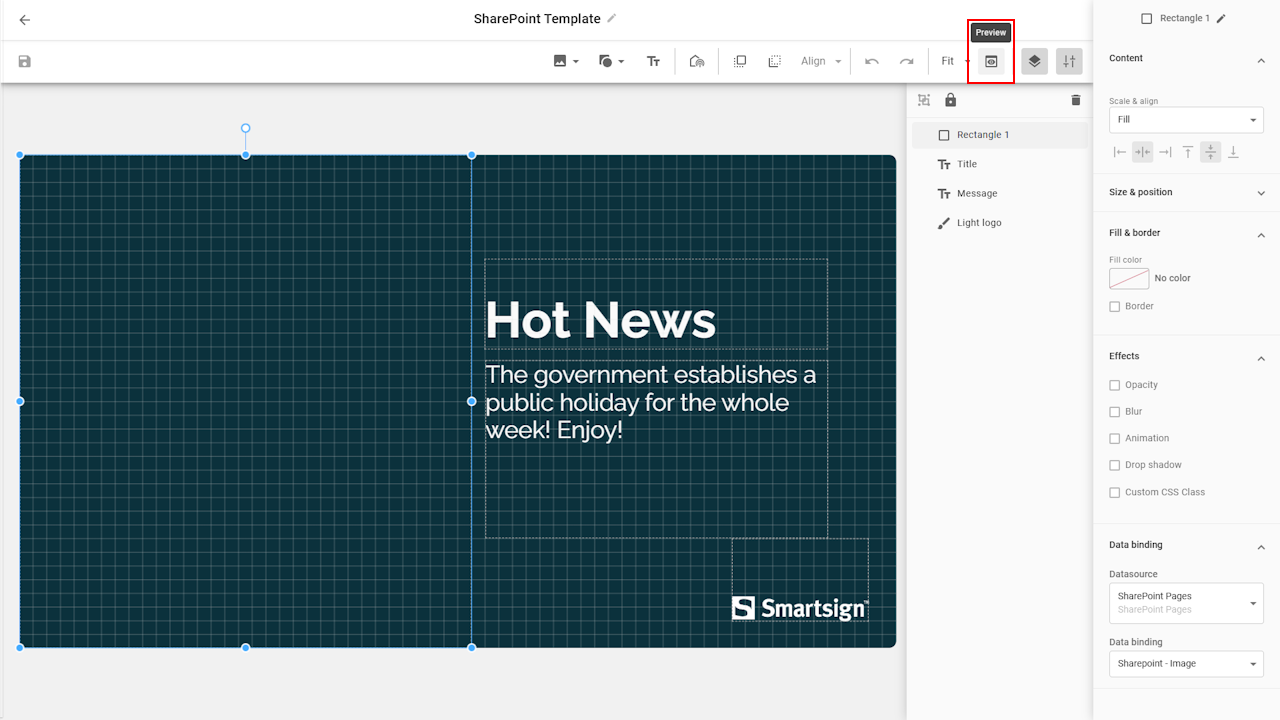
-
Use preview to verify the data connection.

-
If you want to change datasource, click on the datasource box.
-
Select replace this datasource to choose another and adjust settings as needed.
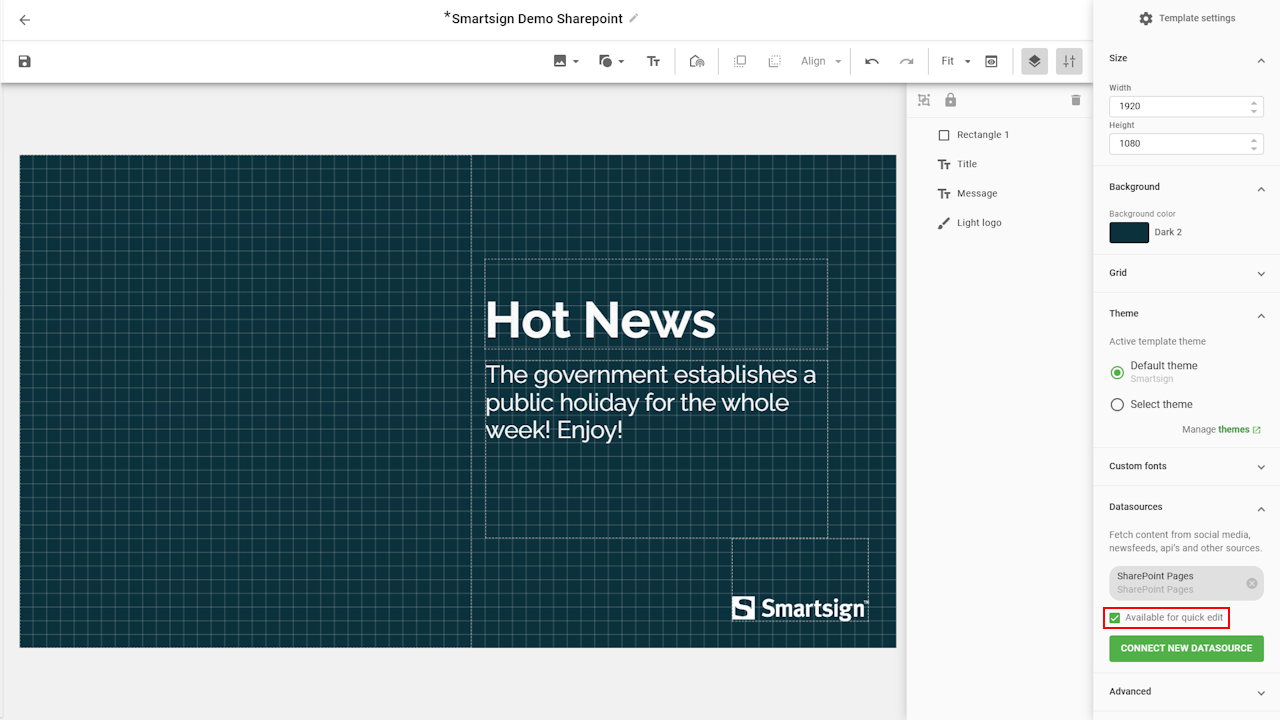
-
If you plan to use multiple SharePoint pages, enable quick edit to adjust datasource settings without opening Advanced Editing in the media library.
-
Save the template when done. It is now ready to be published.
Using the template
Since the original template is now available in the Templates menu, the recommended best practice is to create a dedicated folder in the Media Library where you store copies of this template and configure each copy to display the specific dashboard or report you want to show. This ensures that the original template remains unchanged and allows you to manage all configured versions neatly within one folder.
Create media in media library
- Go to Media
- Create or select a suitable folder.
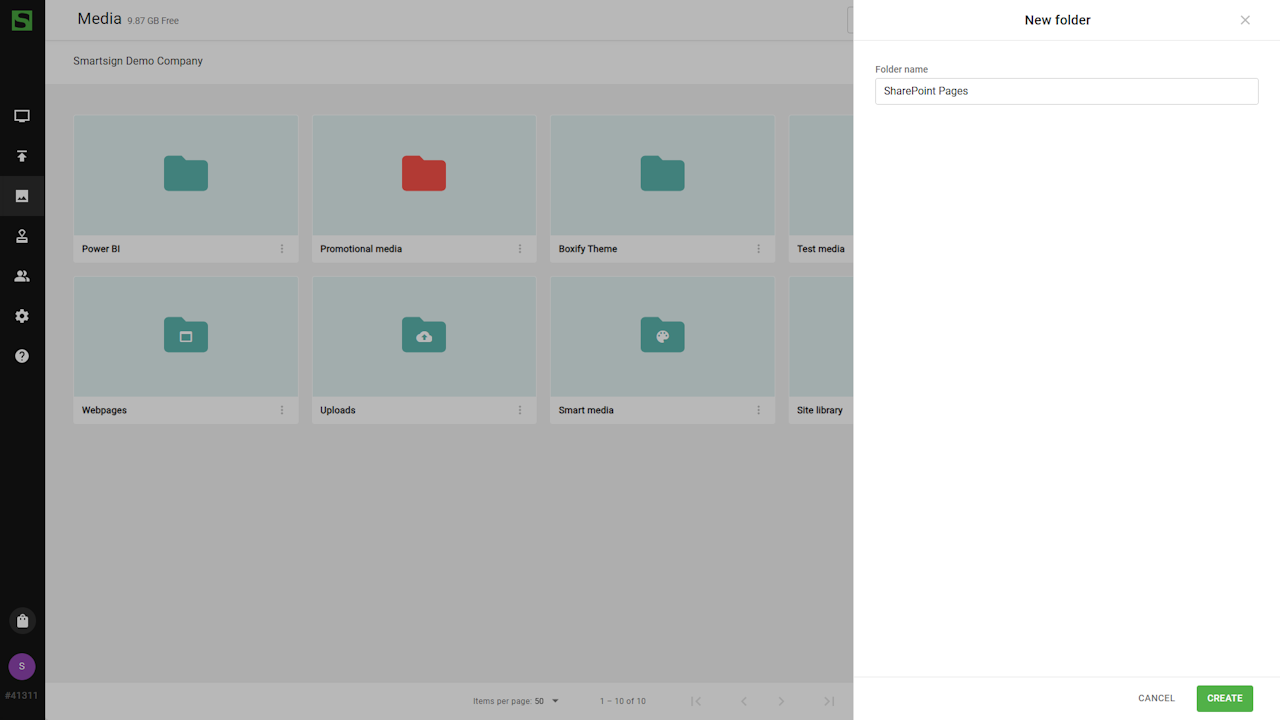
- Open the folder and click Add Media
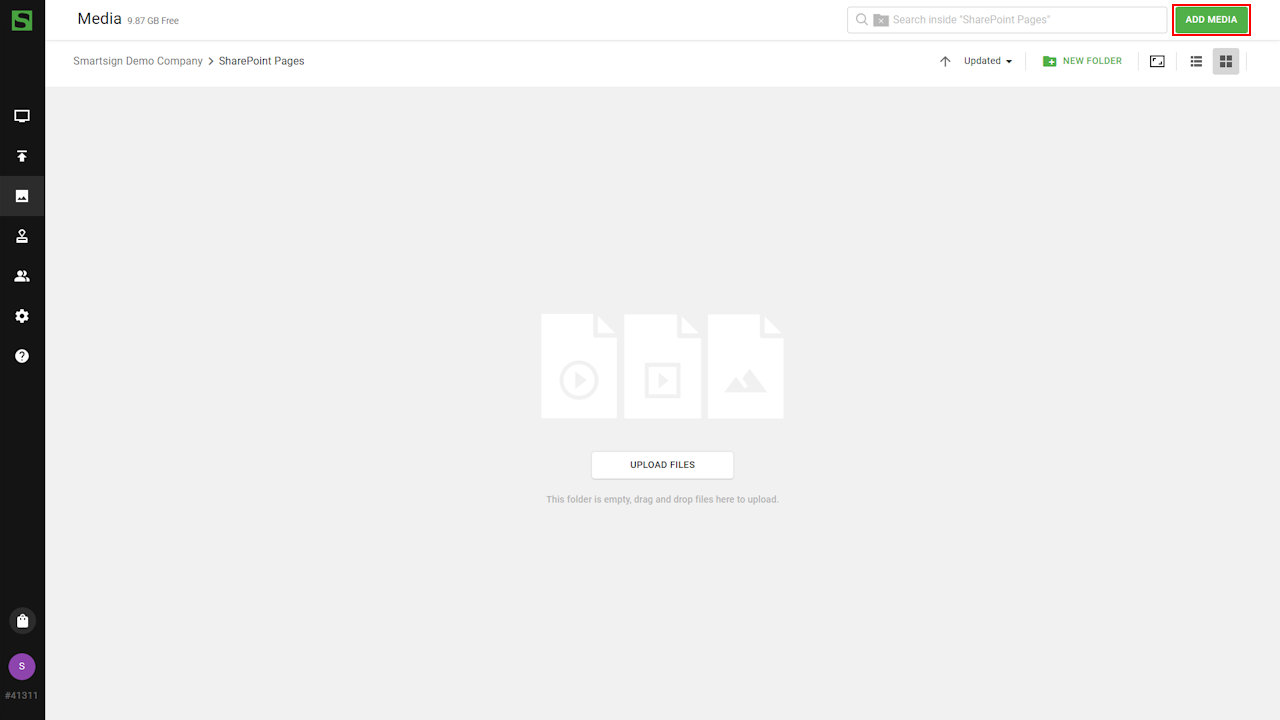
- Select Use Template
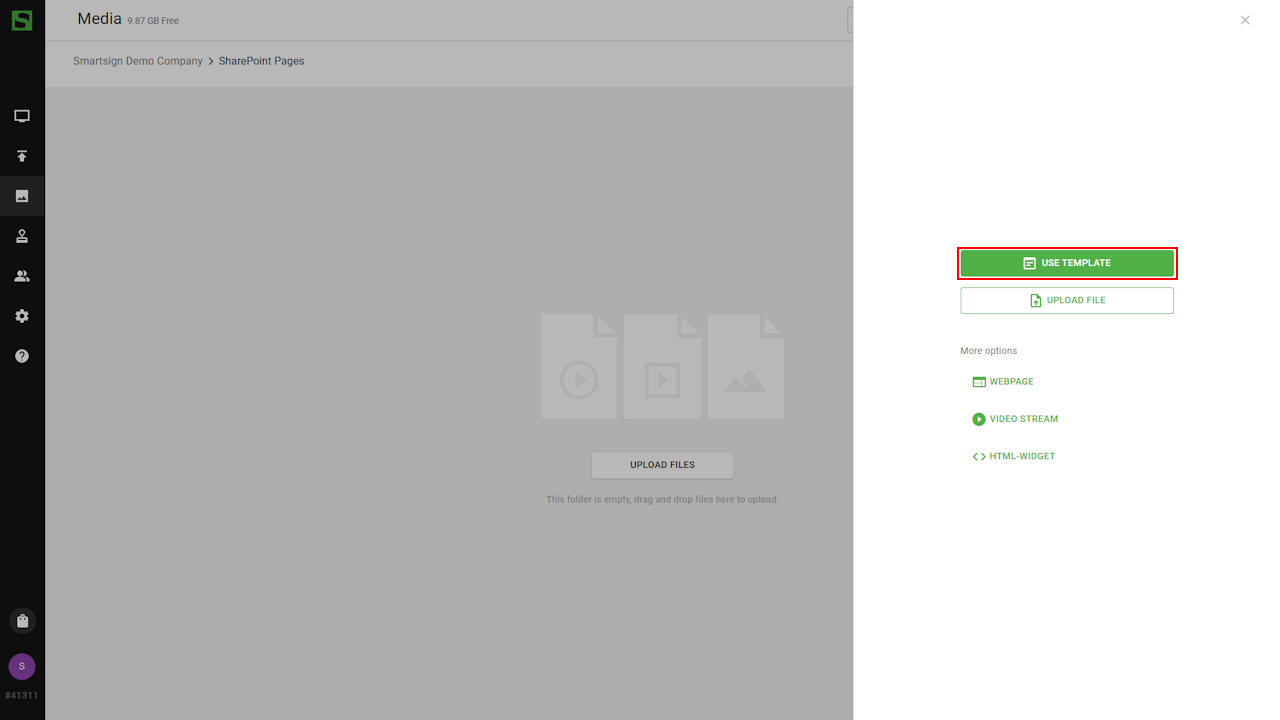
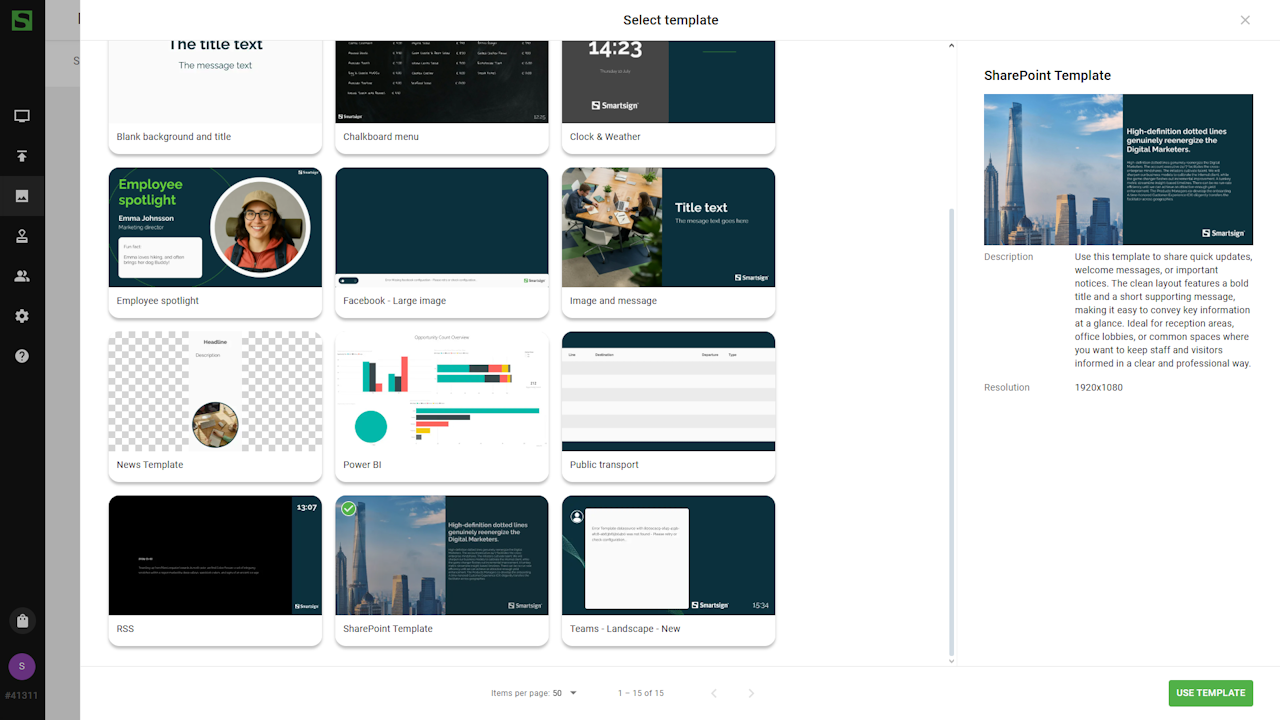
- Choose the SharePoint template. A copy will now be created in
the folder.
- Rename the new media.
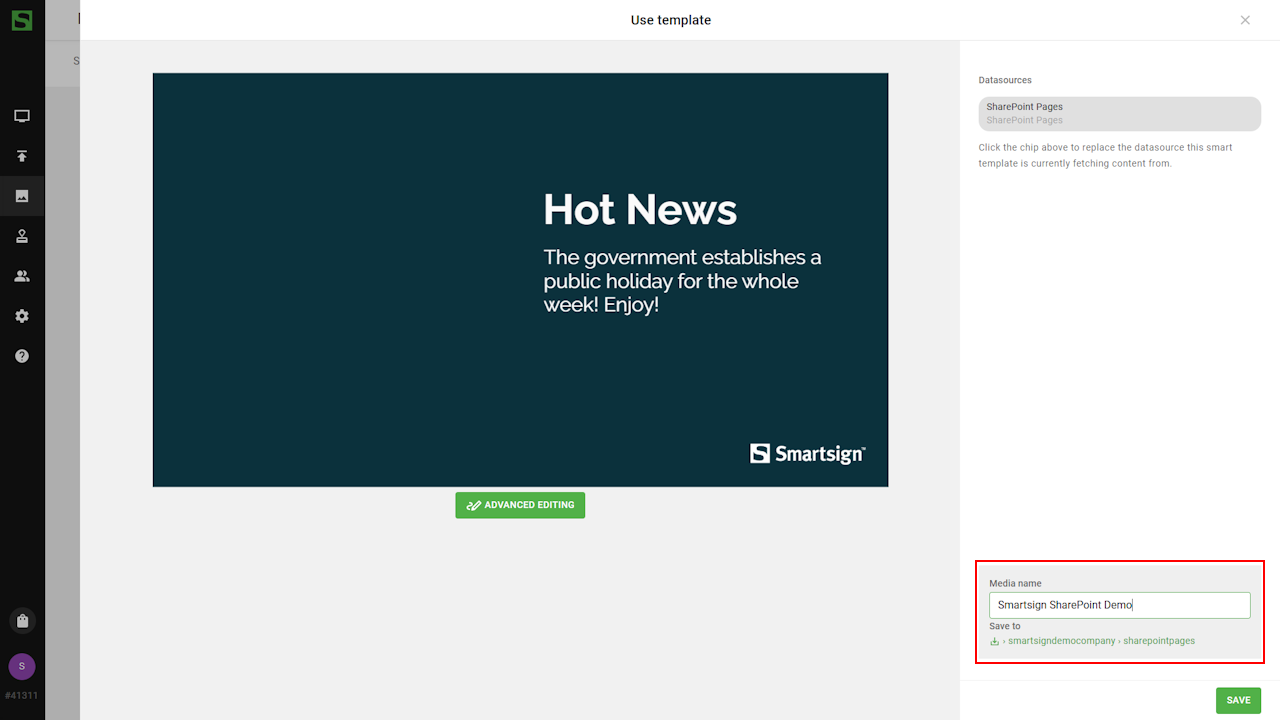
- Click the Datasource box to edit settings and change datasource.
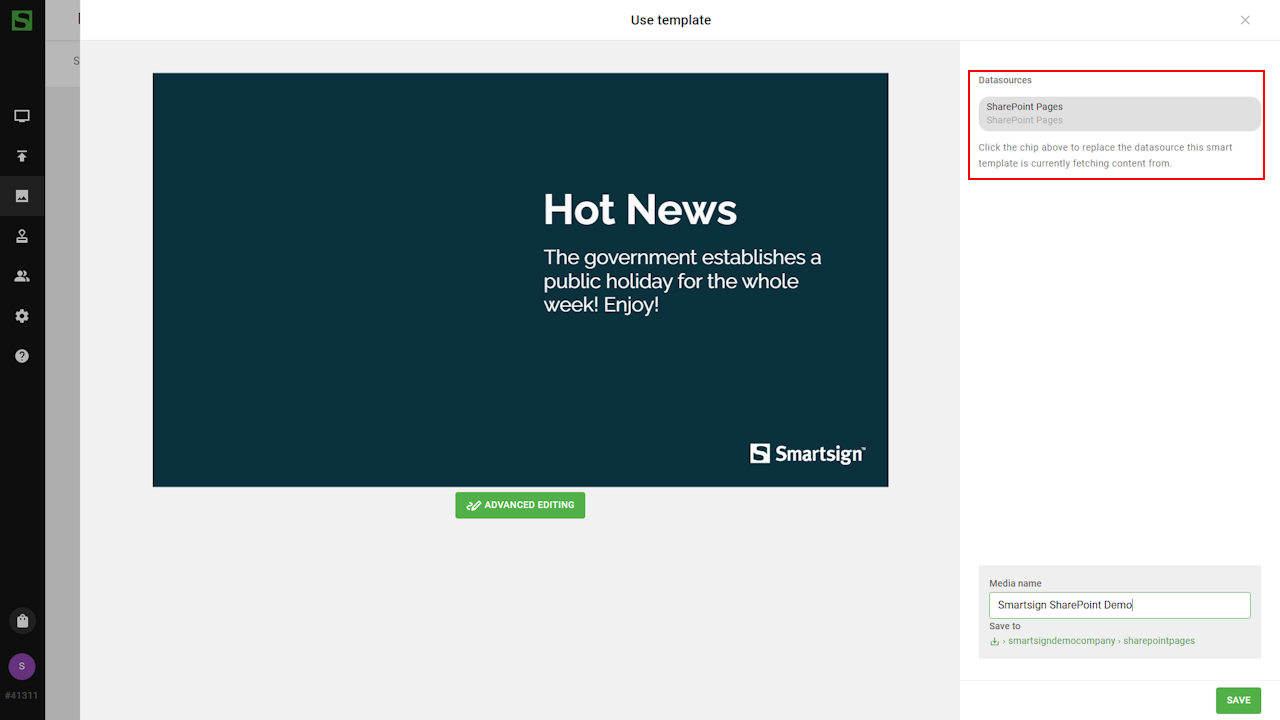
- You can now publish your SharePoint pages to your screens.
Technical information
Permissions required
Smartsign SharePoint integration, Application (client) ID : 5ea454ae-f95a-43ff-ba11-8416454c0f28
Smartsign SharePoint service, Application (client) ID : 86011f19-3cec-4106-8908-d0ee72b5494d
| API | Permission | Type | Microsoft description | Used for |
|---|---|---|---|---|
| Microsoft Graph | User.Read | Delegated | Sign in and read user profile | Allows users to sign-in to the app, and allows the app to read the profile of signed-in users. It also allows the app to read basic company information of signed-in users |
| Microsoft Graph | Sites.Read.All | Delegated | Read items in all site collections | Allows the application to read documents and list items in all site collections on behalf of the signed-in user |
| Office 365 SharePoint Online | AllSites.Read | Delegated | Read items in all site collections | Allows the app to read documents and list items in all site collections on behalf of the signed-in user |
| Office 365 SharePoint Online | access_as_user | Delegated | Read SharePoint data | Allows the app to access SharePoint sites and content on behalf of the signed-in user, respecting the user’s permissions. |