Power BI
The Power BI integration allows you to display dashboards and reports from a Microsoft Power BI workspace directly on your screens. This makes it easy to share business insights, KPIs, and real-time data across departments, locations, or teams.
This feature is especially useful for:
- Visualizing key performance indicators (KPIs)
- Sharing department or company-wide metrics
- Displaying dashboards in office environments
- Presenting real-time data without requiring user interaction
How it works
When connected, Smartsign authenticates and embeds visual content from a selected Power BI workspace and dataset. The selected report or dashboard is then rendered on screen directly from Power BI.
Smartsign can retrieve and display:
- Dashboards
- Reports
- Pages within a report
- Live data depending on your Power BI workspace configuration
Requirements
To connect to Power BI, you must authenticate using a Microsoft 365 work account with access to the appropriate workspace.
You will need:
- Adequate licensing (Power BI Pro or Premium Per User)
- Access permissions to the specific Power BI workspace
- Screens must be able to reach https://powerbi.smartsigncloud.net
Some permissions may require administrative approval. If you do not have sufficient rights, you can request approval during the connection process and continue once approval is granted.
- For security reasons this data source will not work on legacy hardware due to insufficient support for modern encryption standards.
- Requires a modern browser, see Player/screen limitations below
Please see Legacy Hardware Support for affected devices.
Video guide
Setting up the datasource
To show Power BI in a template you need to set up and authenticate the datasource to access the data.
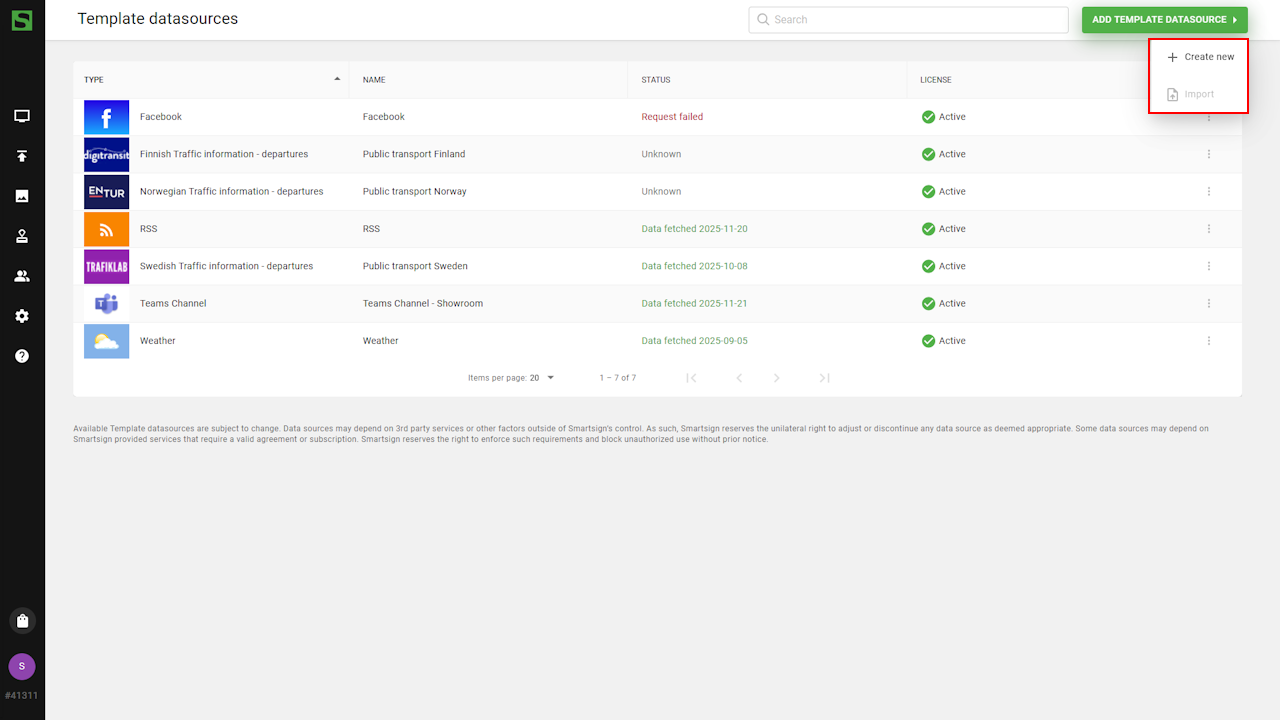
- Go to Templates and Datasources.
- Select Add template datasource and Create new
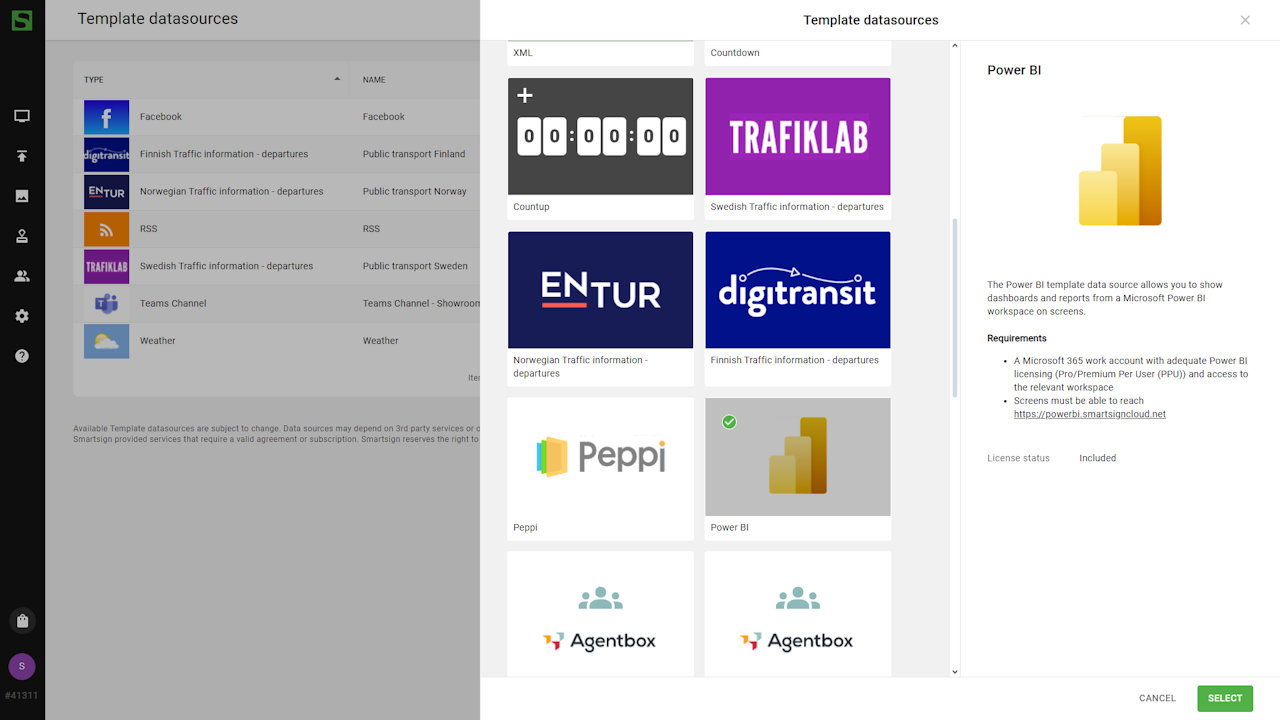
- Browse available datasources and choose Power BI.
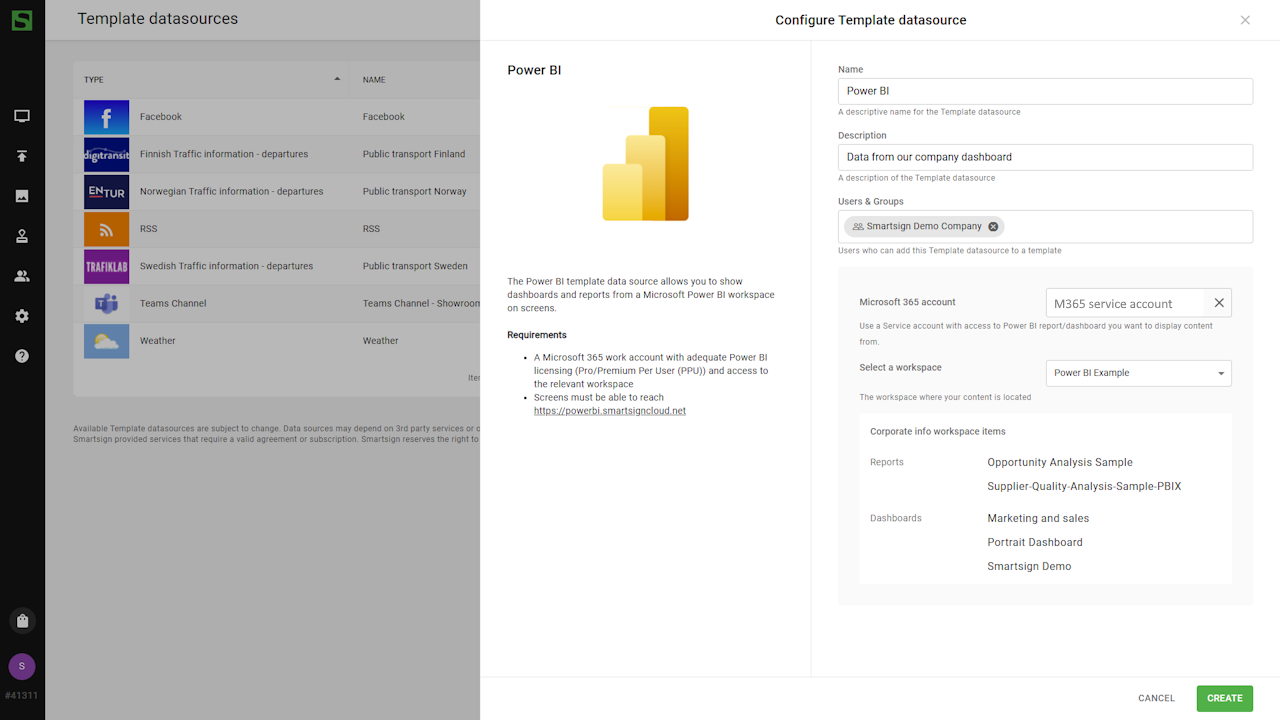
- Configure the datasource by entering name and description.
- Authenticate datasource and select your workspace.
|
Setting |
Description |
Example |
|---|---|---|
| Connect a Microsoft365 account |
Click to connect with a Microsoft365 account and authorize access to your data. A consent dialog will appear. Some permission may require an administrator of your company to consent to before you are able to use this data source. |
A service account with access to Power BI report/dashboard you want to display content from. |
| Workspace | Select the workspace containing your dashboards/reports | My workspace |
- Click Create to finish.
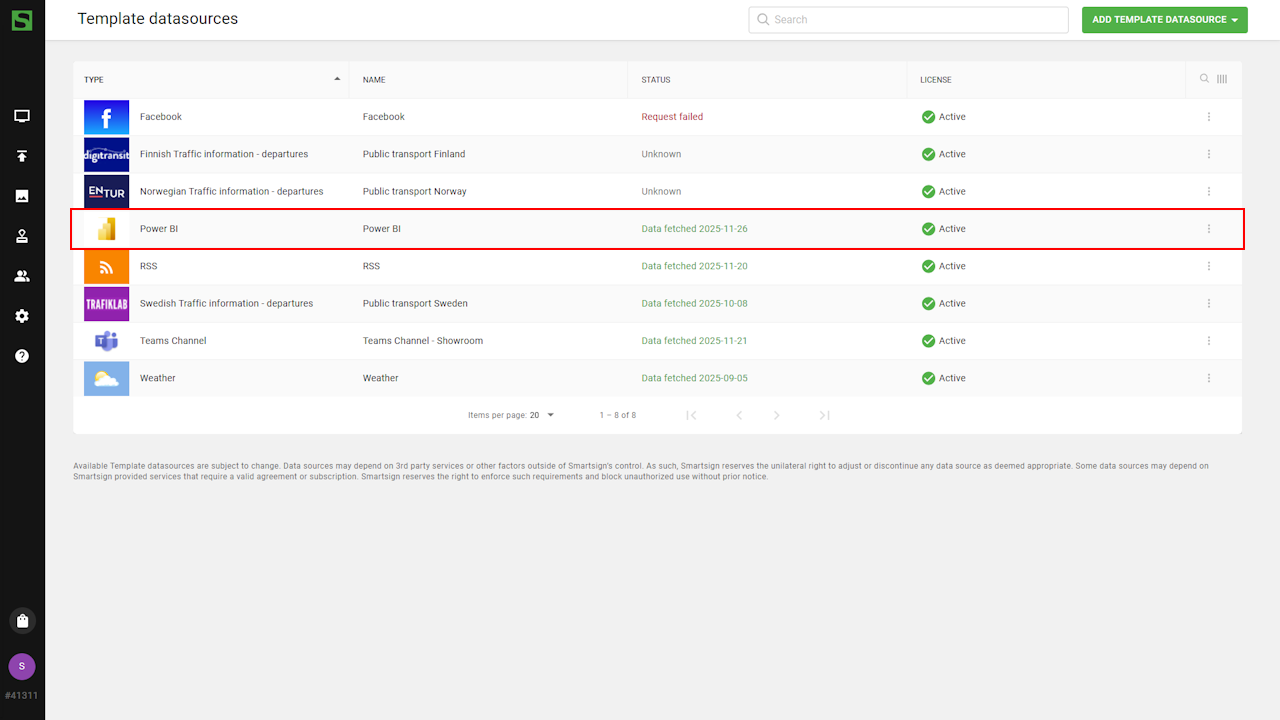
- Once created, you can confirm that data has been fetched and
Datasource is now ready to be used.
Power BI template
When the datasource is configured, you can use a Power BI template to display the feed on your screens.
Smartsign offers a few default Power BI templates available in the Marketplace and you can also design your own using the Template Creator.
In this example, we will create a template from scratch.
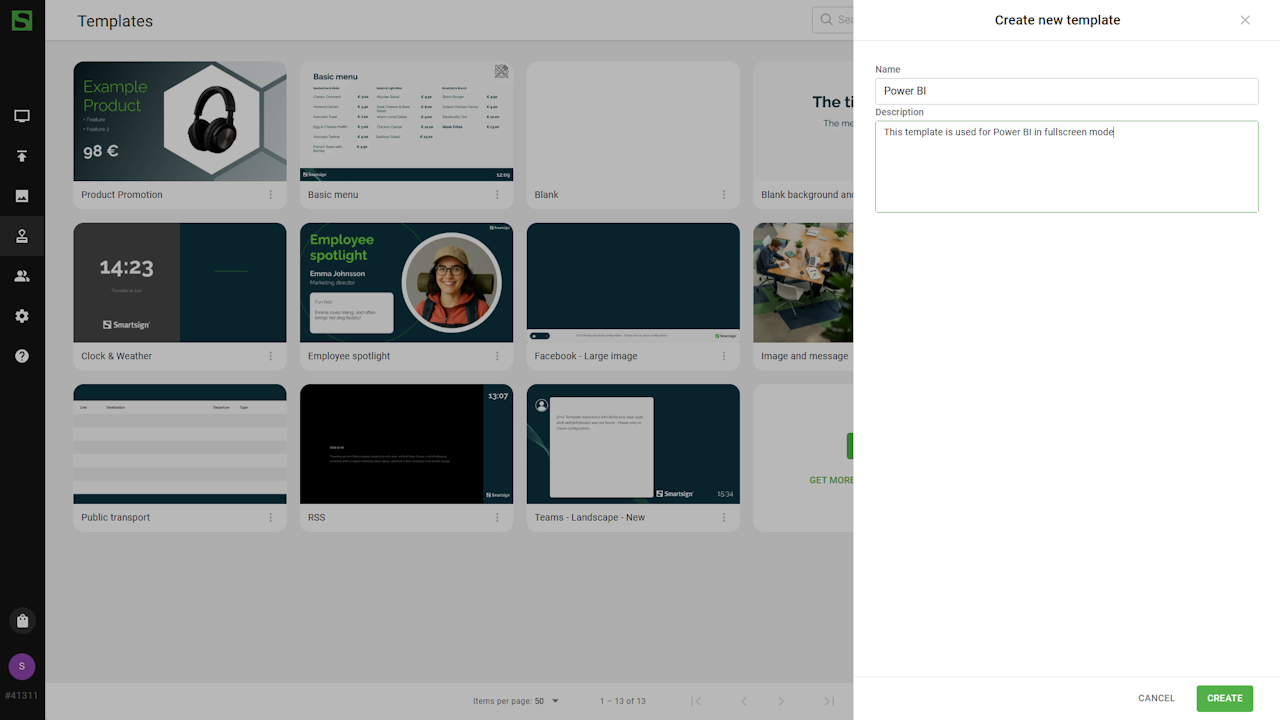
Create Power BI template
- Go to Templates
- Select Add template and Create new.

- Add name & description for the template and click create to
start editing.
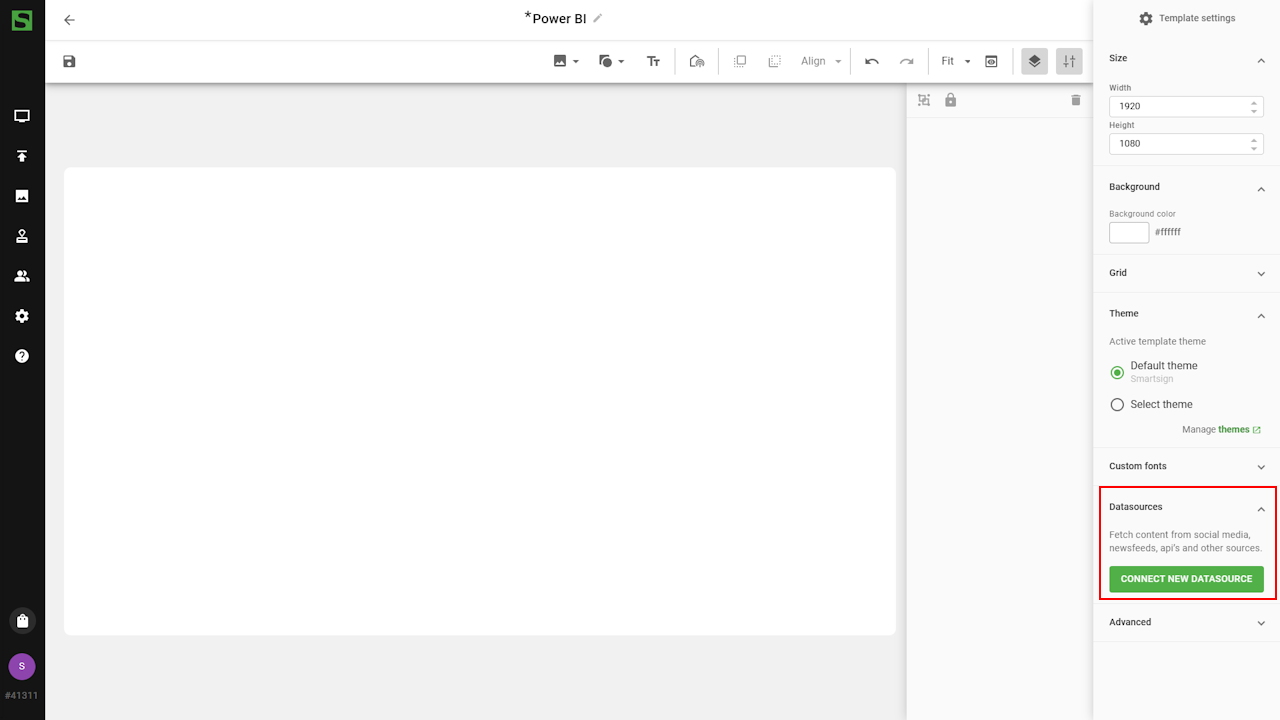
- Configure the template to match your screen. In this case we will use
a fullscreen template.

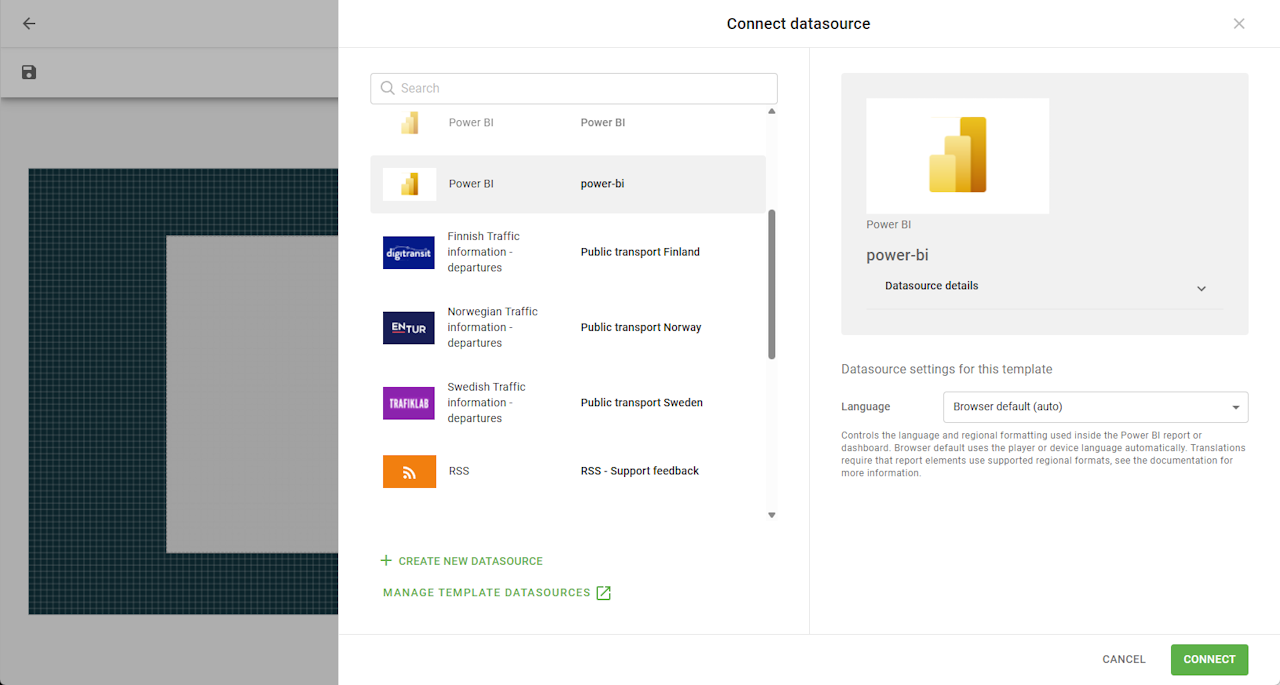
- In the Datasource tab, select connect new datasource and
select the Power BI datasource.
For Power BI content to be translated correctly, reports and dashboards must be designed using supported, translatable formats:
- Dates must use standard long or short date formats (custom date formats are not translated).
- Numbers, currencies, and other regional values must rely on Power BI’s locale-aware formatting.
- Hard-coded text or custom-formatted values will not adapt automatically to different languages.
- Power BI supports a limited set of languages, if your configuration is incompatible, it will default to US English.
Microsoft provides detailed guidance on creating multilingual and
locale-aware Power BI content:
https://learn.microsoft.com/en-us/power-bi/guidance/multiple-language-locale
Configure the datasource source settings as desired.
If possible, we recommend setting a language instead of relying on each
device's browser.
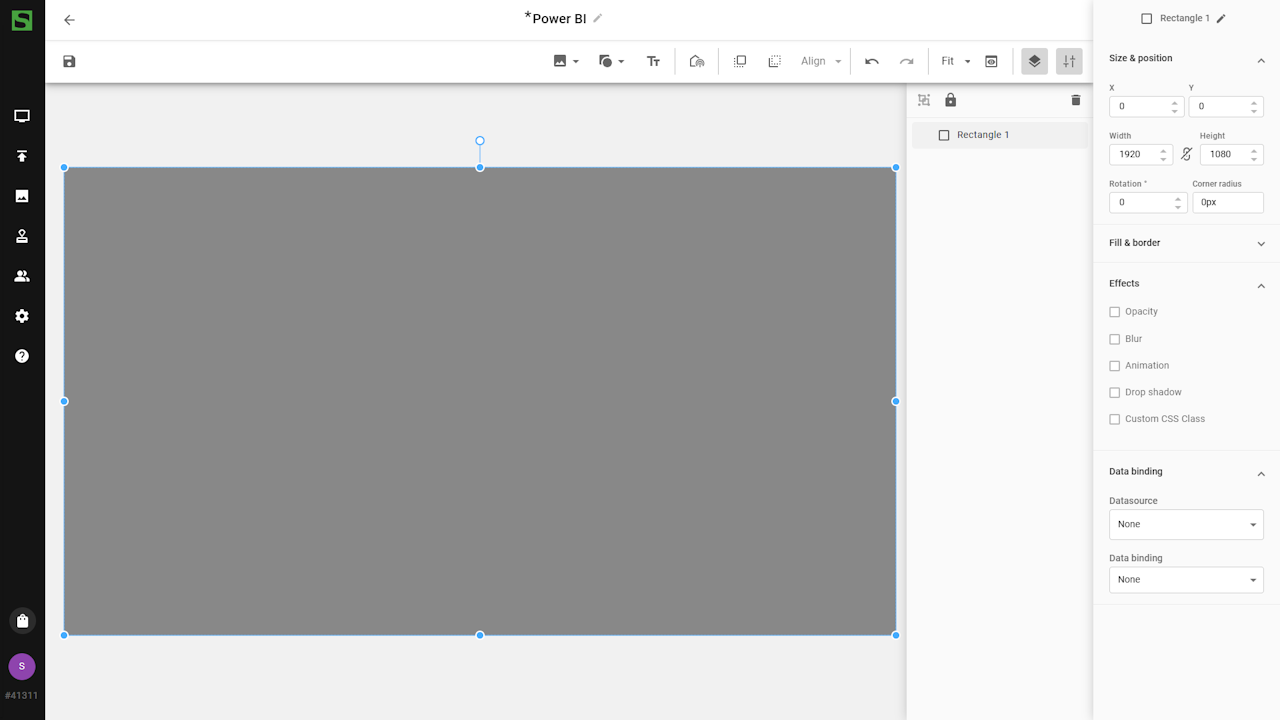
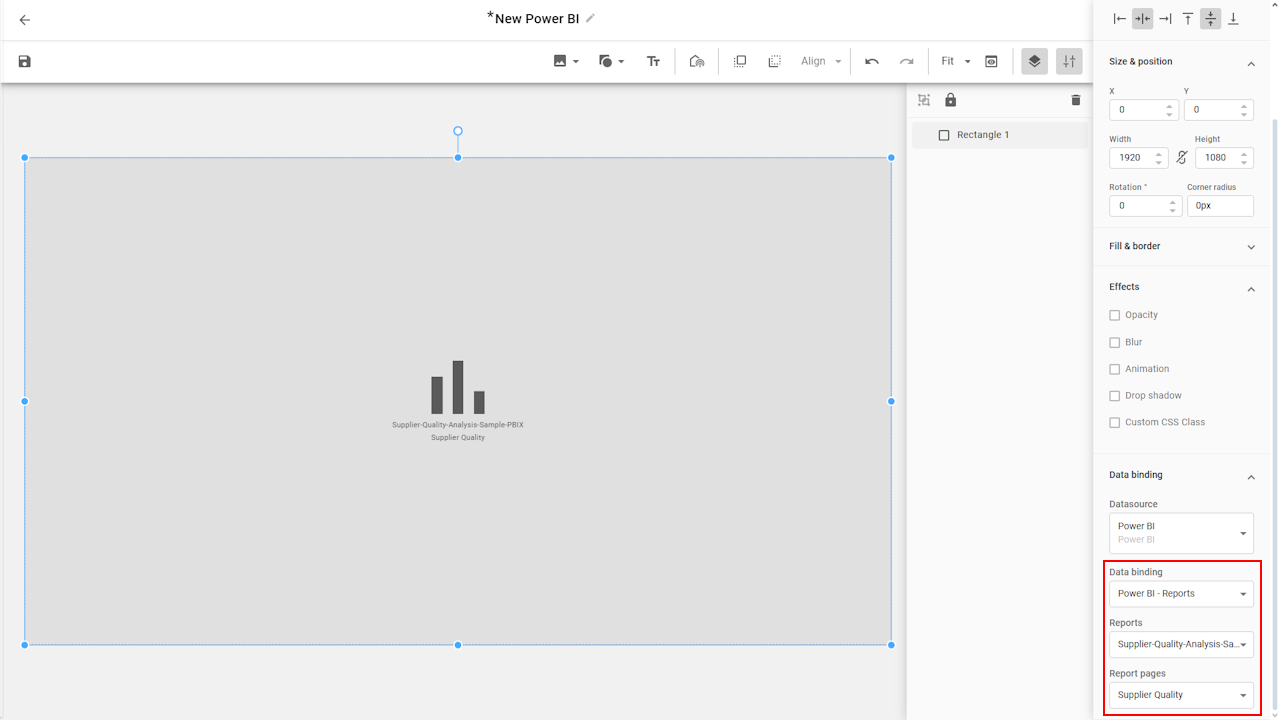
- Draw a square to match the width and height of the template.
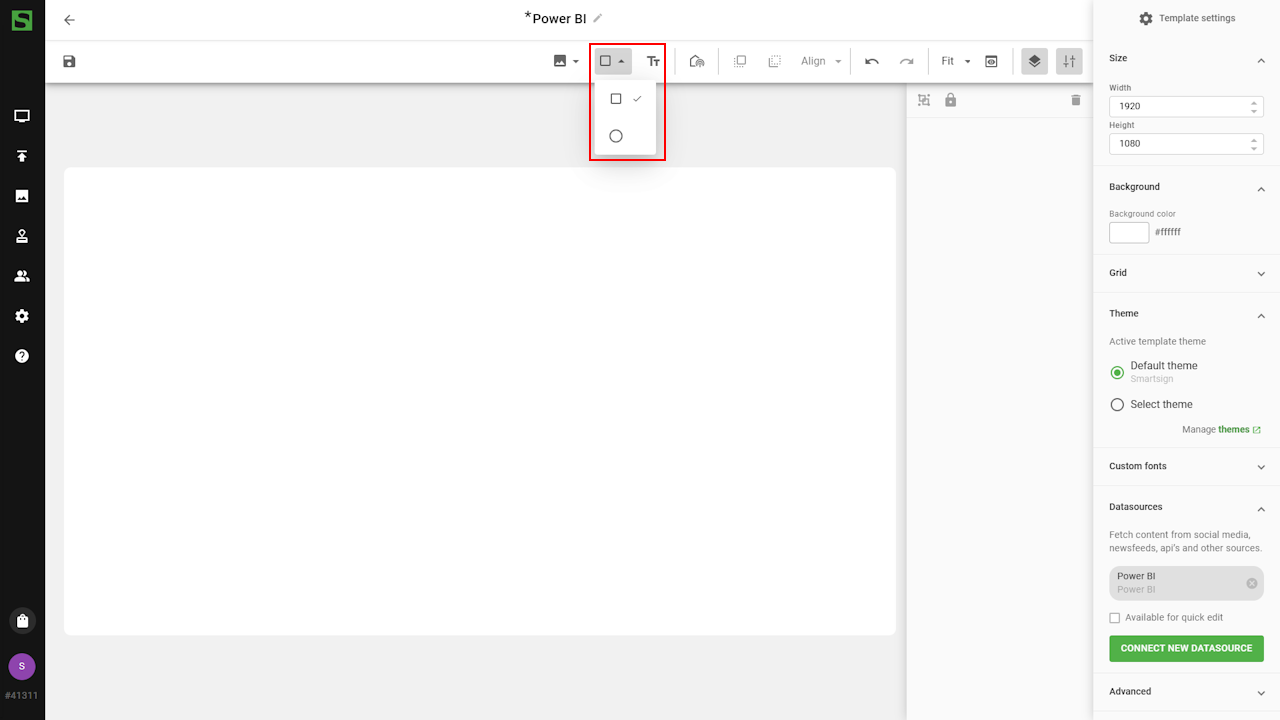
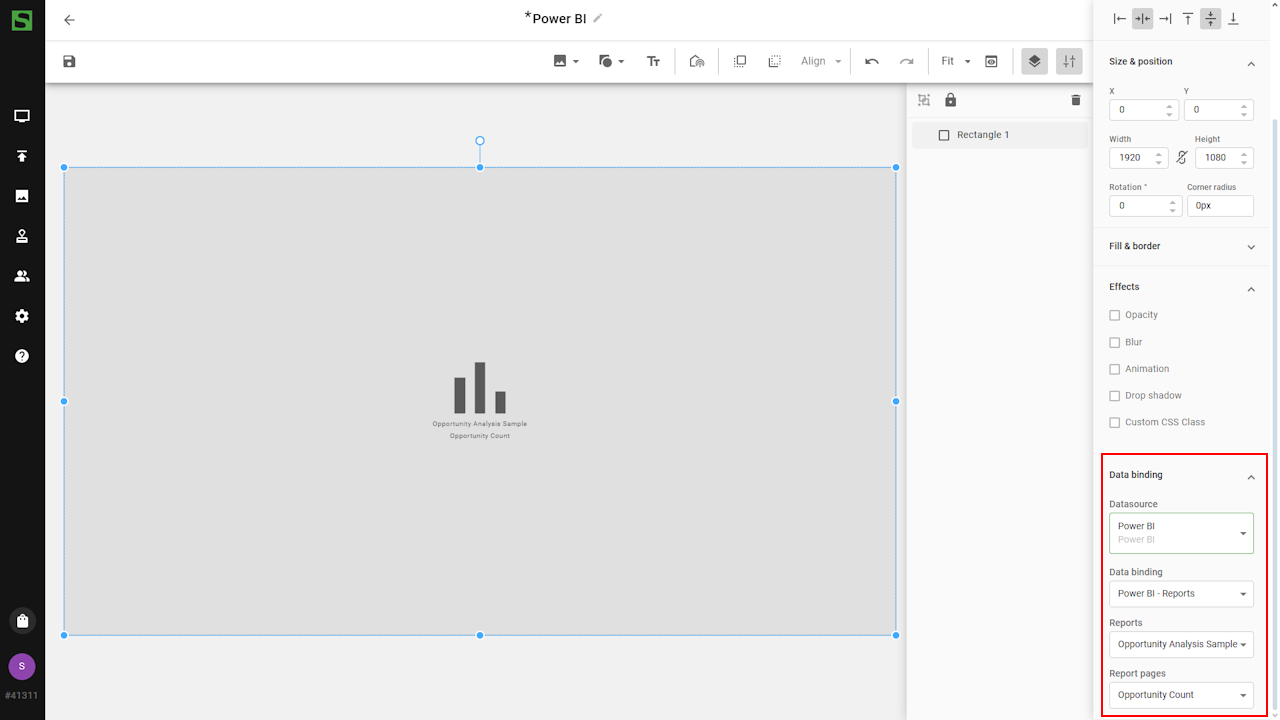
- When square is selected, select the data binding tab
and connect to the Power BI datasource and select
a report or dashboard to use.
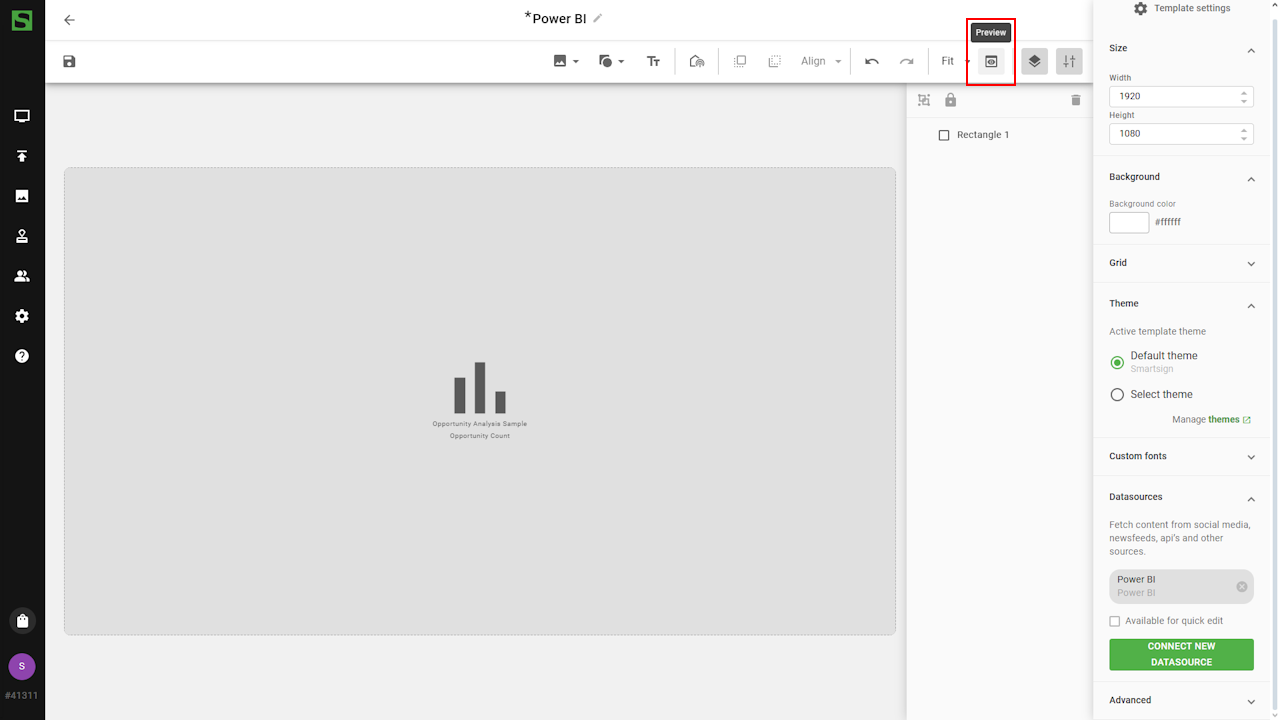
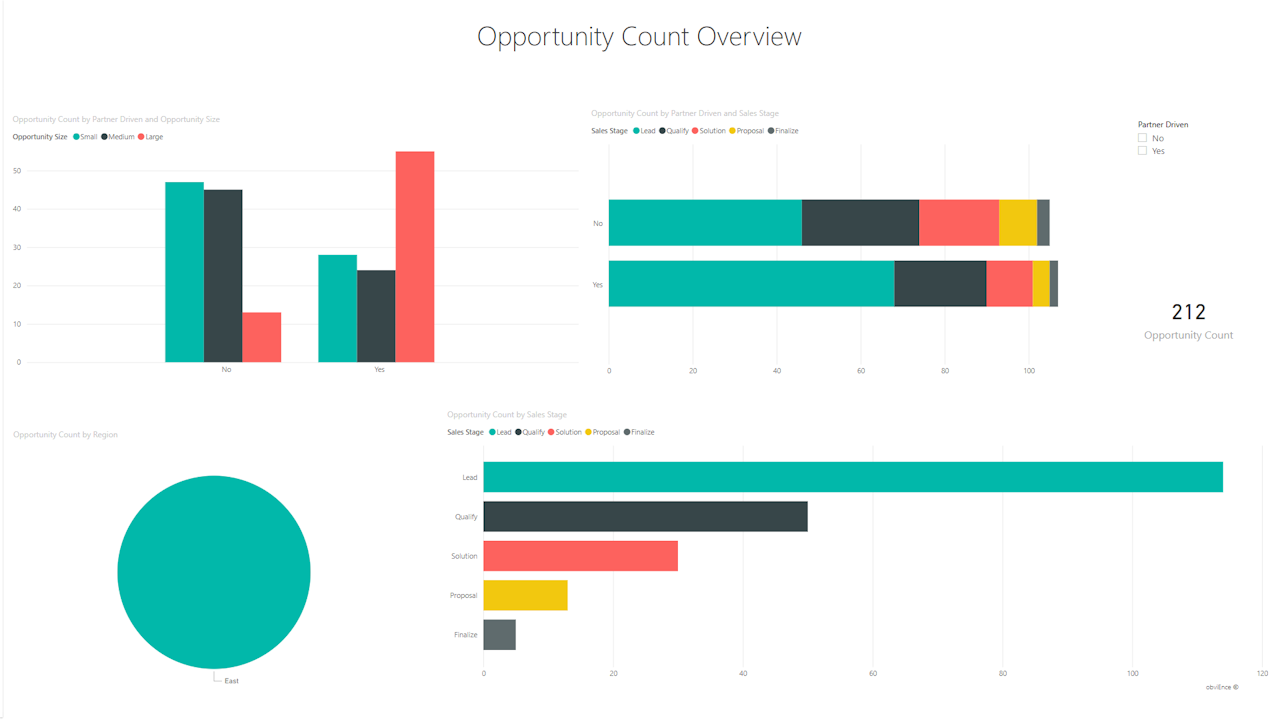
- Preview the template to verify data connection is working.
- Save the template an it can now be used to publish dashboards and reports from the datasource.
Using the template
Since the original template is now available in the Templates menu, the recommended best practice is to create a dedicated folder in the Media Library where you store copies of this template. Configure each copy to display the specific dashboard or report you want to show. This ensures that the original template remains unchanged and allows you to manage all configured versions neatly within one folder.
Create media in media library
- Go to Media
- Create or select a suitable folder.
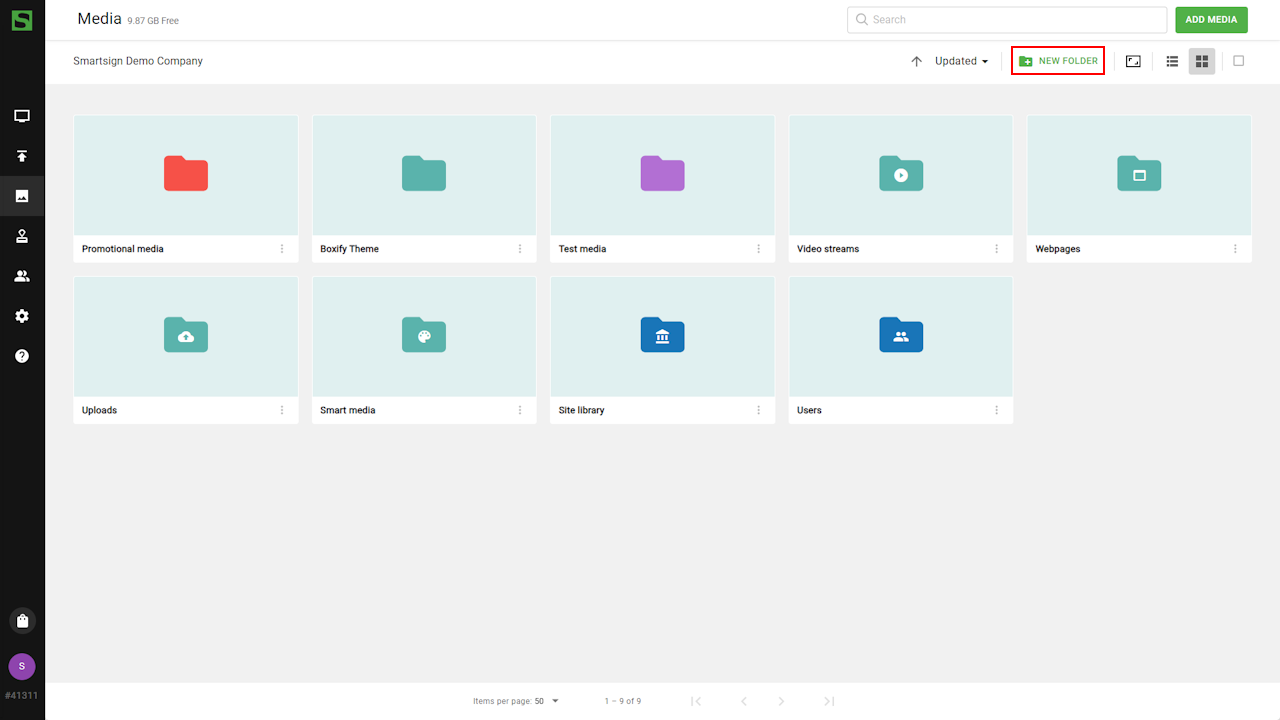
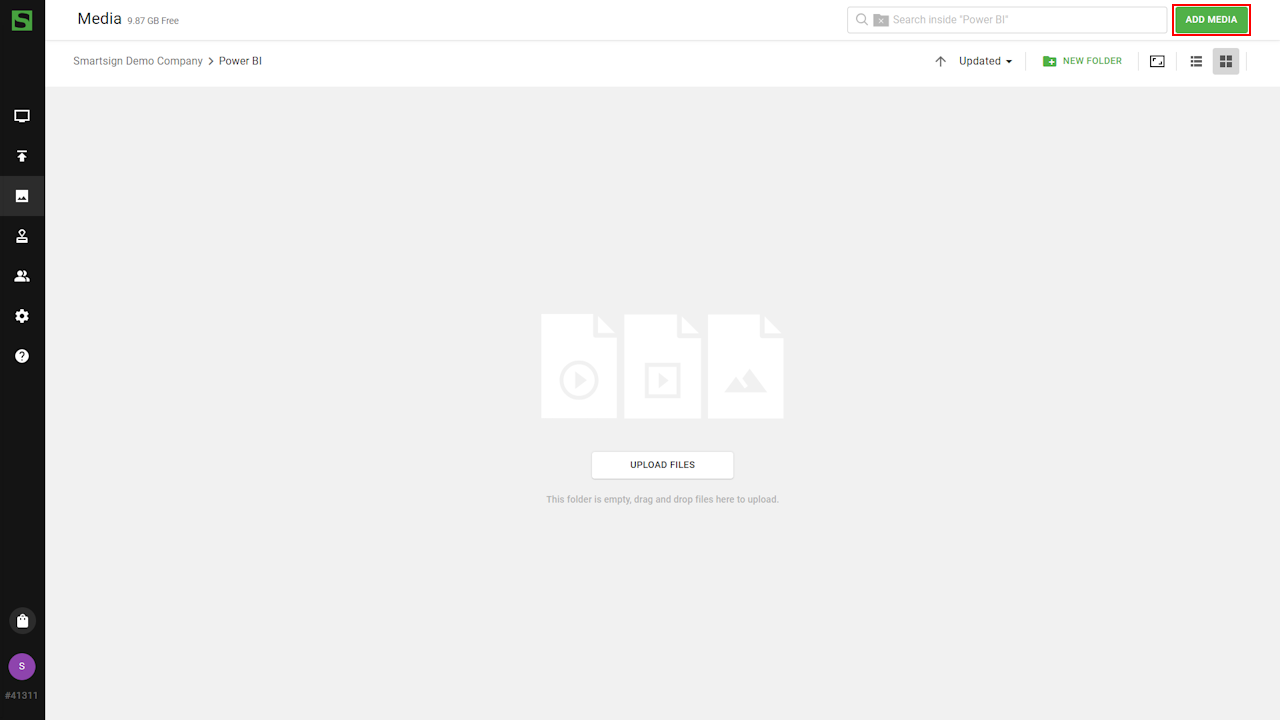
- Open the folder and click Add Media
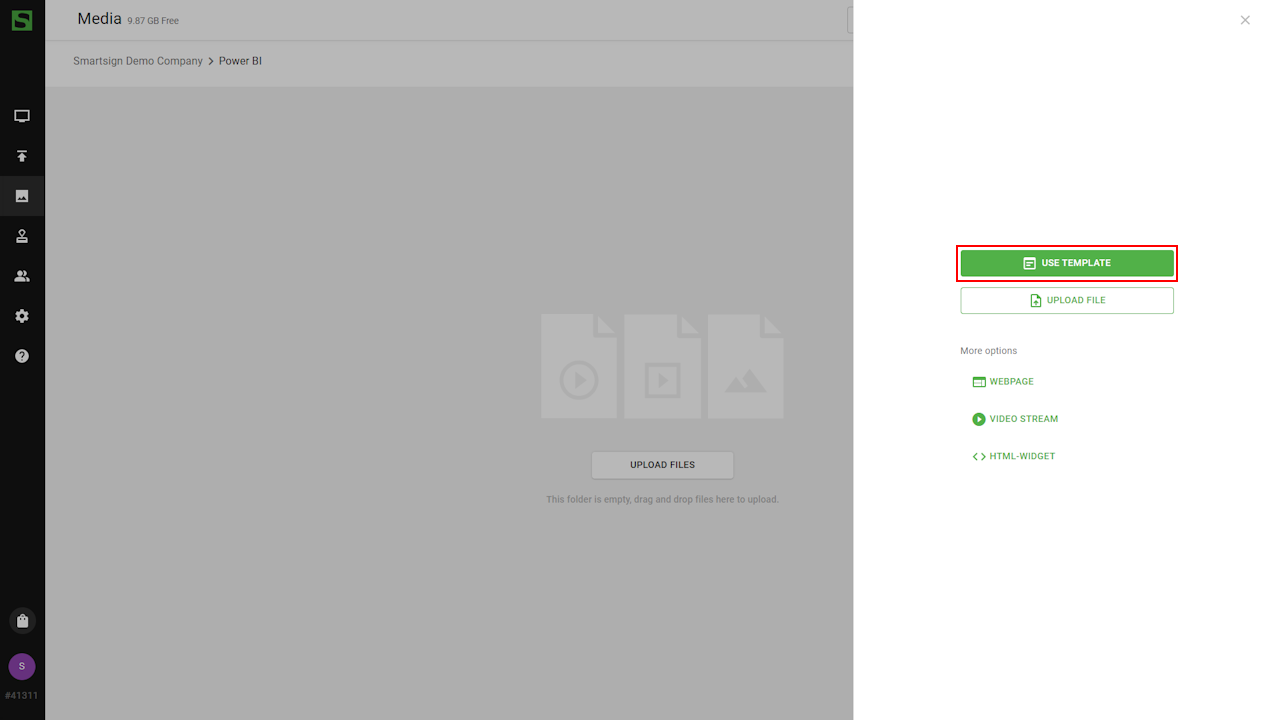
- Select Use Template
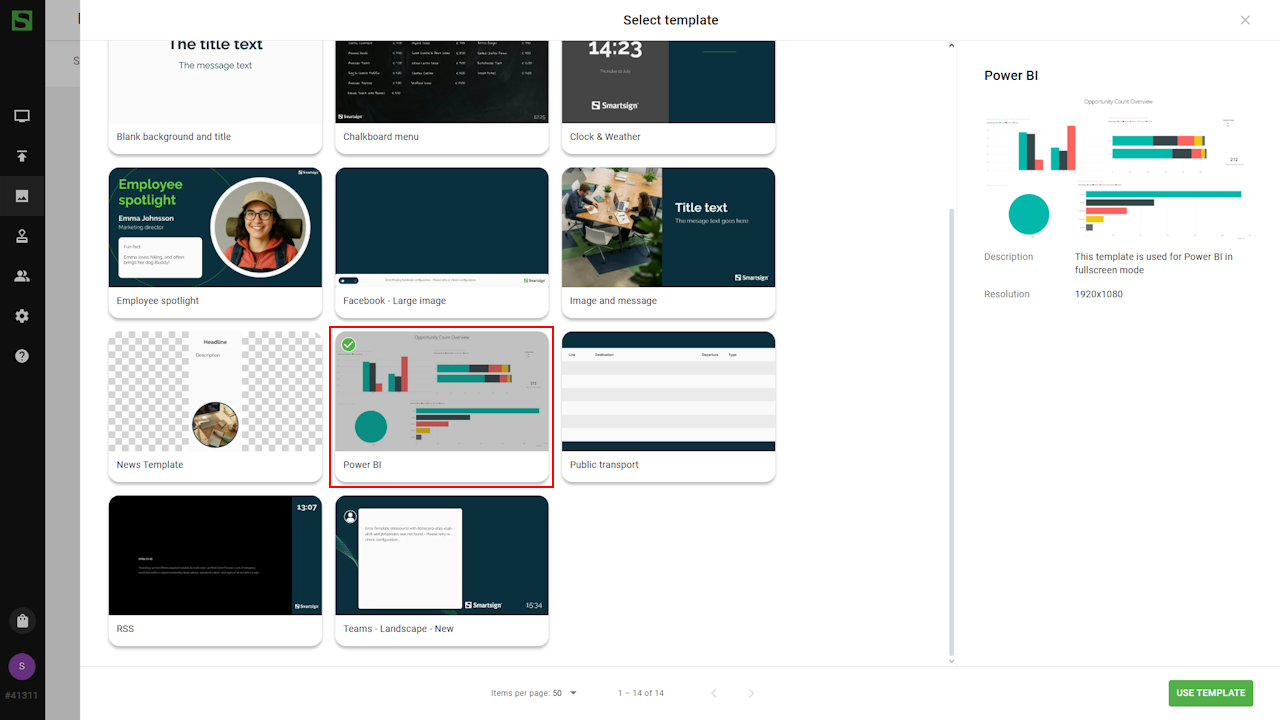
- Choose the Power BI template. A copy will now be created in
the folder.
- Use Advanced Editing to change the dasboard or report you want
to show.
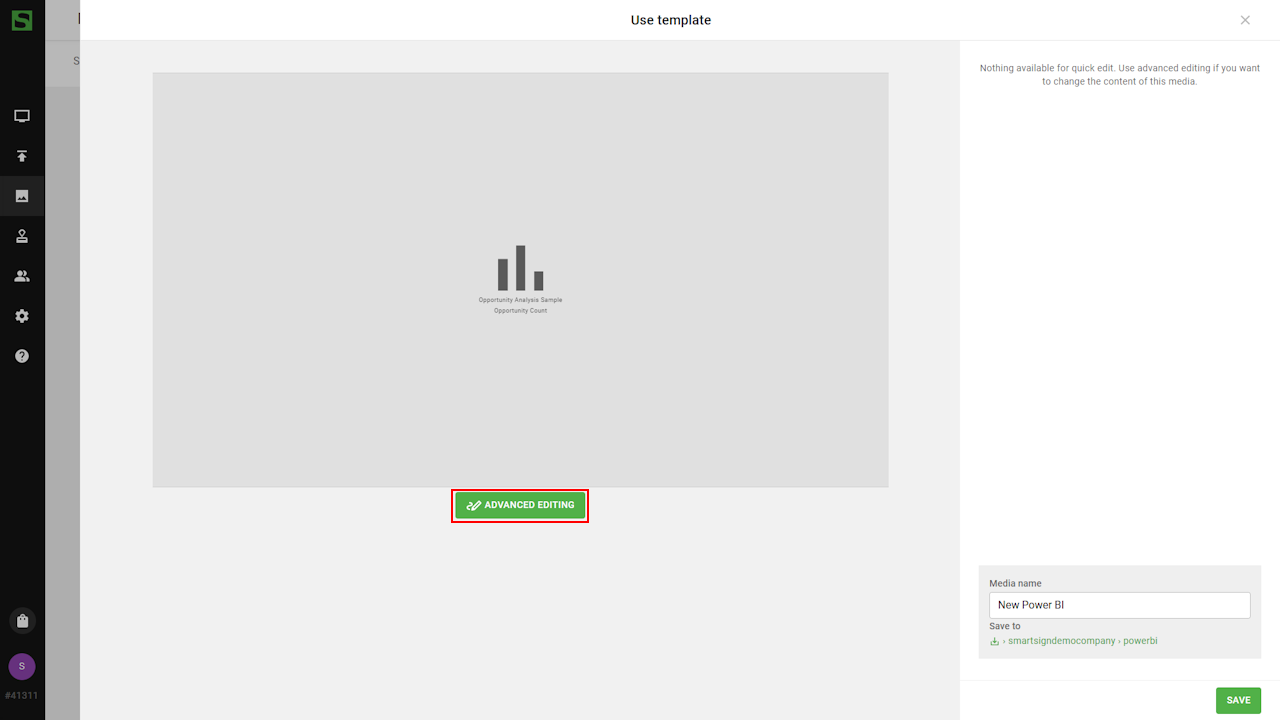
- Save when done and the Power BI is now ready to be published.

Technical information
Player/screen limitations
Microsoft has decided to impose new browser requirements for Power BI. After 2024-08-31 the minimum browser version will be Chrome 94. On Android, Windows and ChromeOS devices the browser may be possible to upgrade, but for other embedded devices it's not possible in general. If your displays are affected by this, we suggest changing the template display mode to Snapshot. This will show a periodically updated snapshot of the template which is not limited by the device's built-in browser.
Power BI renders dashboards and reports as webpages. The browser requirements for those webpages is outside of our control and may change at any time.
Depending on the complexity of the dashboard/report, the processor/memory of the device may be a limiting factor. As a general rule we recommend that you only show a single report or dashboard at a time and use a minimum duration of 1 minute.
Below list of known working players/screens (assuming latest firmware) at the time of writing (2024-08-09). If your screen is older it will not work.
- Qbic BXP-100 (Android 10 and higher)
- Smartsign Windows Player 10.20 and higher
- Smartsign ChromeOS Player
- Samsung SSSP 11 (Tizen 2023-) and newer
- Philips 3550Q/4550D/3650Q/4650D (Android 8-11)
- Sony Bravia PRO (Android 10)
- Iiyama LHxx54UHS/LHxx75UHS
Permissions required
Smartsign Power BI integration, Application (client) ID : 5aa3206d-0c55-49e4-ac40-2acd3fe45ac6
| API | Permission | Type | Microsoft description | Used for |
|---|---|---|---|---|
| Microsoft Graph | User.Read | Delegated | Sign in and read user profile | Allows users to sign-in to the app, and allows the app to read the profile of signed-in users. It also allows the app to read basic company information of signed-in users |
| Power BI REST API | Workspace.Read.All | Delegated | Read all workspaces | Allows the application to read all workspaces on behalf of the signed-in user |
| Power BI REST API | Dashboard.Read.All | Delegated | Read all dashboards | Allows the application to read all dashboards in a workspace on behalf of the signed-in user |
| Power BI REST API | Report.Read.All | Delegated | Read all reports | Allows the application to read all reports in a workspace on behalf of the signed-in user |