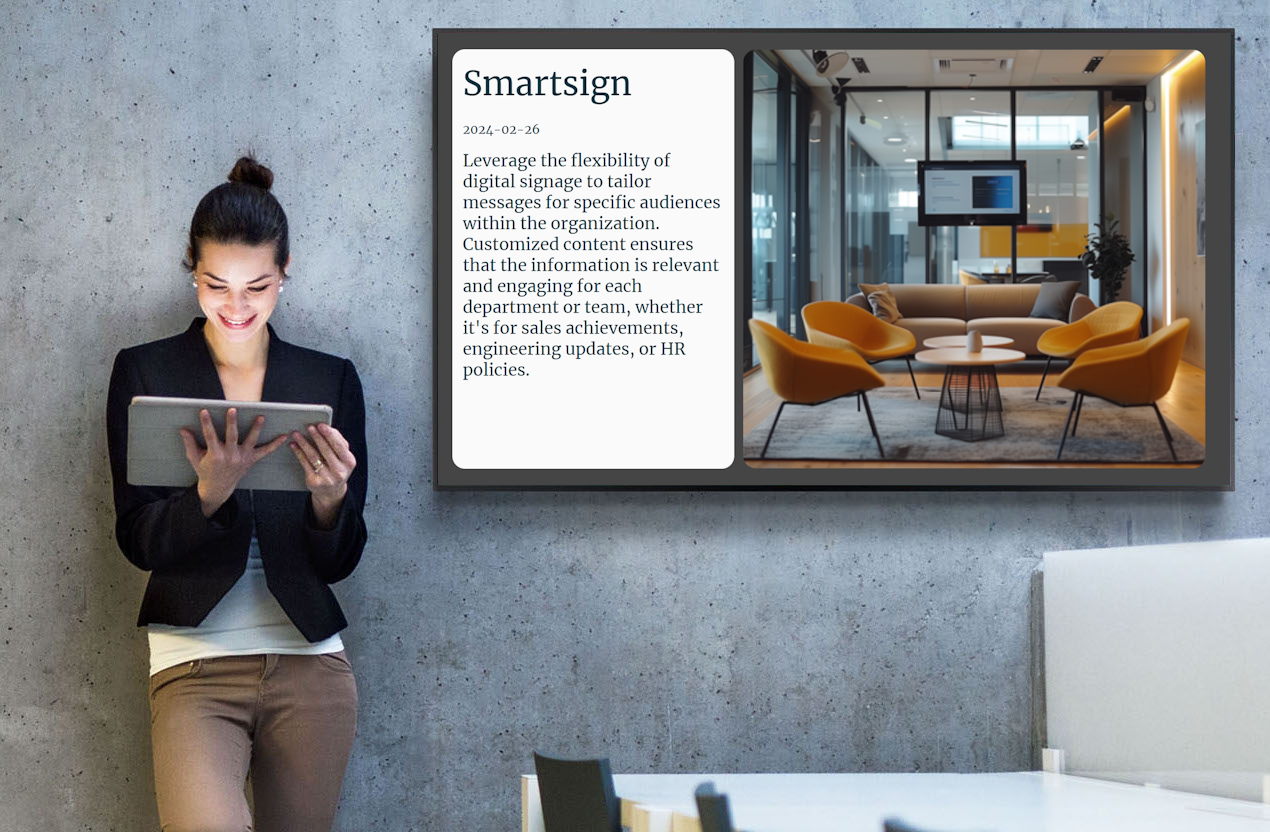
The Instagram datasource allows you to display posts from your Instagram account on your Smartsign screens.
This makes it easy to show social media updates, campaigns, brand content,
or community engagement directly in your digital signage content.
How it works
Once connected, Smartsign securely integrates with your Instagram account and retrieves posts from the selected Instagram page.
The selected posts are then available inside the template and displayed according to your configuration, such as:
- How many posts to show
- How long each post is displayed
- Whether videos and emojis are enabled
The content is automatically updated at a defined interval.
Requirements
To use the Instagram datasource, you need:
- A professional Instagram account
- Administrator permissions for the connected assets
- Screens that can reach https://social.smartsigncloud.net
If video is enabled, the screen must support HTML video playback.
Learn more about professional Instagram accounts:
Set up the datasource
The first step is to configure the Instagram datasource.
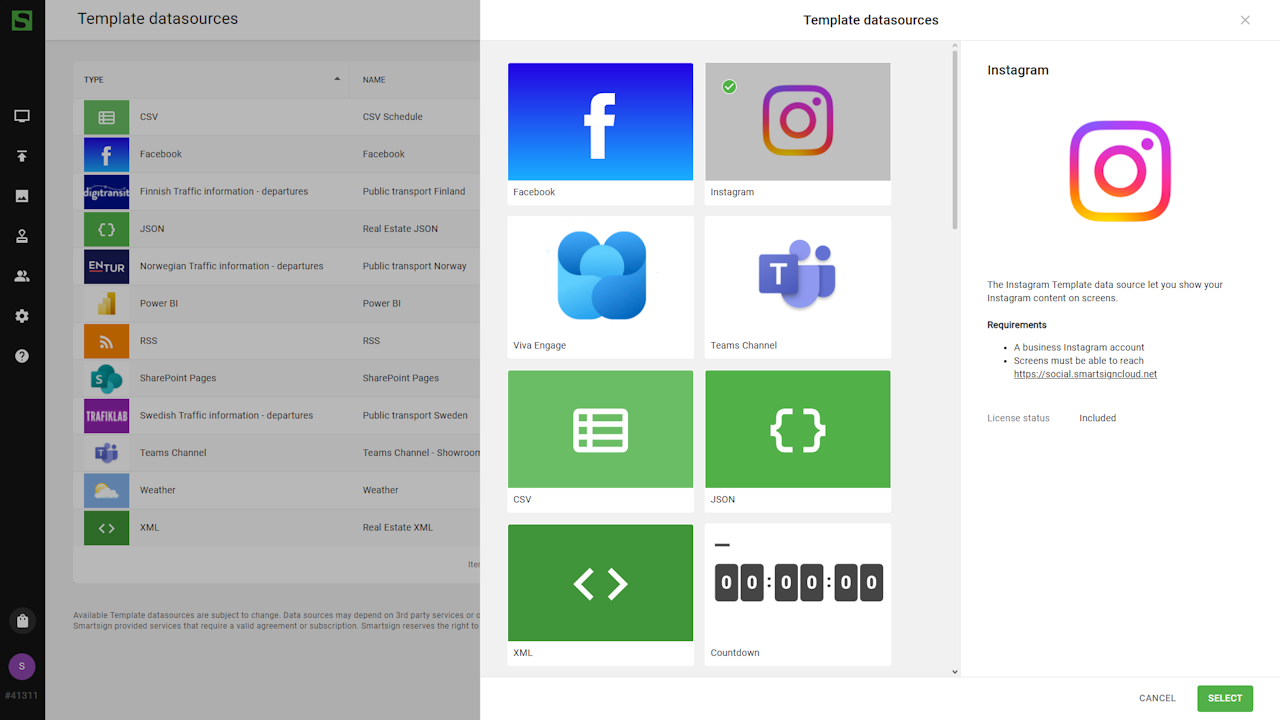
- Go to Template datasources and select create new datasource.
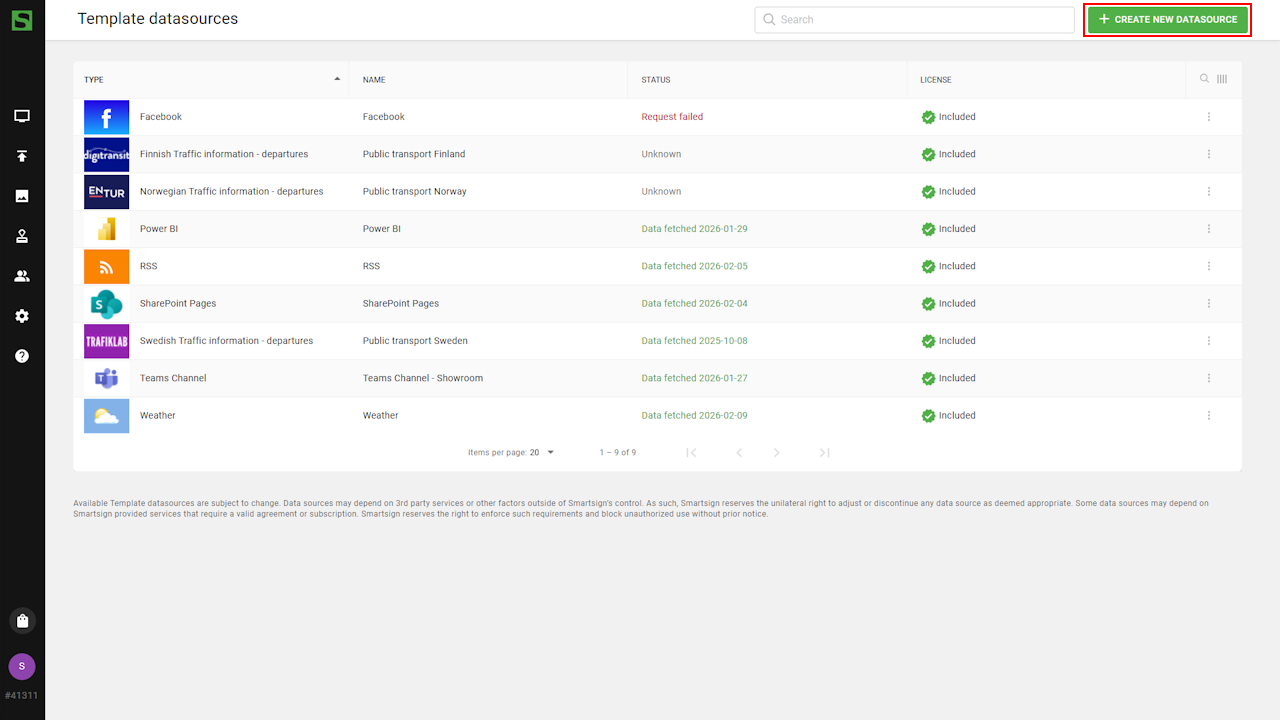
- Select the Instagram datasource.
- Enter Name and Description.
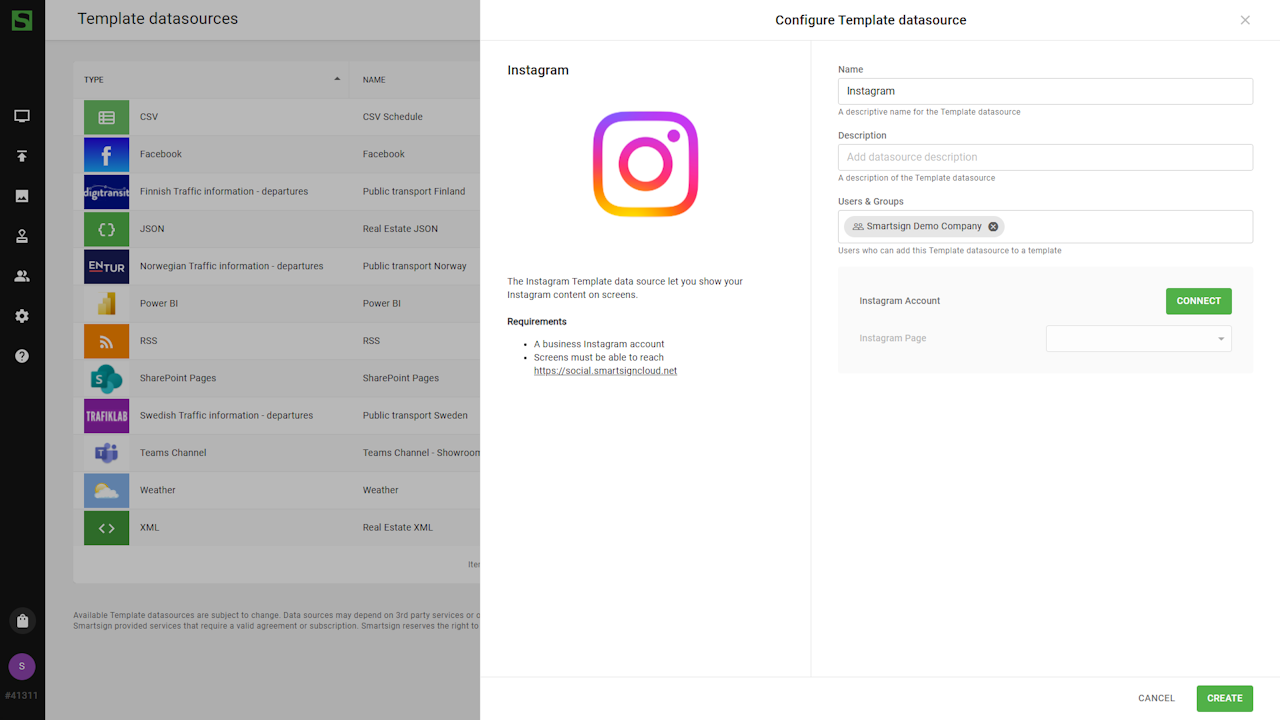
- Click Connect with Facebook to authenticate the datasource.
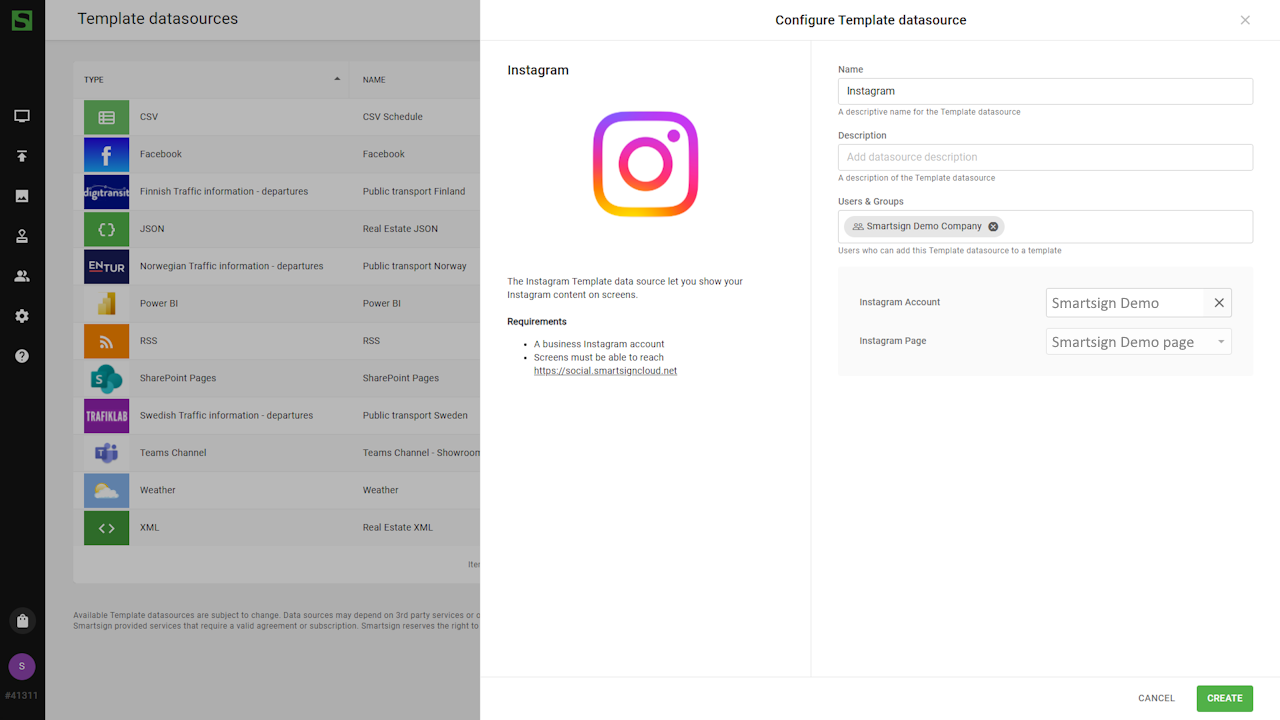
- Click Create and verify that data can be fetched successfully.
Datasource is now ready to be used.
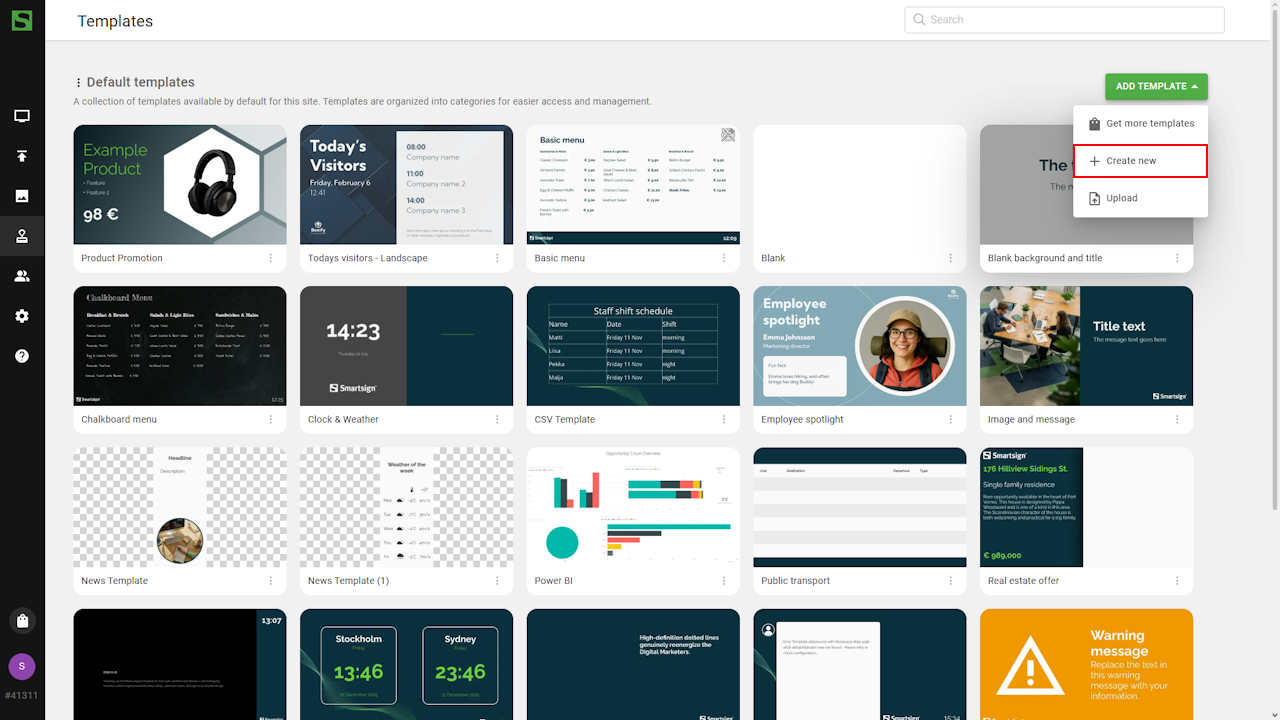
Use Instagram templates
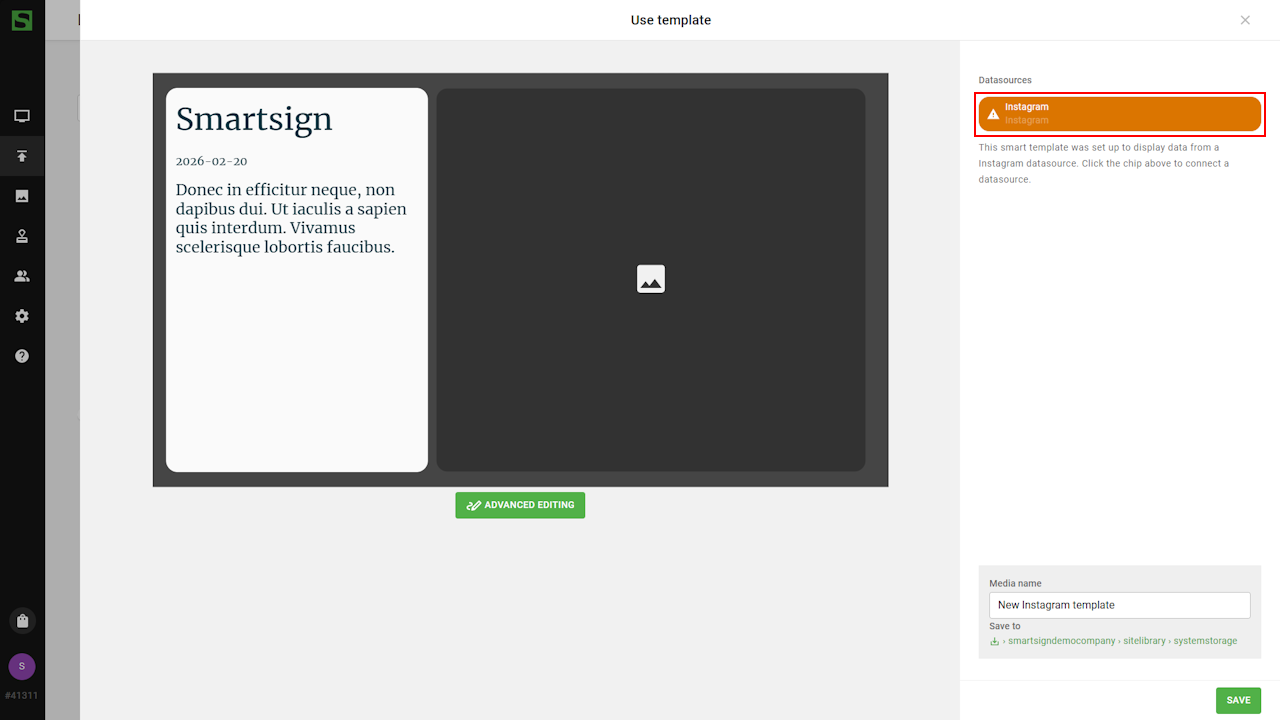
When the datasource is configured, you can use an Instagram template to display posts on your screens.
Smartsign offers a few default Instagram templates available in the Marketplace and you can also design your own using the Template Creator.
In this guide, we will create a template from scratch.
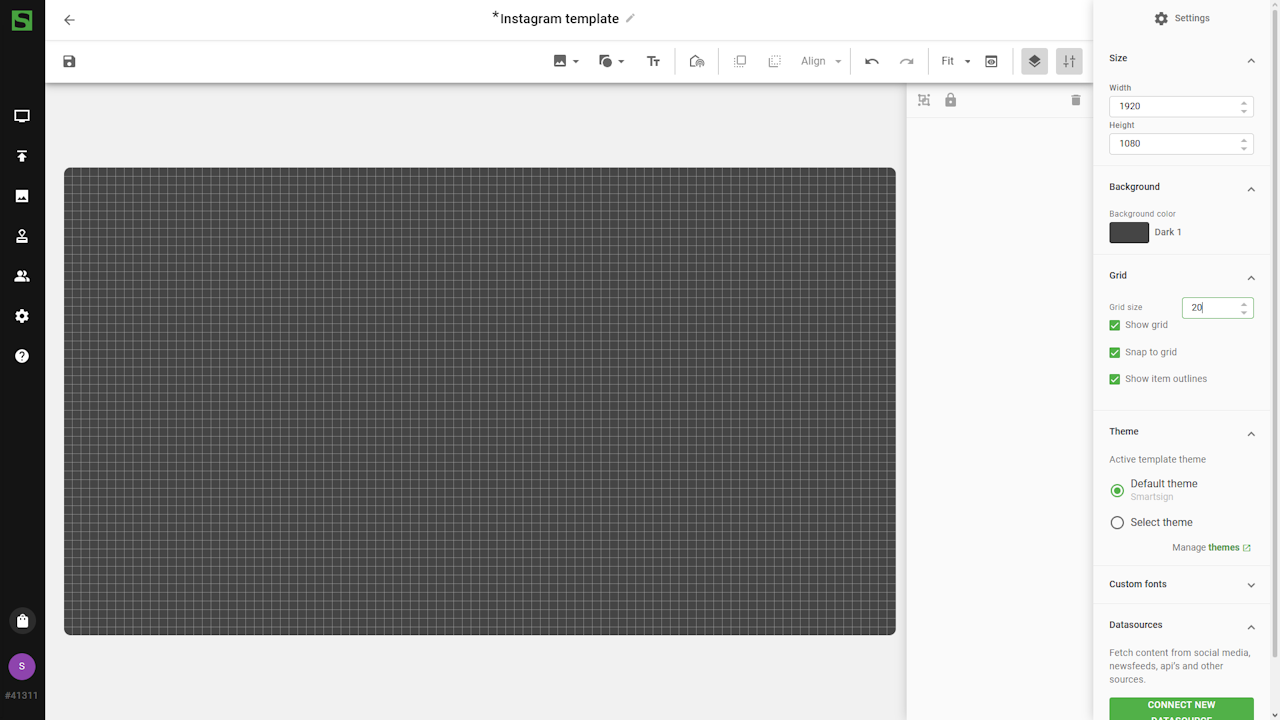
- Go to Templates and create a new template.
- Set base settings such as template size and background color.
tip
Enable grid settings to make it easier to align the text boxes and other media items.
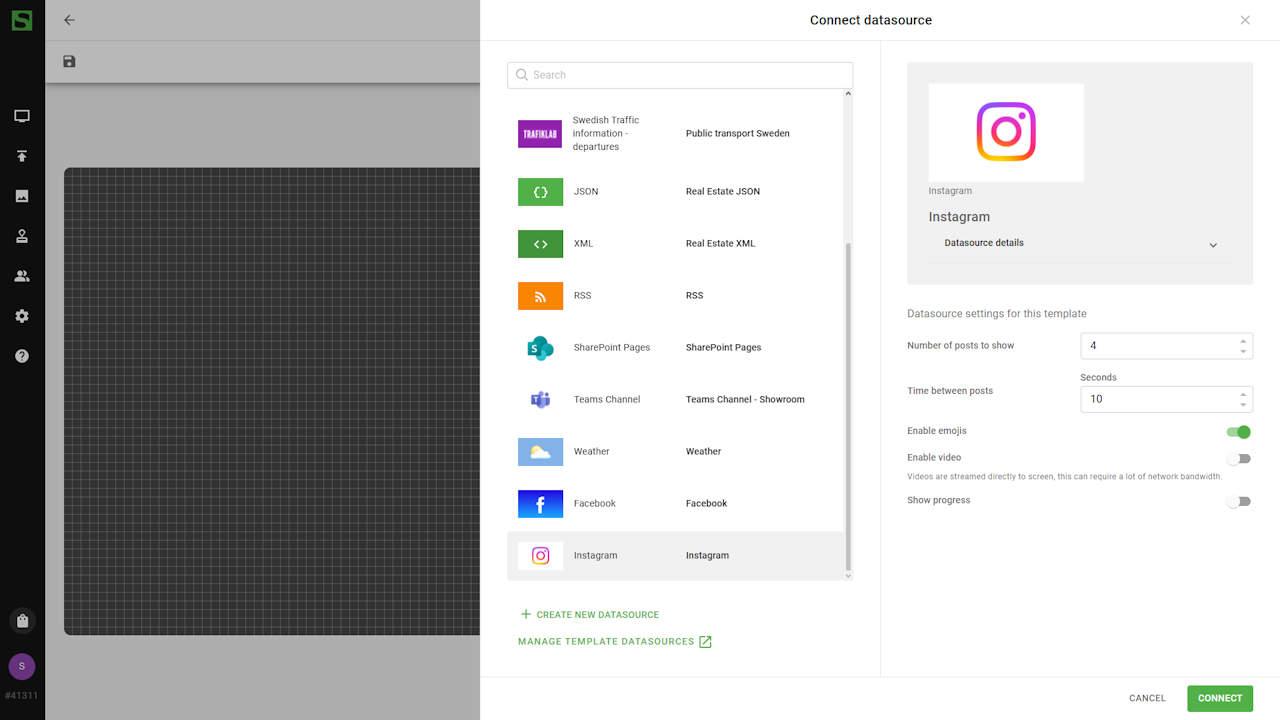
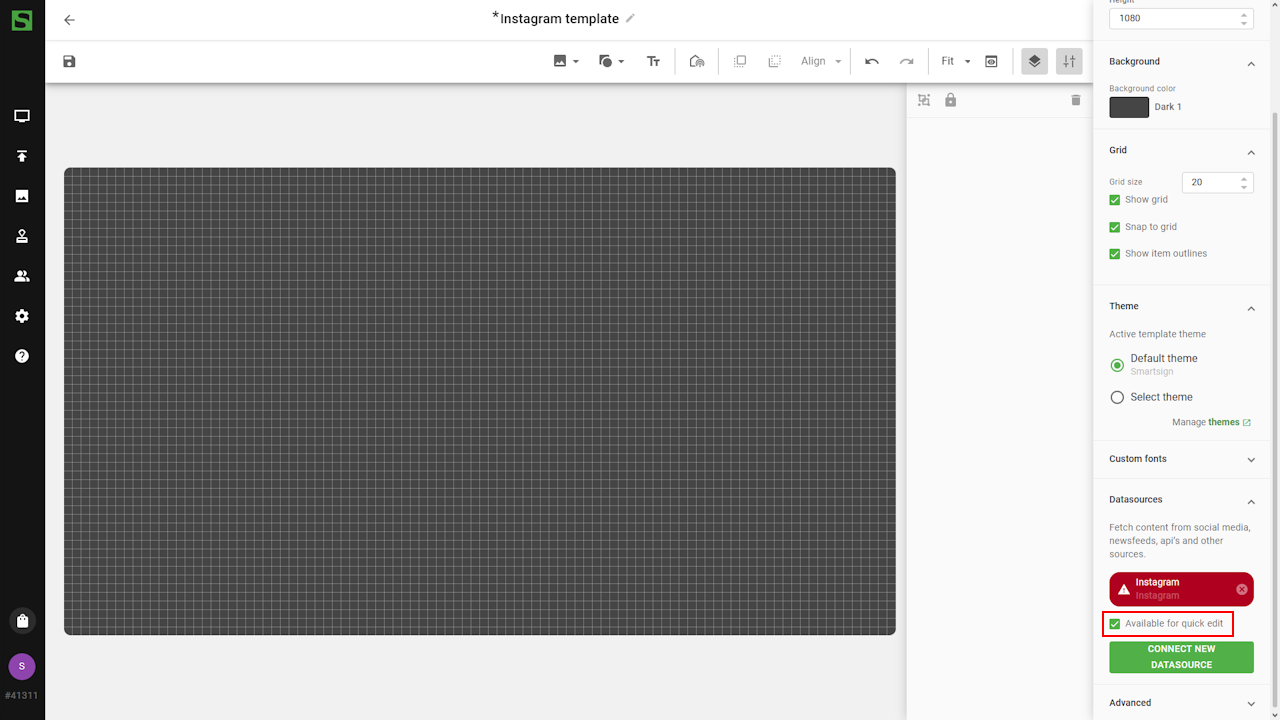
- Select Connect new datasource and select Instagram
- You can now adjust datatasource settings as per table below.
- Click Connect when done.
- Enable Quick edit to easily access datasource settings
when creating and publishing Smart Media from the template.
- You can now start to add placeholders for the datasource.
- Message author
Add textbox and bind it to Message author to show Instagram page name.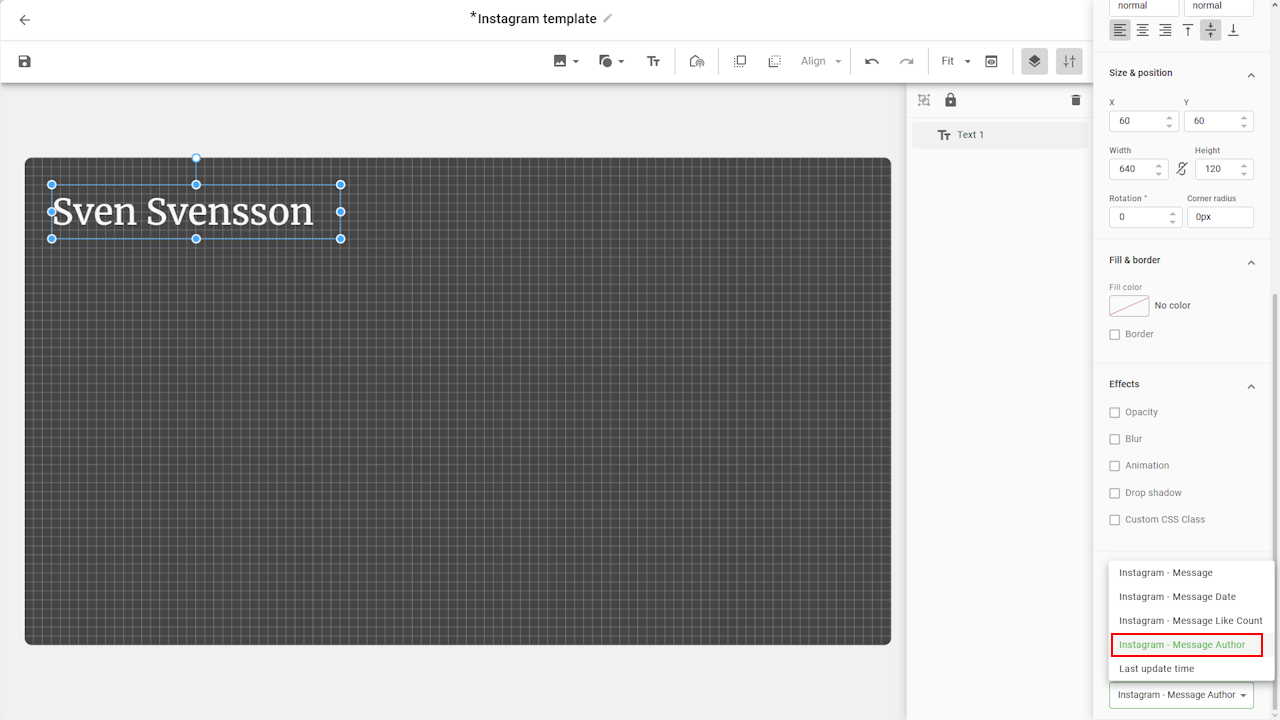
- Message date and Instagram Message
Add textboxes and bind them to Created date and Message to display the post content.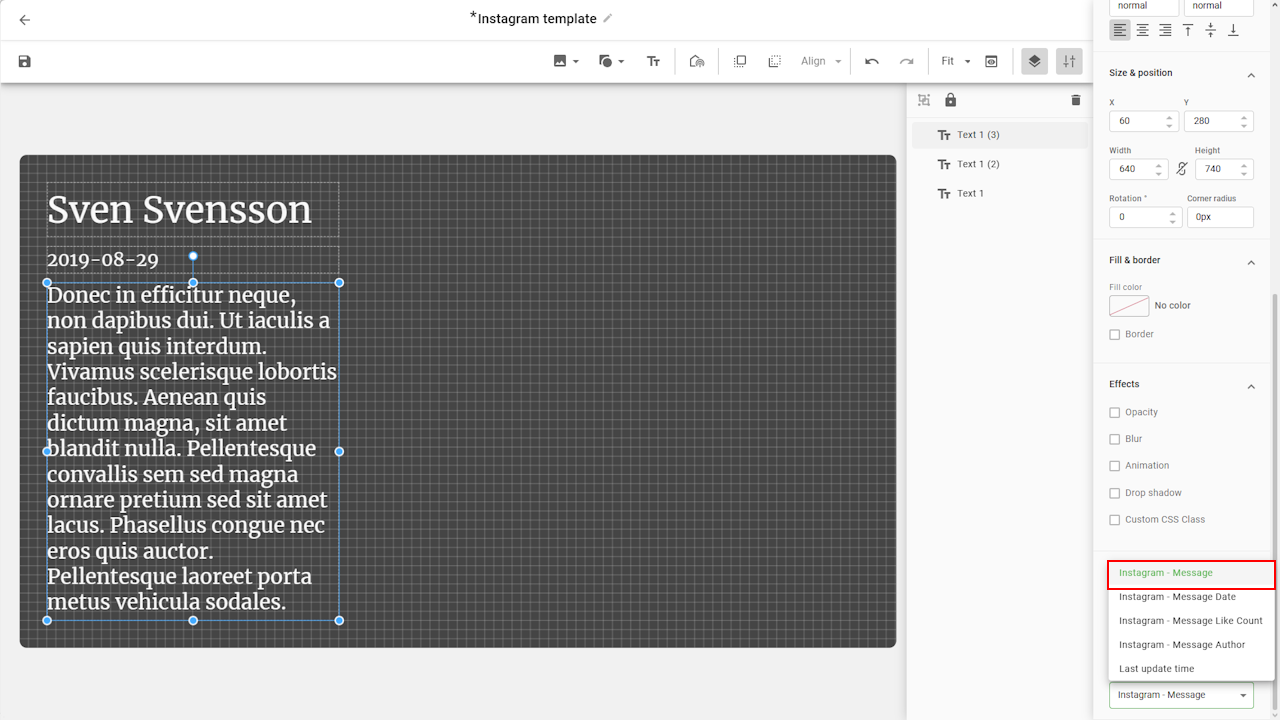
- Image
Add an image placeholder and bind it to Image or QR code.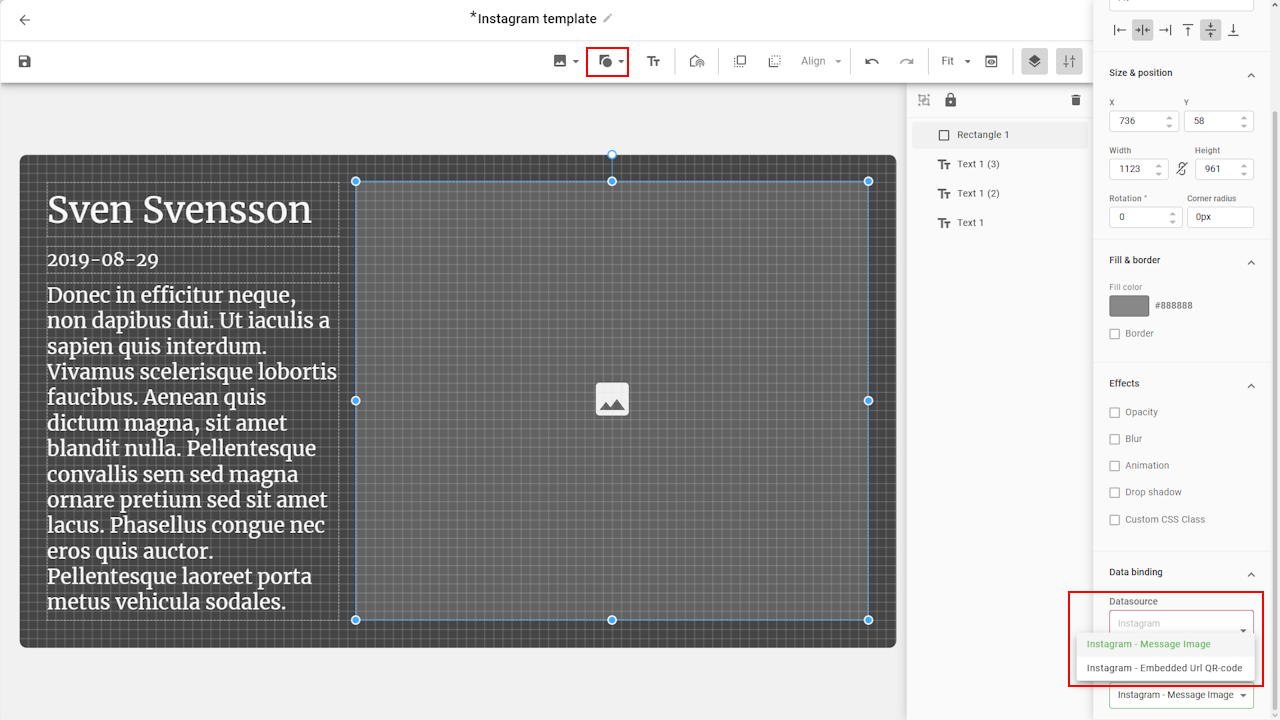
- Message author
- Complete the template by adding any additional design elements as needed.

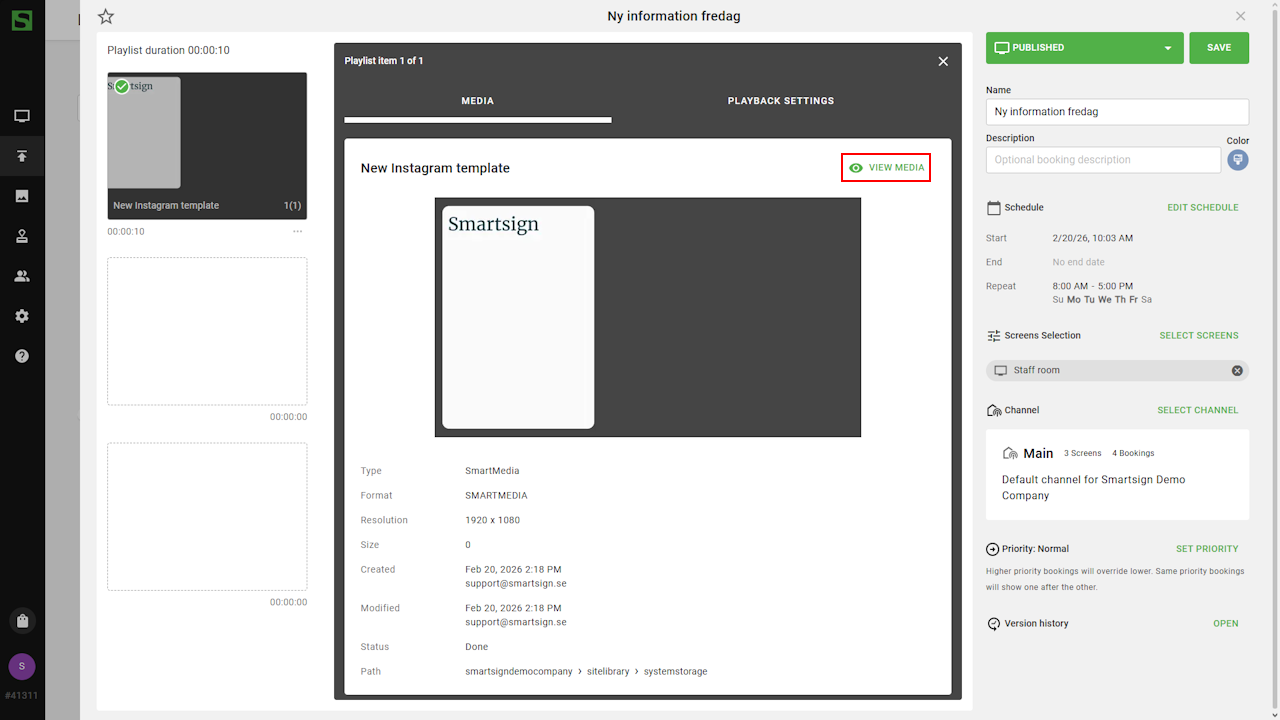
The template is now complete and can be published to the screens.
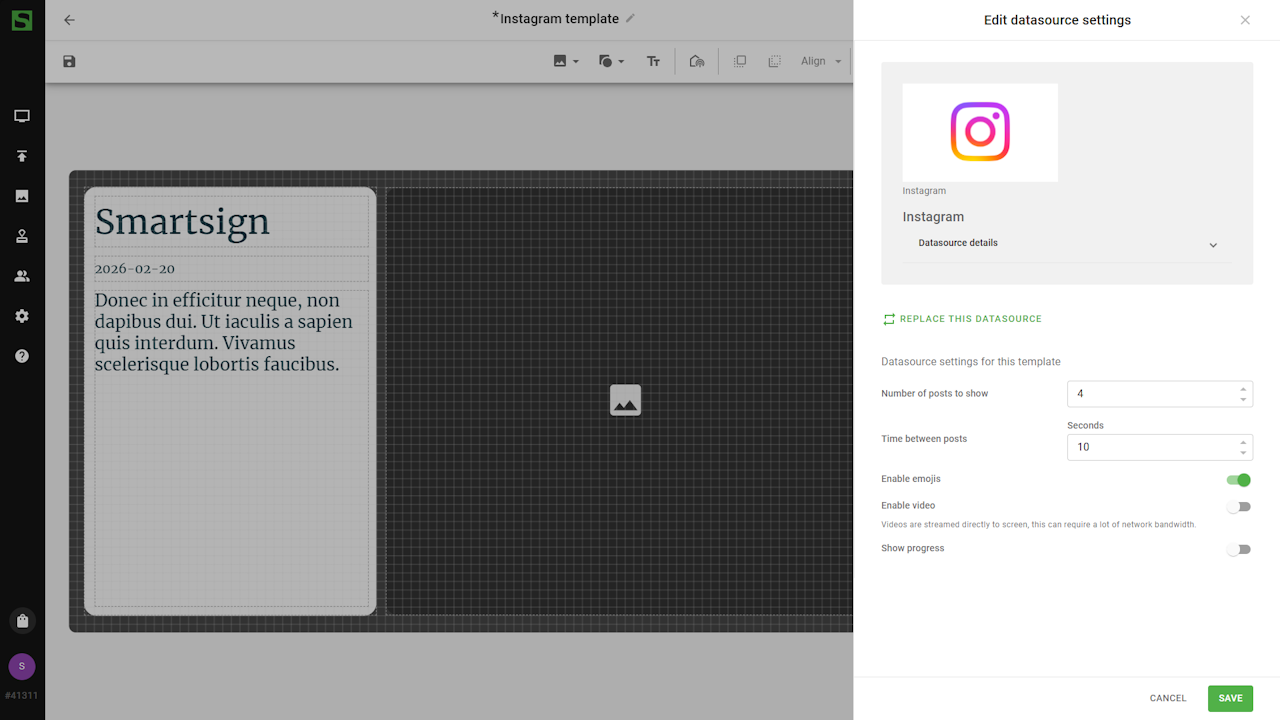
Configure datasource settings
Apart from changing datasource settings when creating a template, they can also be adjusted when using template in a booking or media library.
Edit original template
- Select Edit template in options menu.
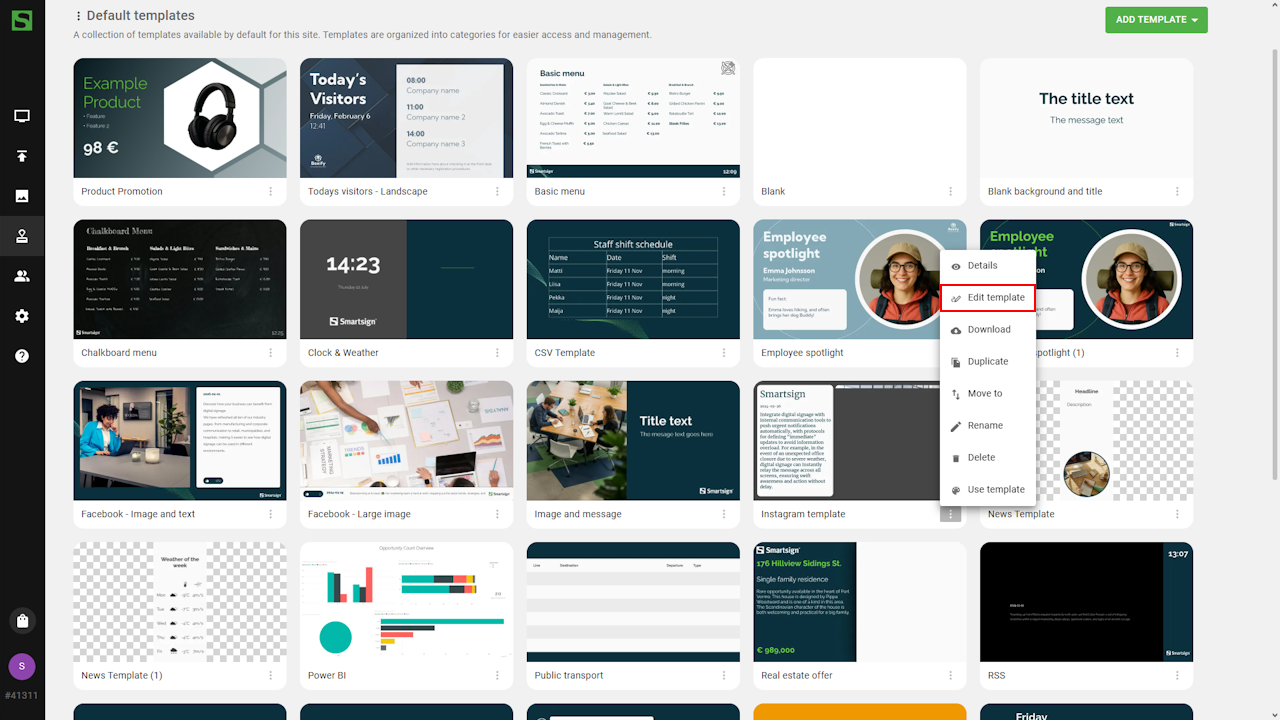
- Open the datasource settings.

- Adjust settings as needed.
- Save the template.
Edit in booking or media library
You can also modify these settings directly from the booking where the media is published or in the Media Library if the Smart Media is saved to a dedicated folder.
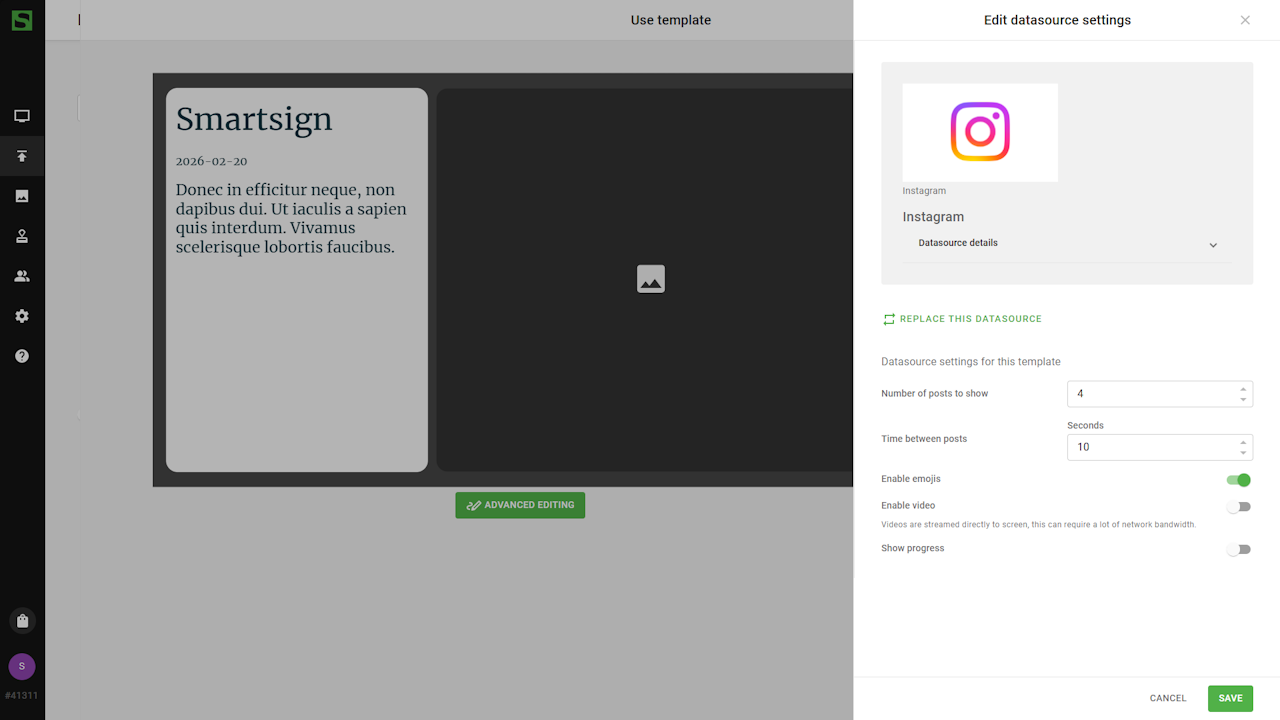
| Setting | Description | Example |
|---|---|---|
| Number of posts to show | The maximum number of posts to display | 4 |
| Time between posts | Time in seconds for each post | 10 |
| Enable emojis | Enable to show emojis | Enabled |
| Enable video | Enable to allow video (muted only) | Disabled |
| Show progress | Display a visual progress indicator for posts | Disabled |
Limitations and considerations
Video playback
If video is enabled:
- Posts containing video will automatically adjust their duration to match the video length.
- The screen must support HTML video streaming.
- Performance and stability depend on the screen manufacturer and hardware capabilities.
Videos are streamed directly to the screen. This may require significant network bandwidth and could incur additional costs on metered connections.
Hardware support
- Not supported on Legacy hardware