Installation
Initial setup (unpacking new display)
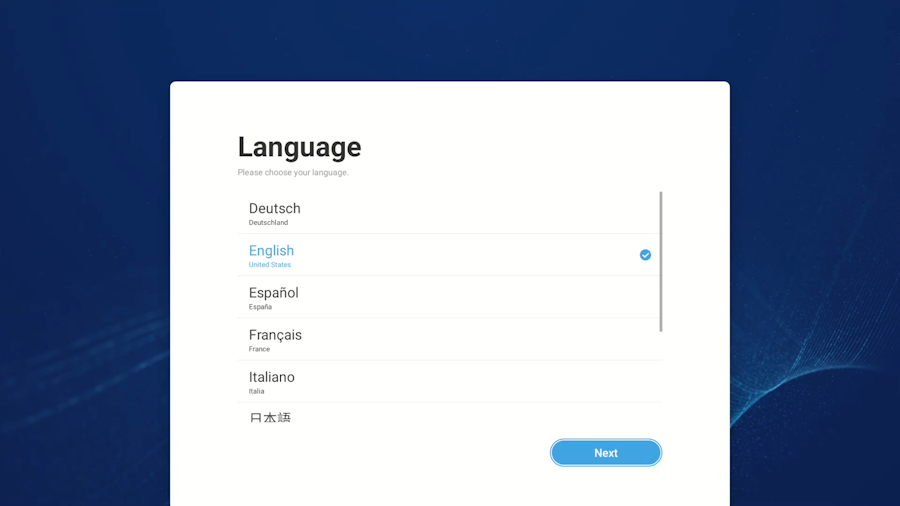
When you turn on your screen for the first time you must complete a setup guide.
- Language: Select Language
- Screen Rotation: Select Landscape or Portrait

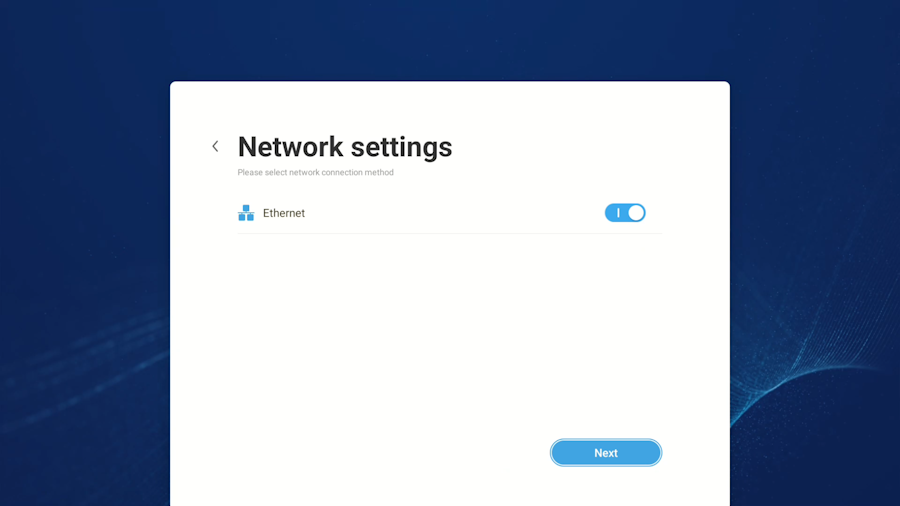
- Network settings: Select Ethernet (or connect to Wi-Fi (optional))
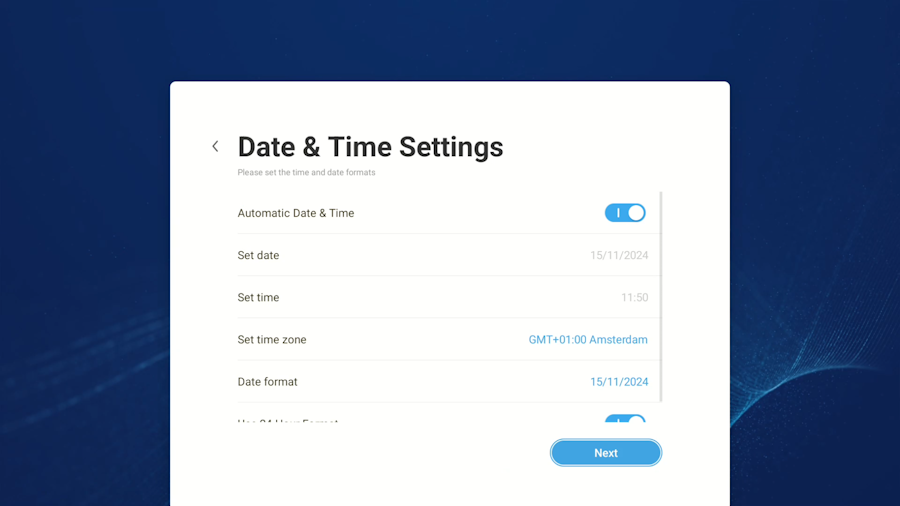
- Date & Time Settings: Configure correct date and time
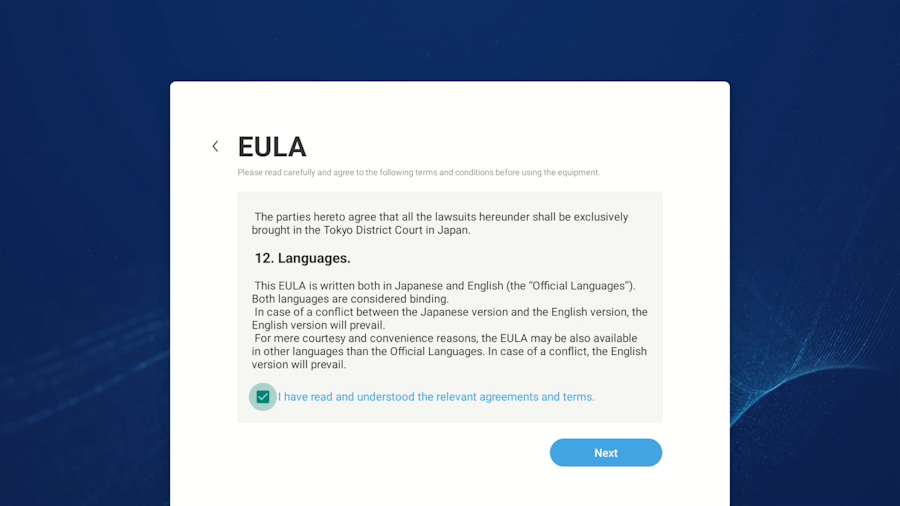
- End User License Agreement: Scroll down and accept the EULA, then select Next
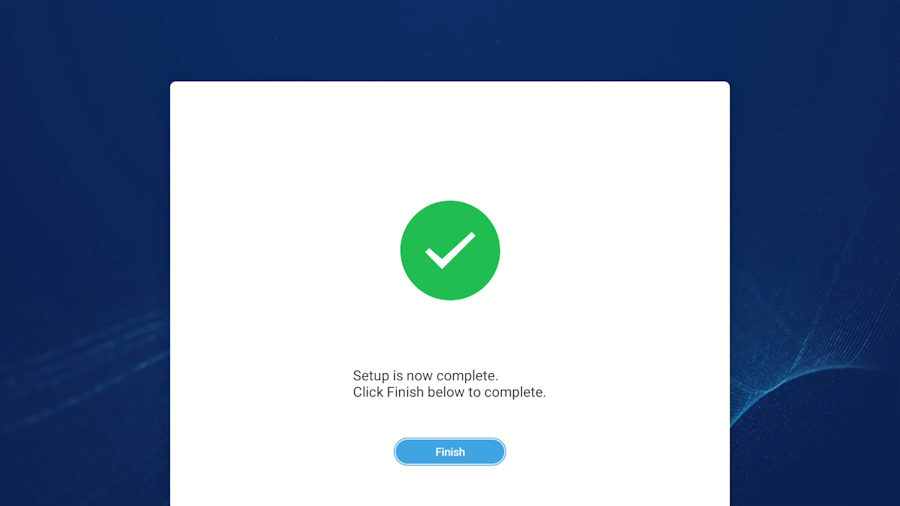
- Setup Complete: Select Finish
Installing Smartsign Android Player
- Download the Smartsign Android Player
- Place the APK file on a USB flash drive
- Go to the HOME screen, by pressing HOME on the remote
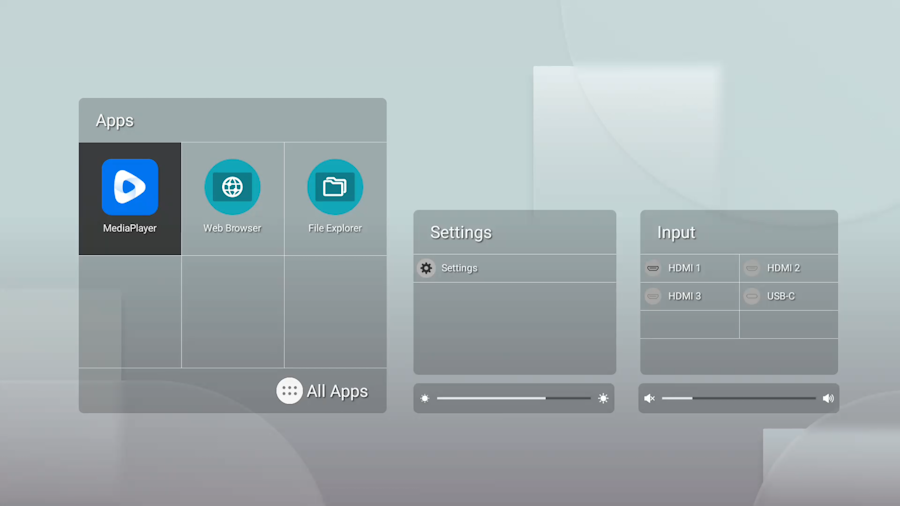
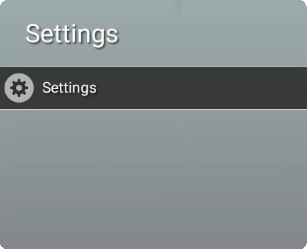
- Select ⚙ Settings
- Select Administrator settings
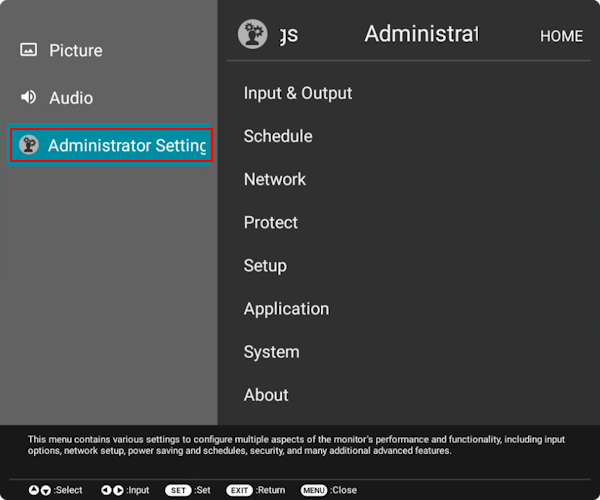
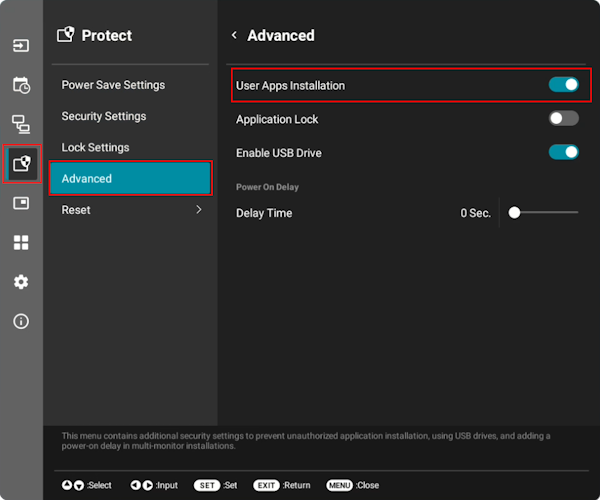
- Navigate to Protect -> Advanced and Enable User Apps Installation
- Return to the HOME screen by pressing EXIT on the remote
- Plug the USB flash drive into the screen
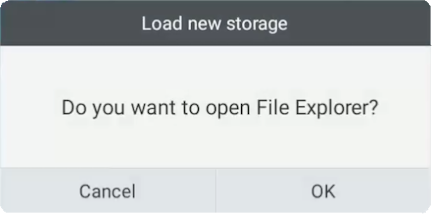
- Select OK in the Do you want to open File Exporer dialog that appears (or open the File Explorer manually)
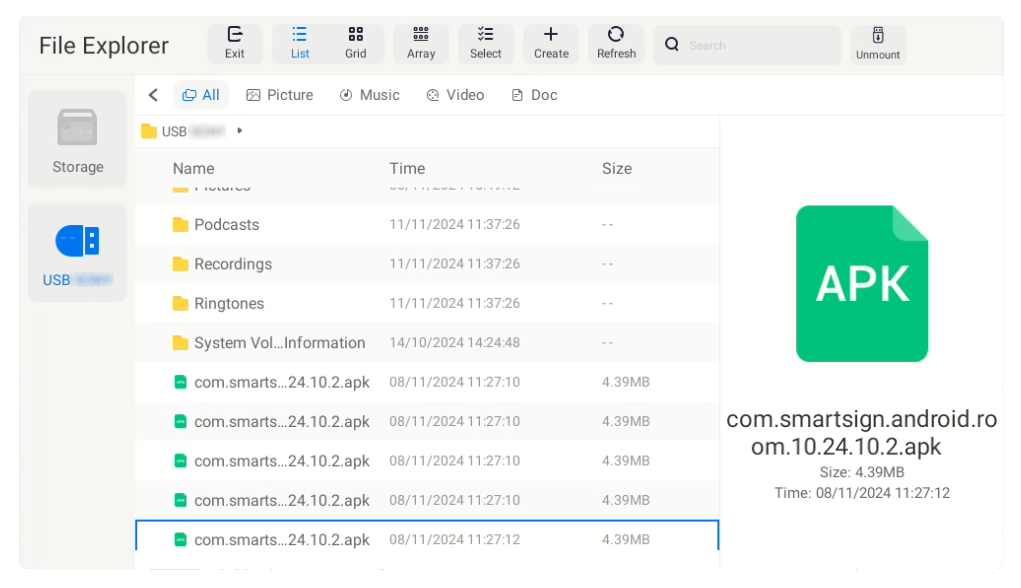
- Select the connected USB flash drive and browse to find the downloaded APK
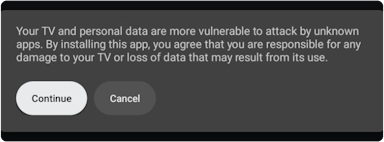
- A security warning will appear, select Continue
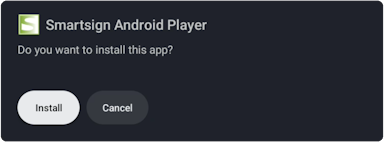
- Select Install
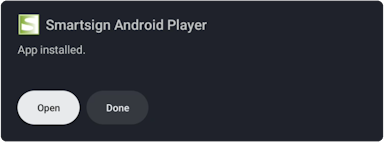
- When the install completes, select Open to start the APK
- Approve permissions for Smartsign Android Player when asked

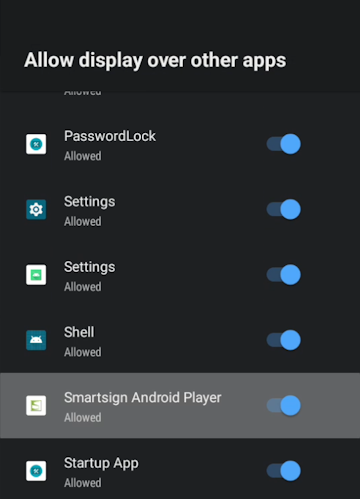
- Smartsign Config will launch and a panel requesting Allow display over other apps will appear.
Scroll down to find Smartsign Android Player, Enable the permission and press BACK to close the panel.
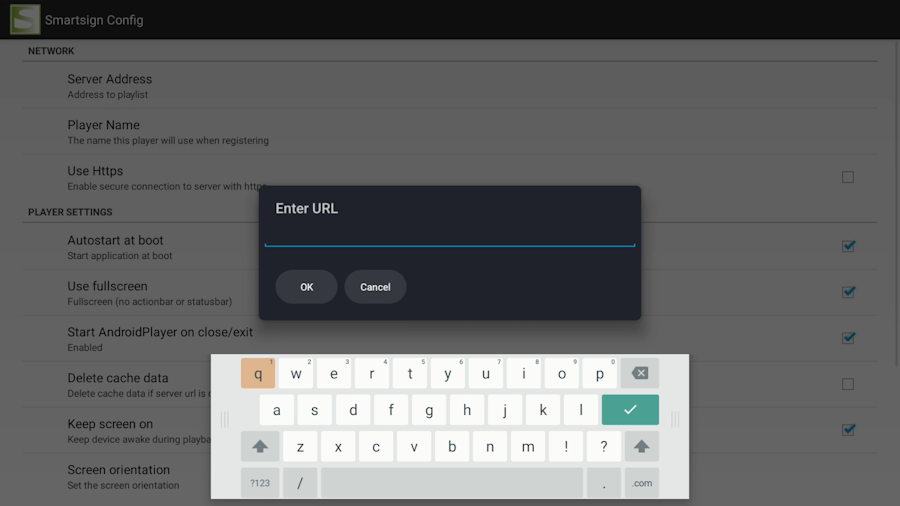
- Select Server Address and input your server (hostname only), then click OK
- EU Cloud service: eu.smartsigncloud.com
- AU Cloud service: au.smartsigncloud.com
- On-premises: Use the hostname or IP that your server is configured with
- Adjust other settings to your liking
- Exit, by pressing BACK
- The player should now launch and show a registration code after a few moments