Installation
Initial setup (unpacking new display)
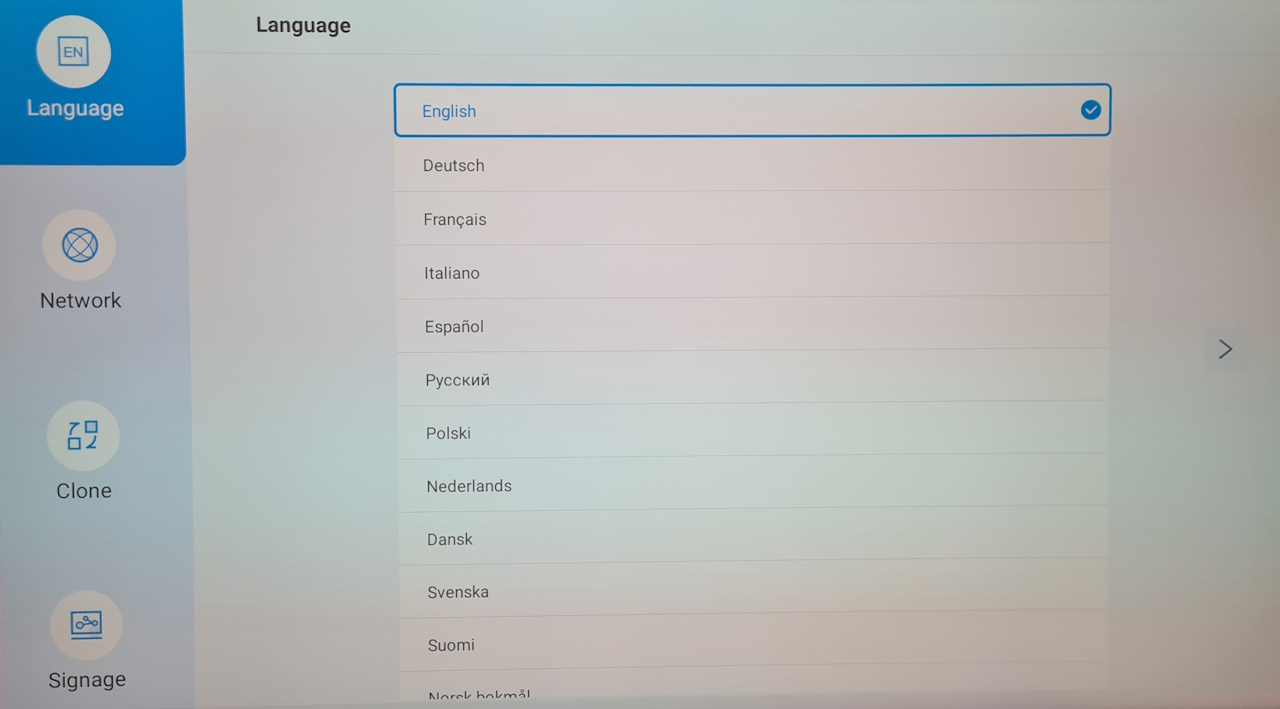
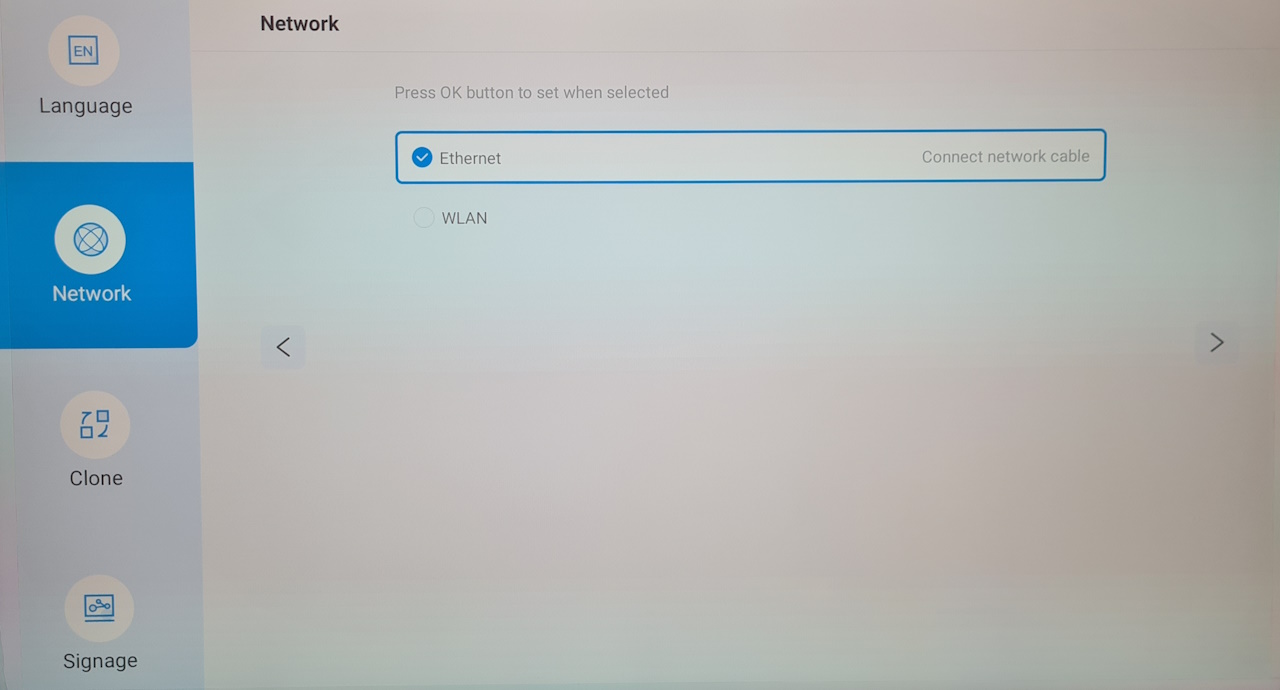
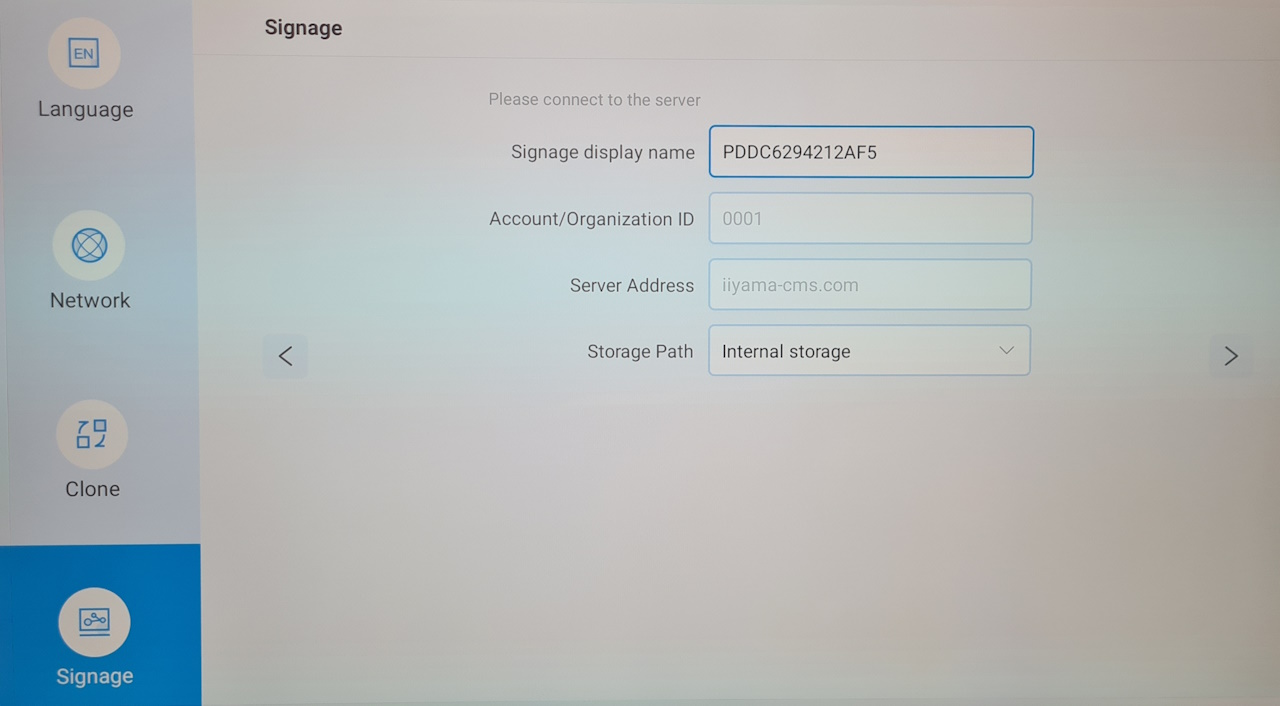
When you turn on your screen for the first time you must complete a setup guide. It can vary slightly between models so the below steps and their order may not be exact.
- Language: Select language
- Network: Select Wired or connect to Wi-Fi
- Clone: SKIP

- Signage: SKIP
- Initial setup complete
- If you need to change orientation:
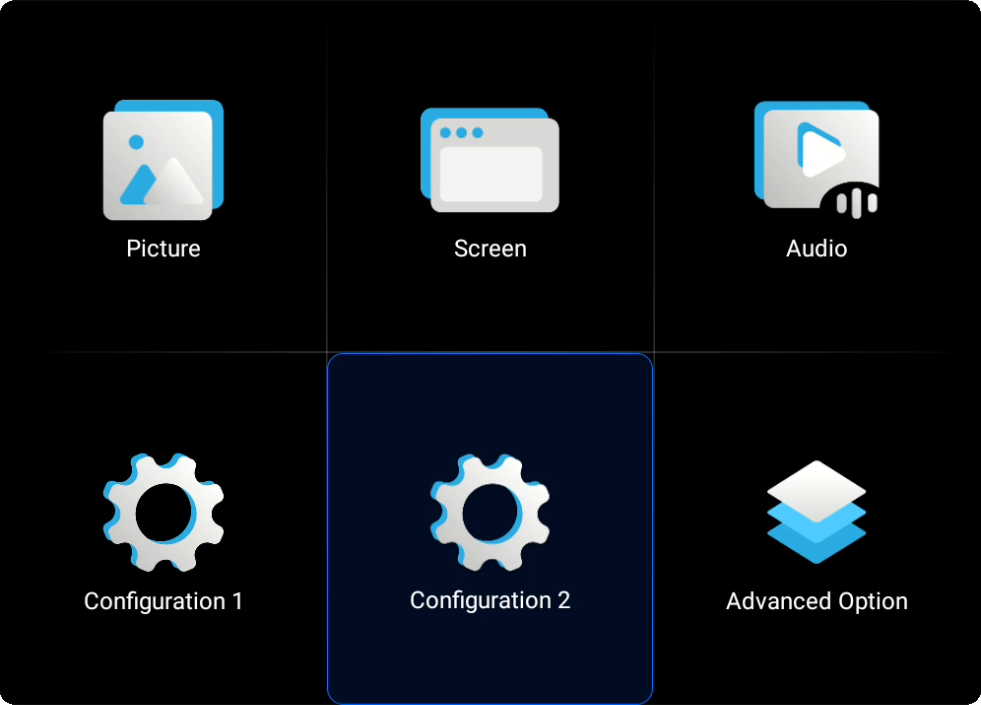
- Press HOME on the remote
- Select Configuration 2
- Select System orientation
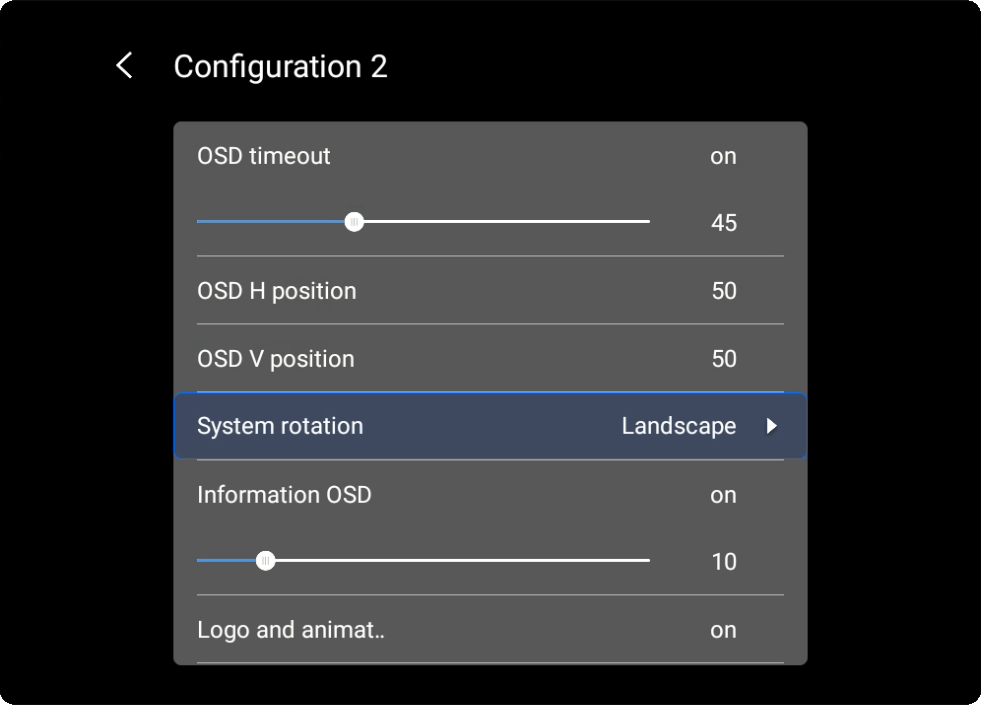
- Select your desired orientation
- Press HOME to exit the menu
Installing Smartsign Android Player
- Download the Smartsign Android Player
- Place the APK file on a USB flash drive
- Plug the USB flash drive into the device
- Using the remote, press HOME 1 6 6 8, this will open the Android shell
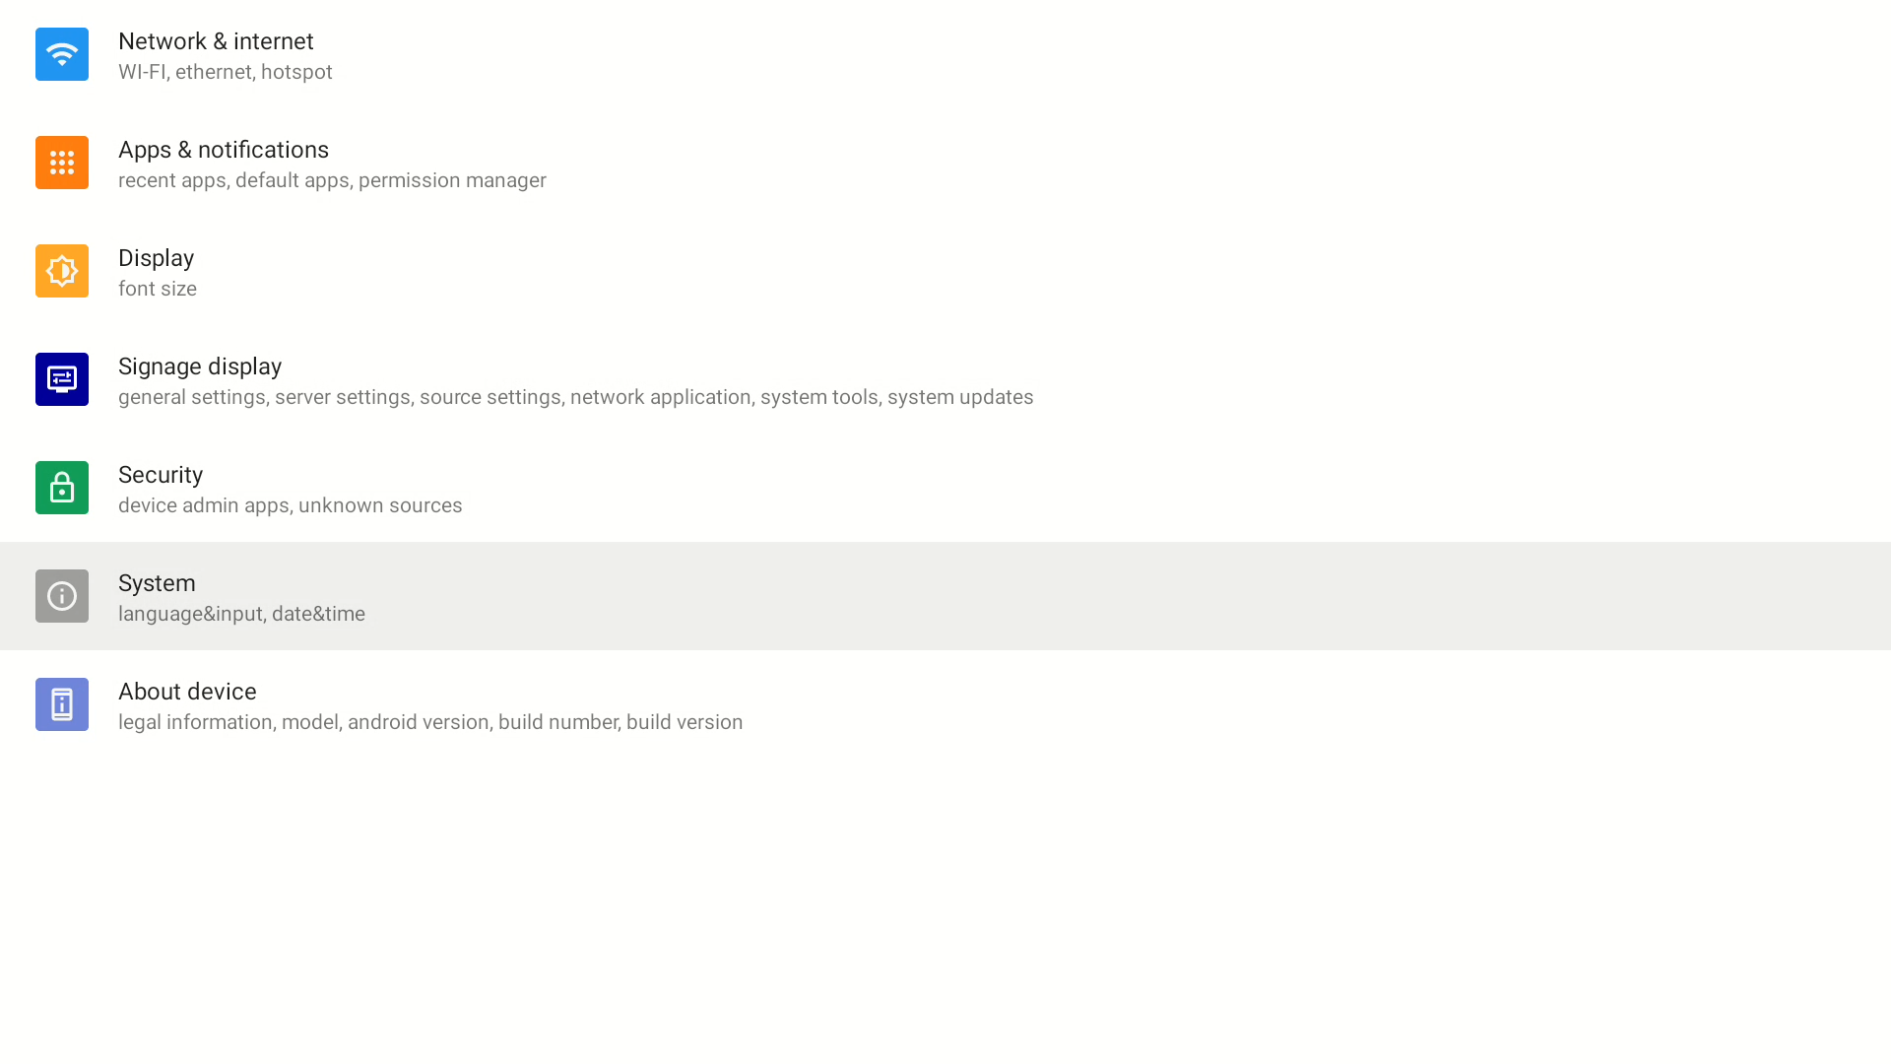
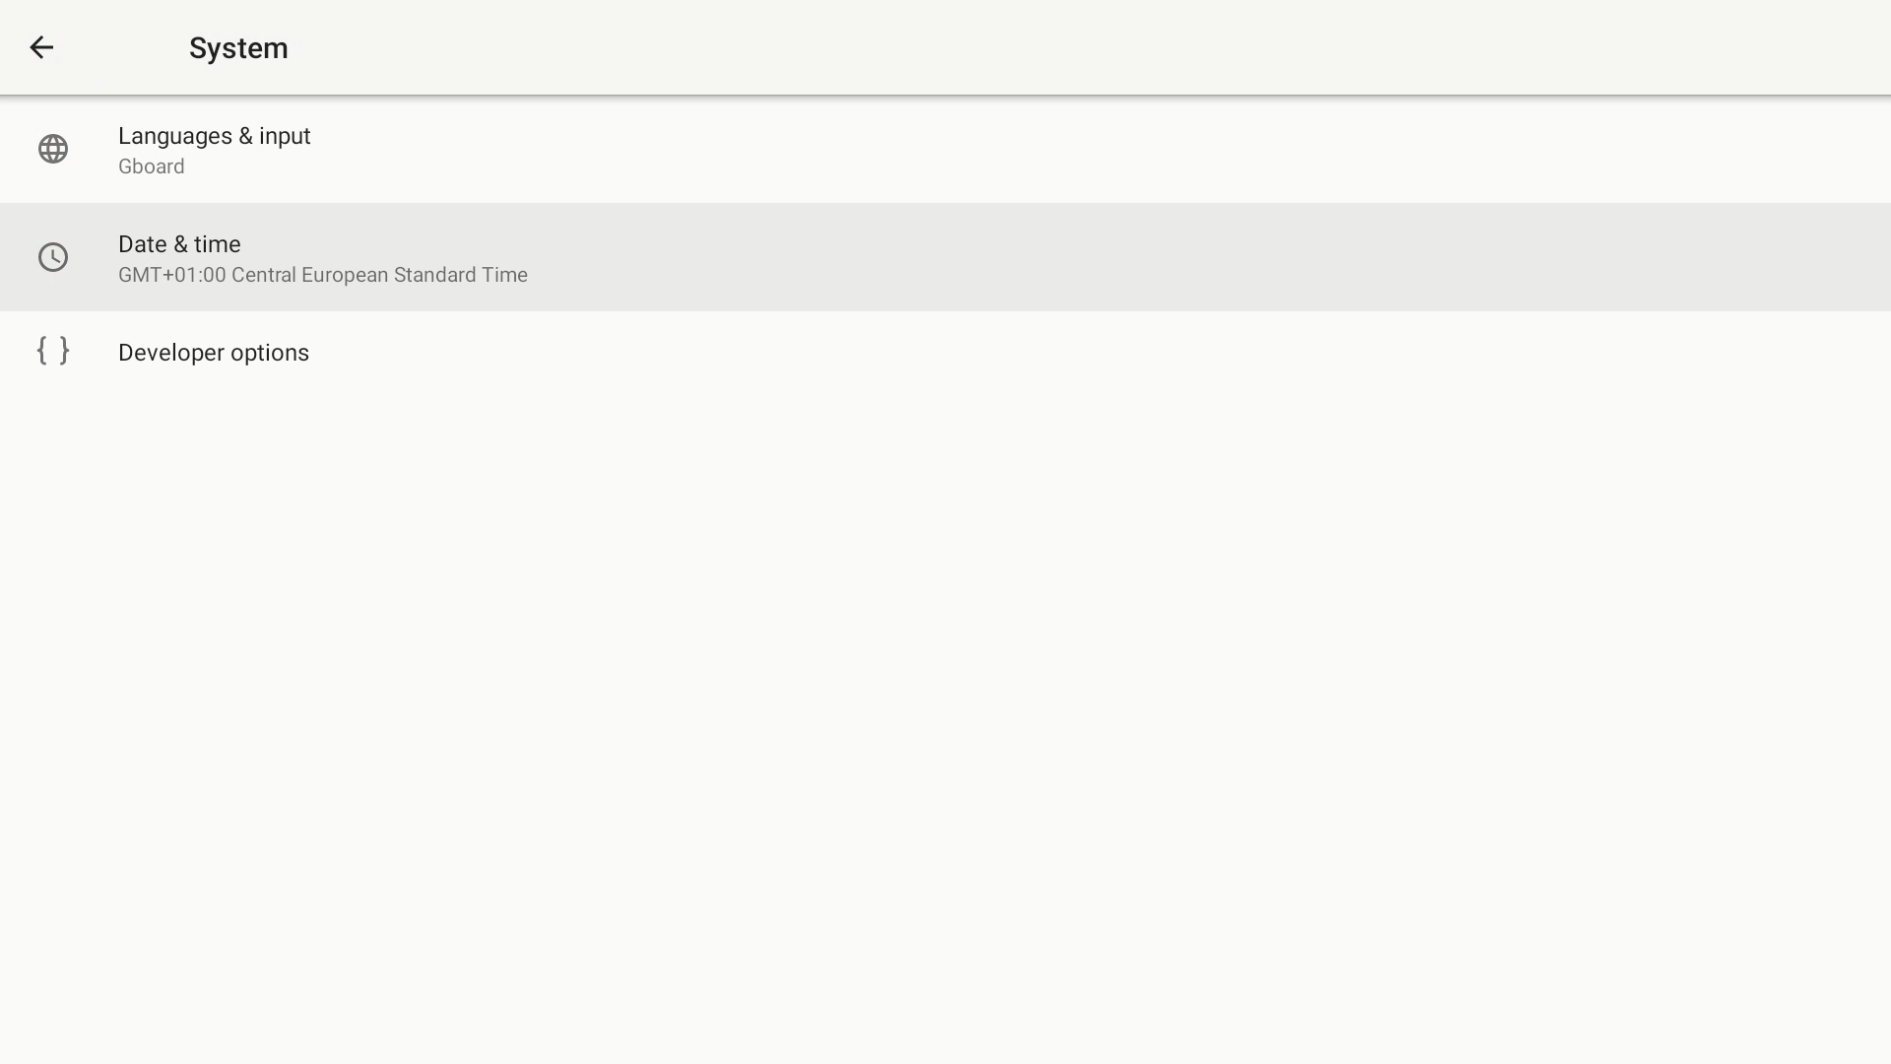
- Select Settings -> System -> Date & Time
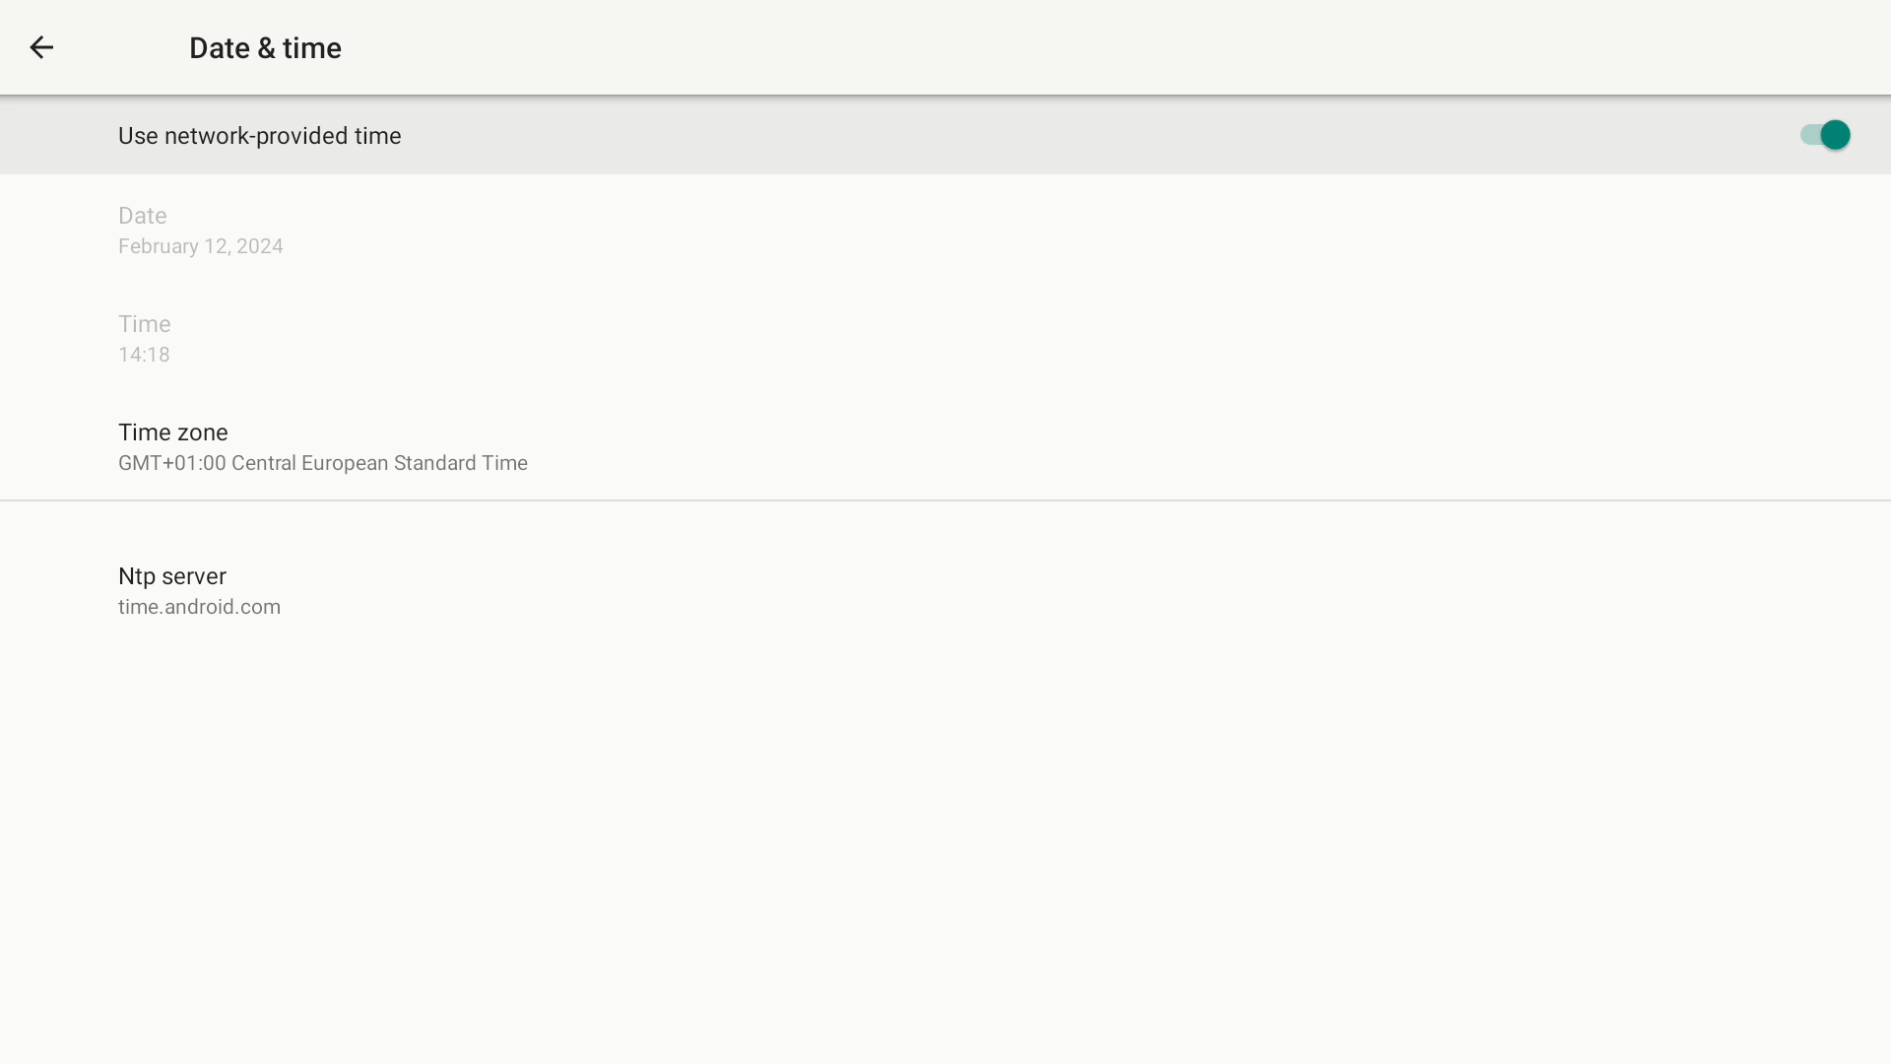
- Verify that the date and time is accurate, update if necessary
- Use BACK to return to the first page
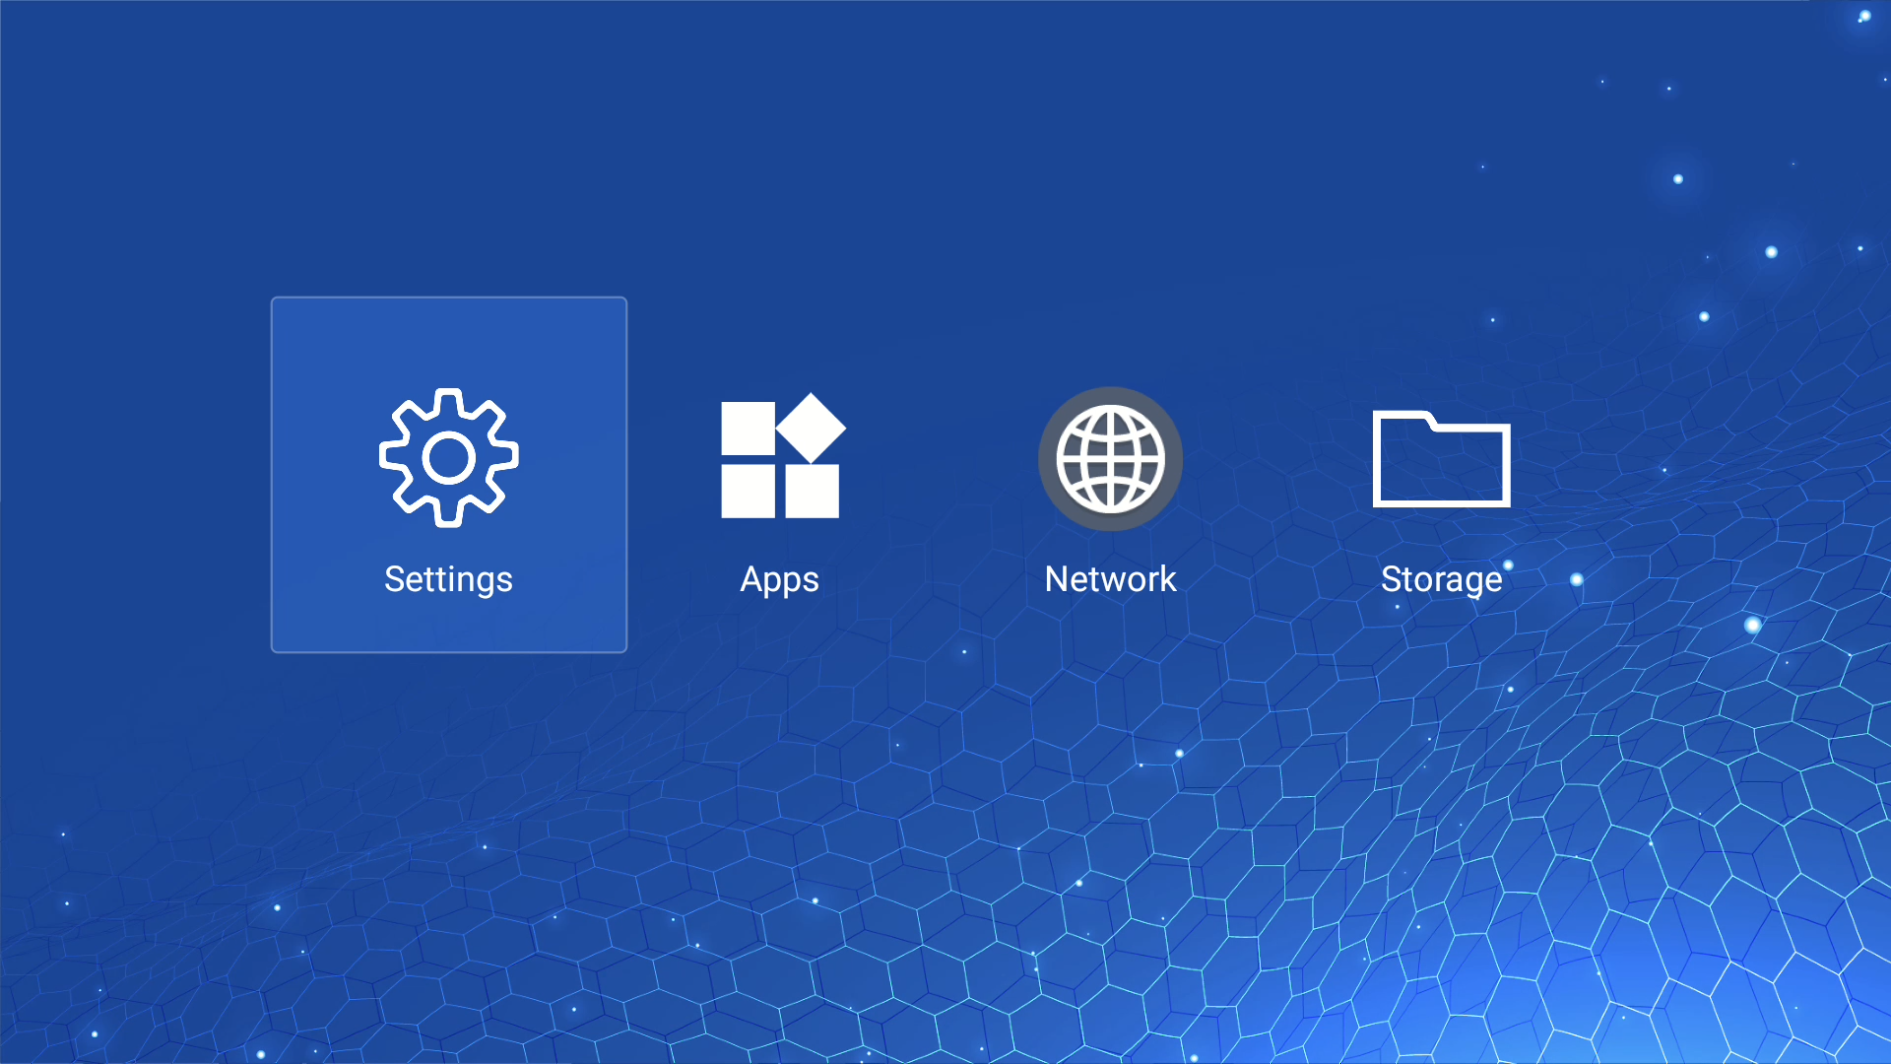
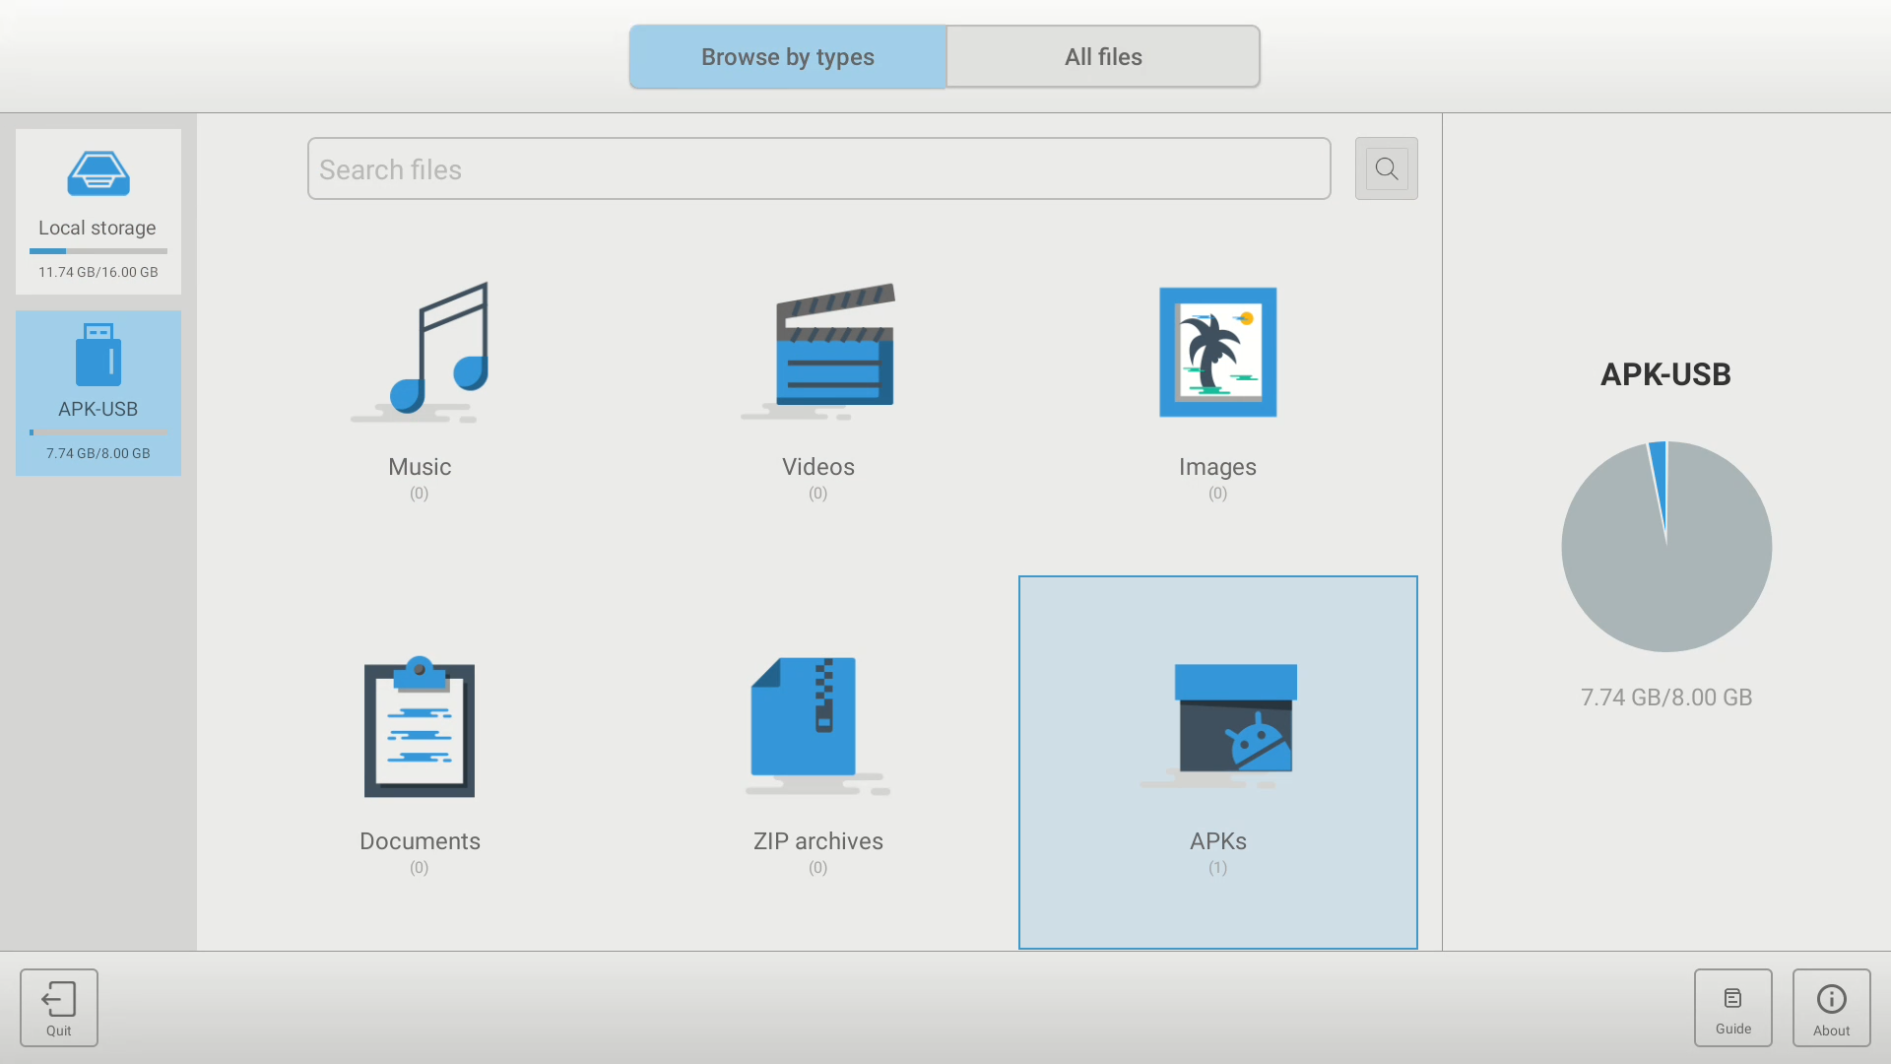
- Select Storage

- Select USB drive on the left and then APKs
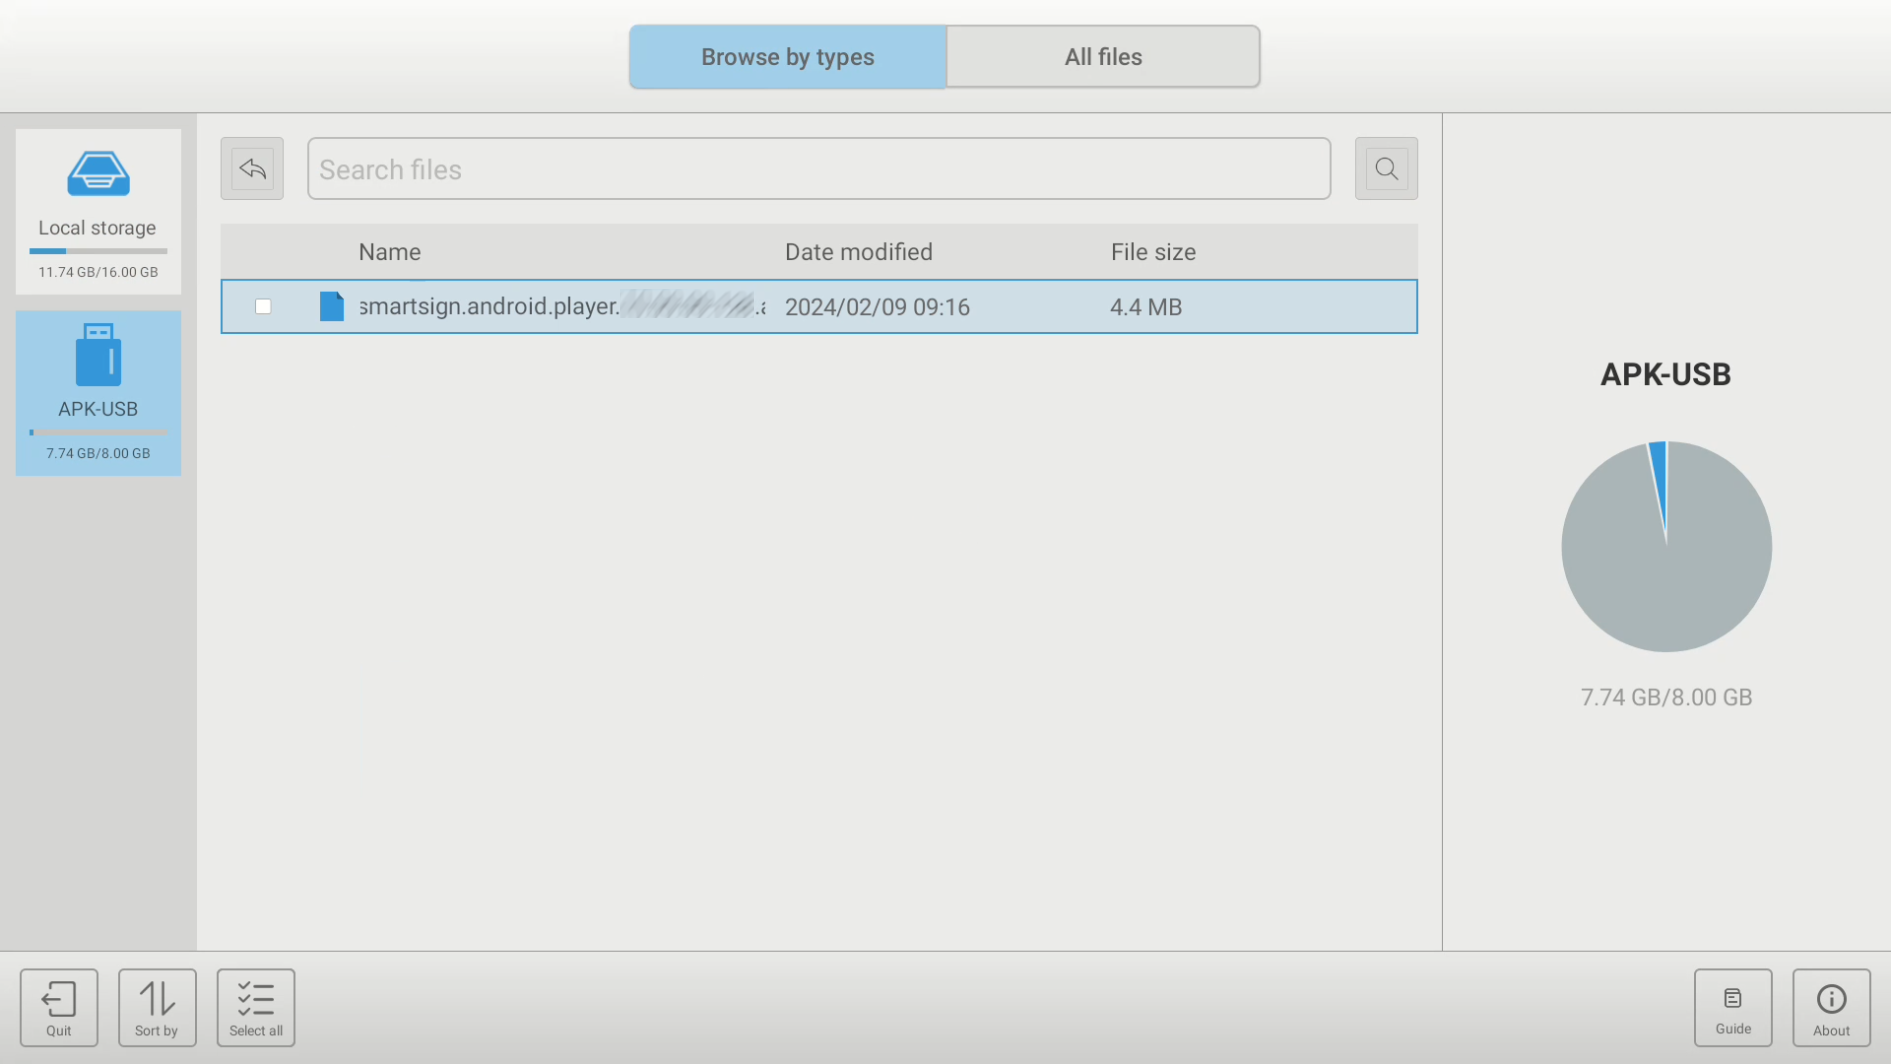
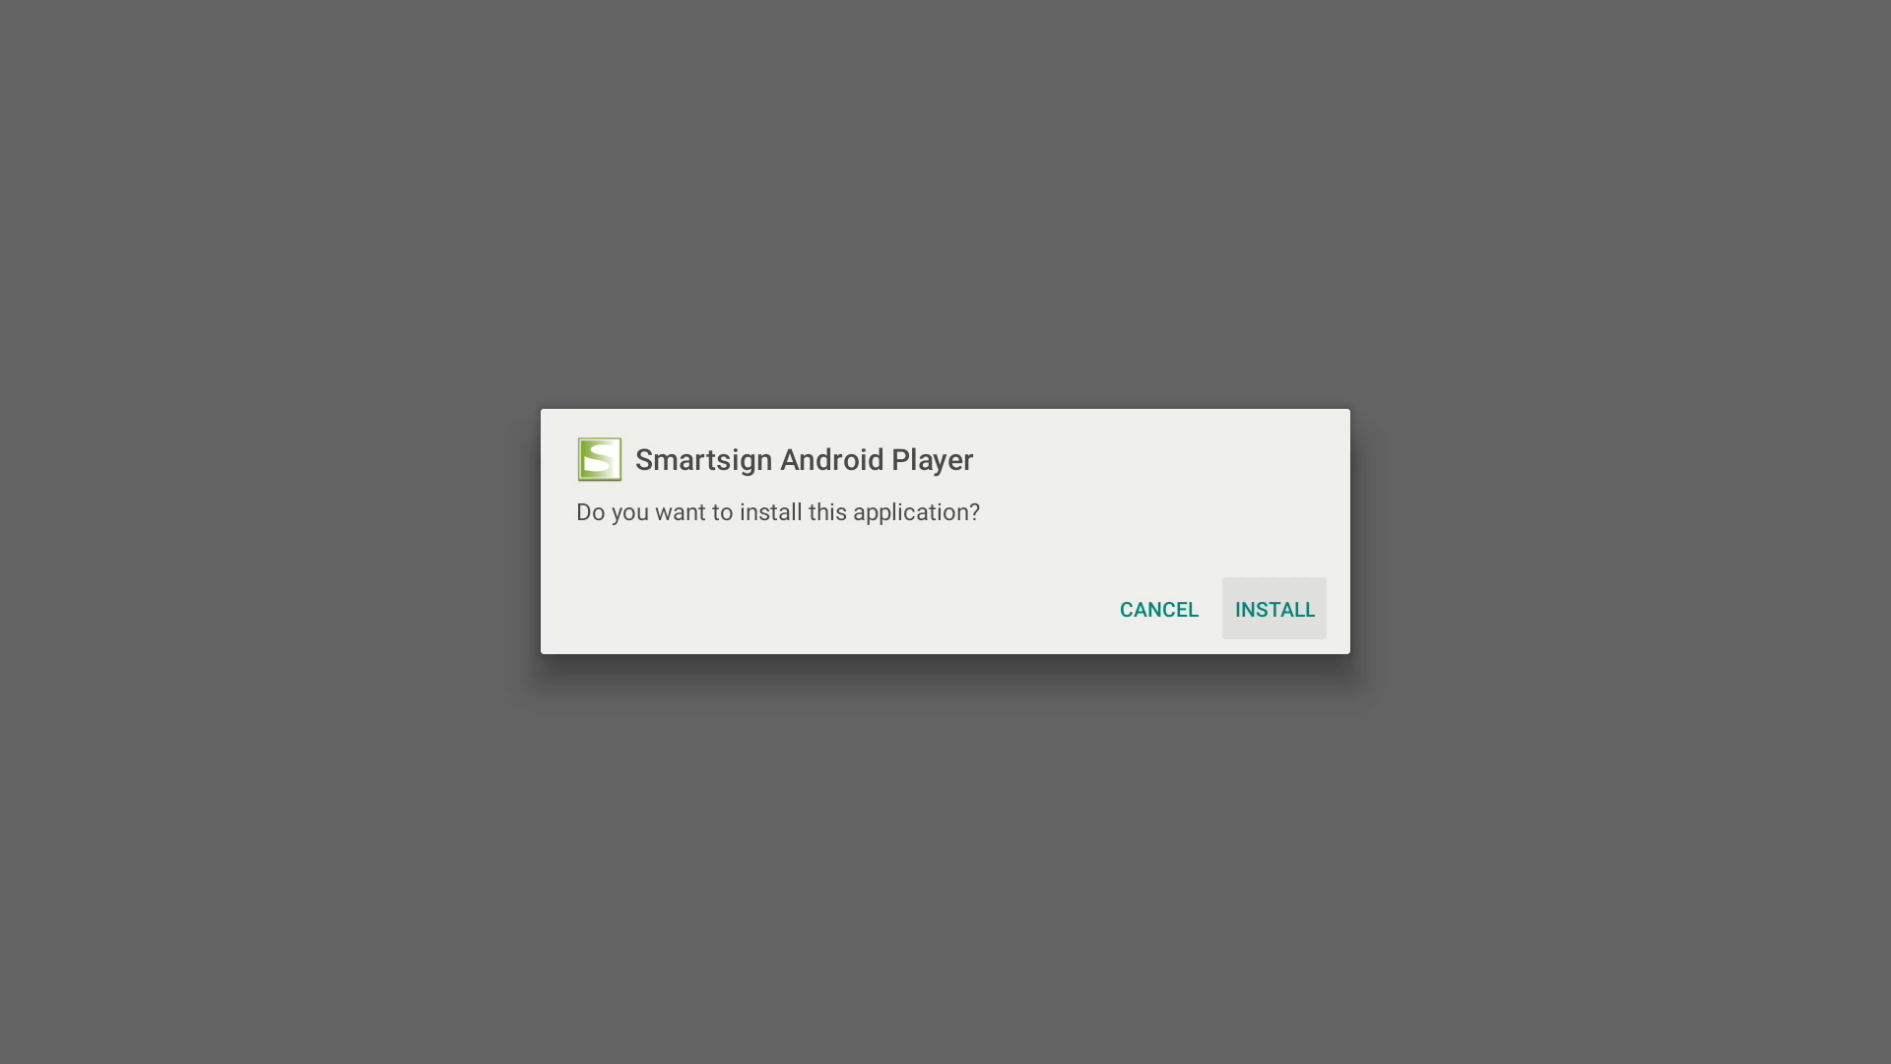
- Select the Smartsign Android Player APK
- Select Install
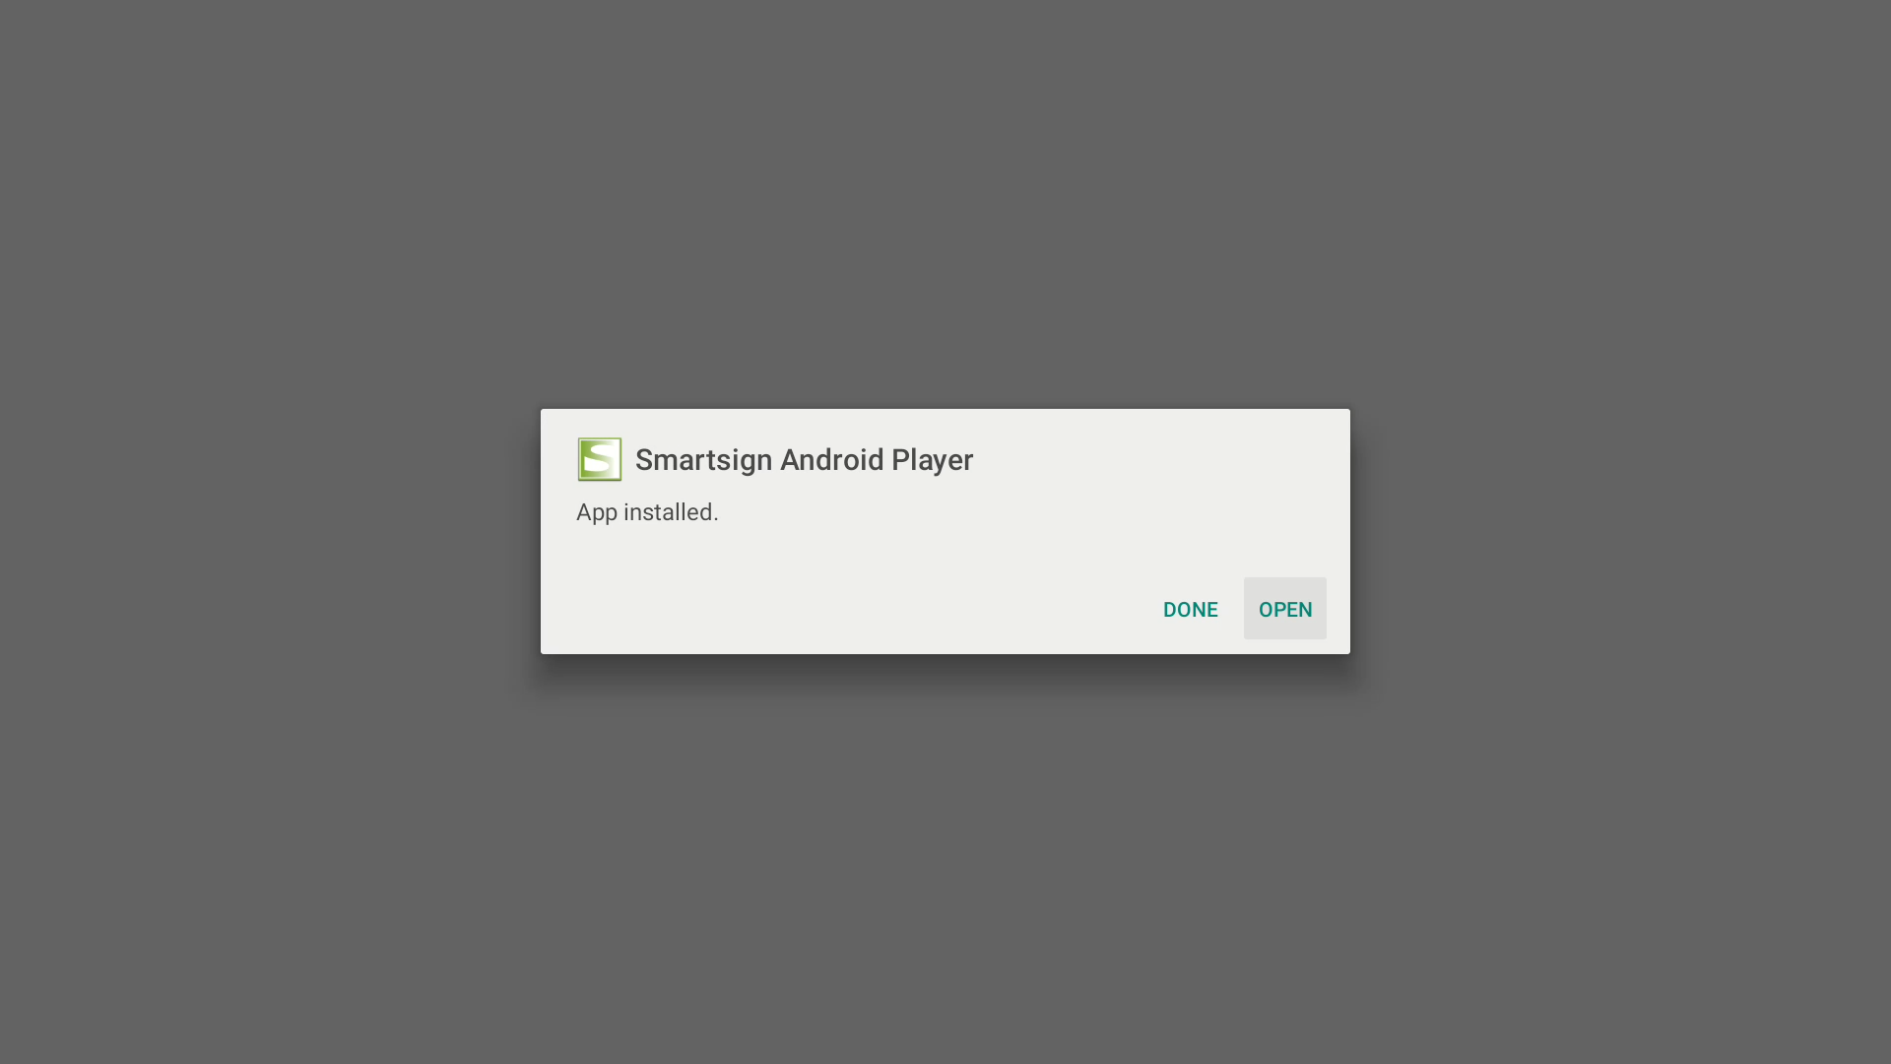
- Select Open
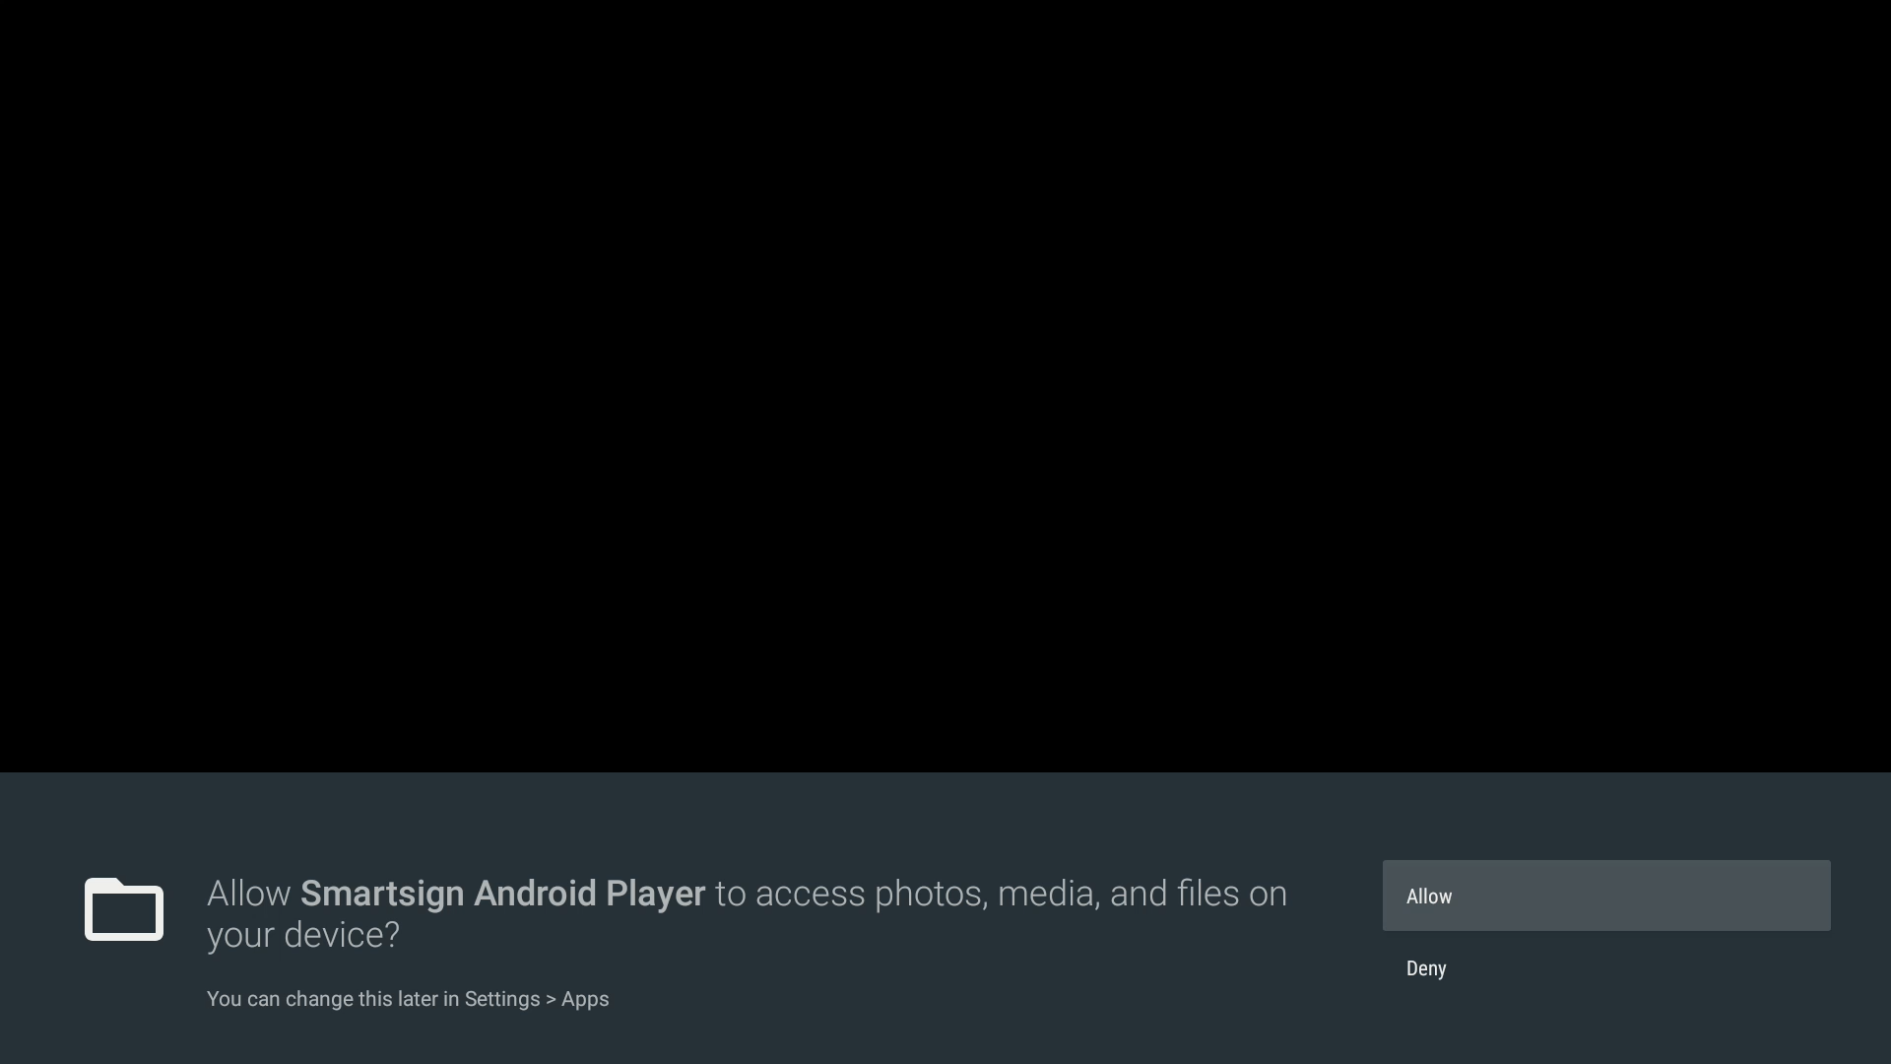
- Approve permissions for Smartsign Android Player when asked
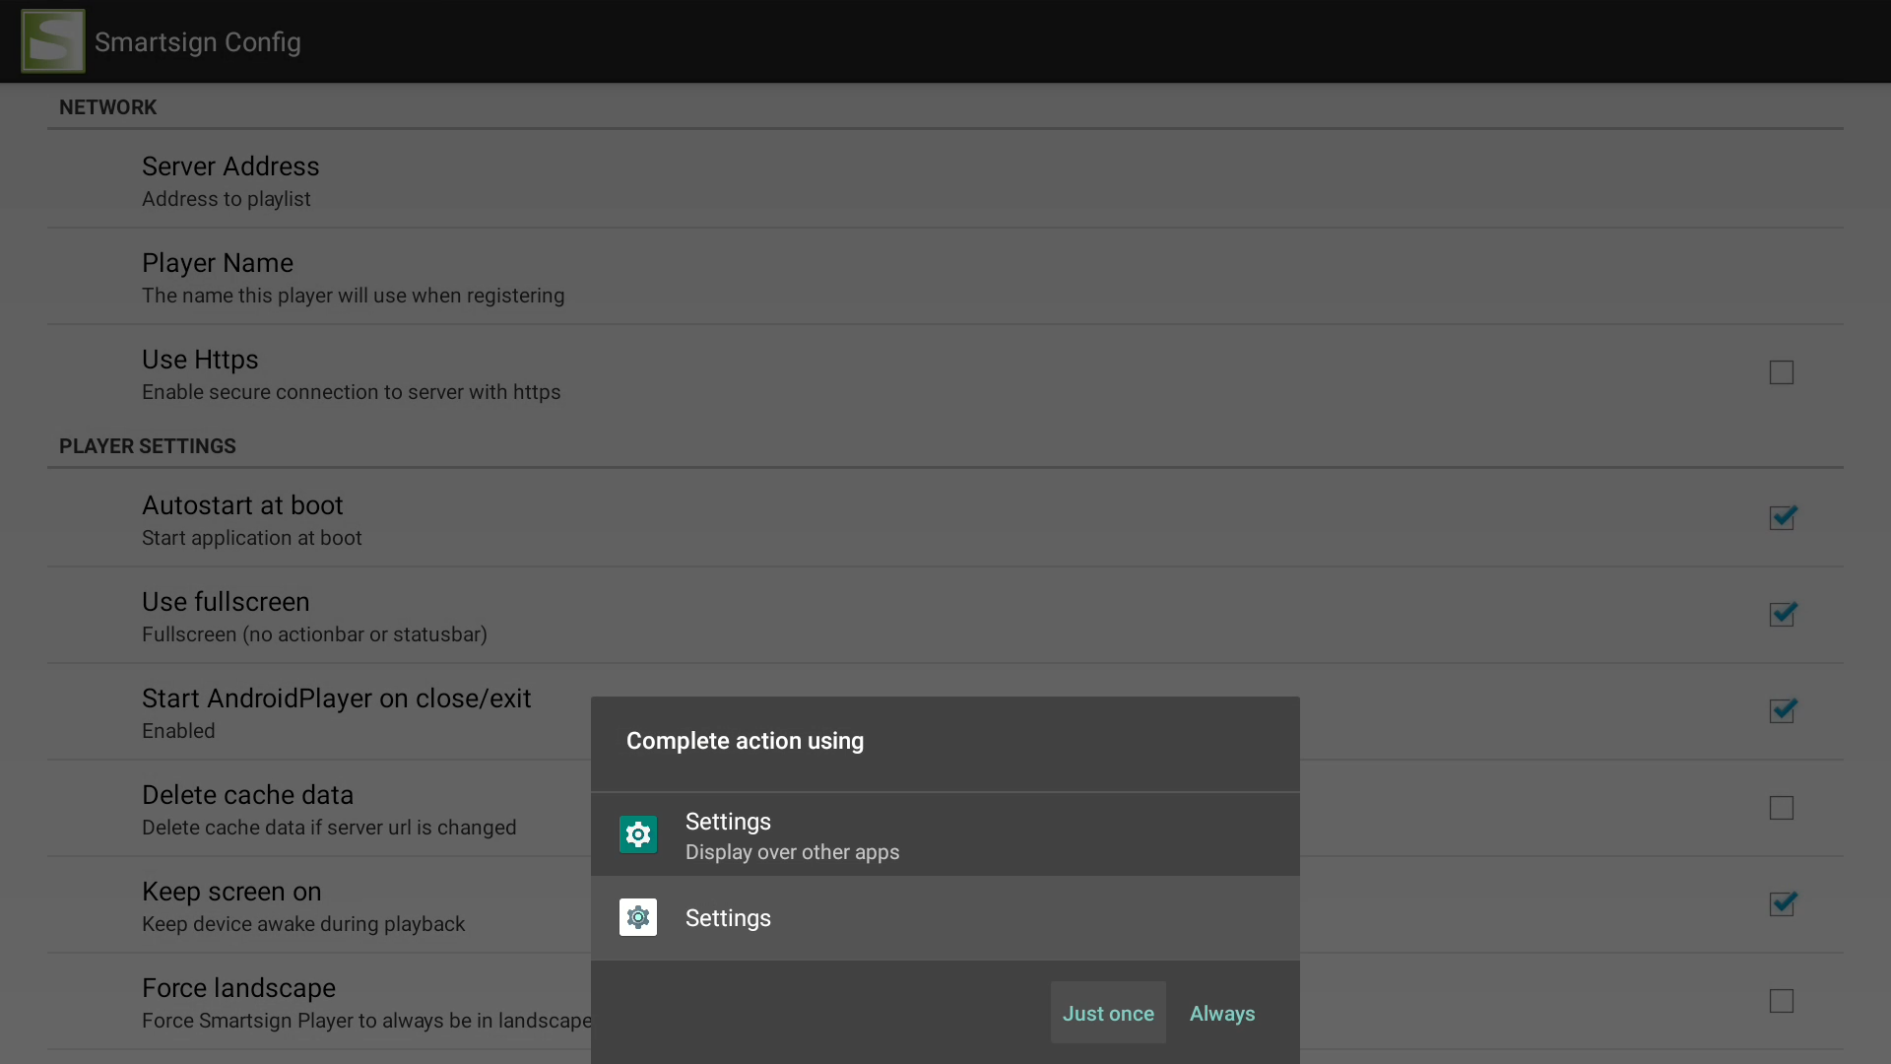
- Smartsign Config will launch and a prompt to select which Settings app to use, select the grey on white icon
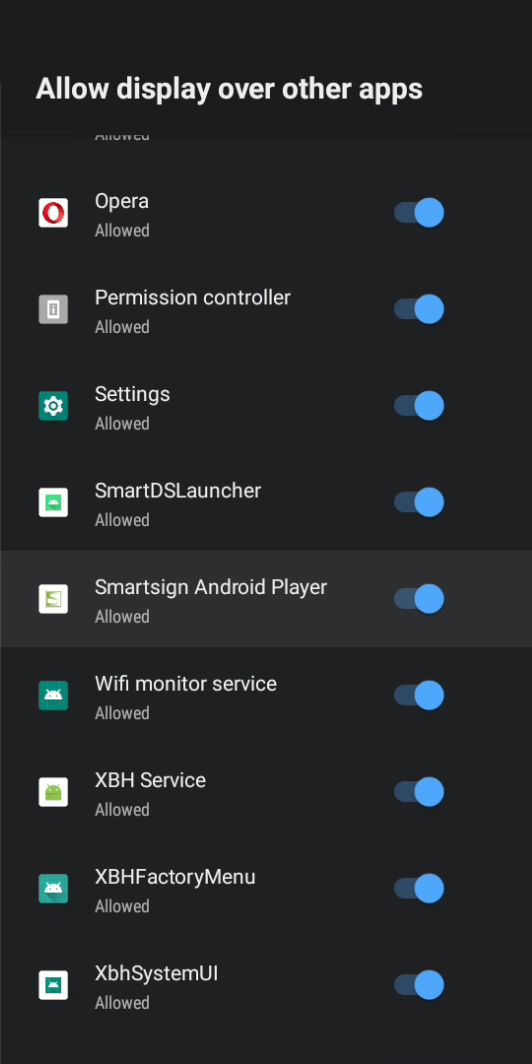
- Allow display over other apps: Find and enable Smartsign Android Player, then close by pressing BACK
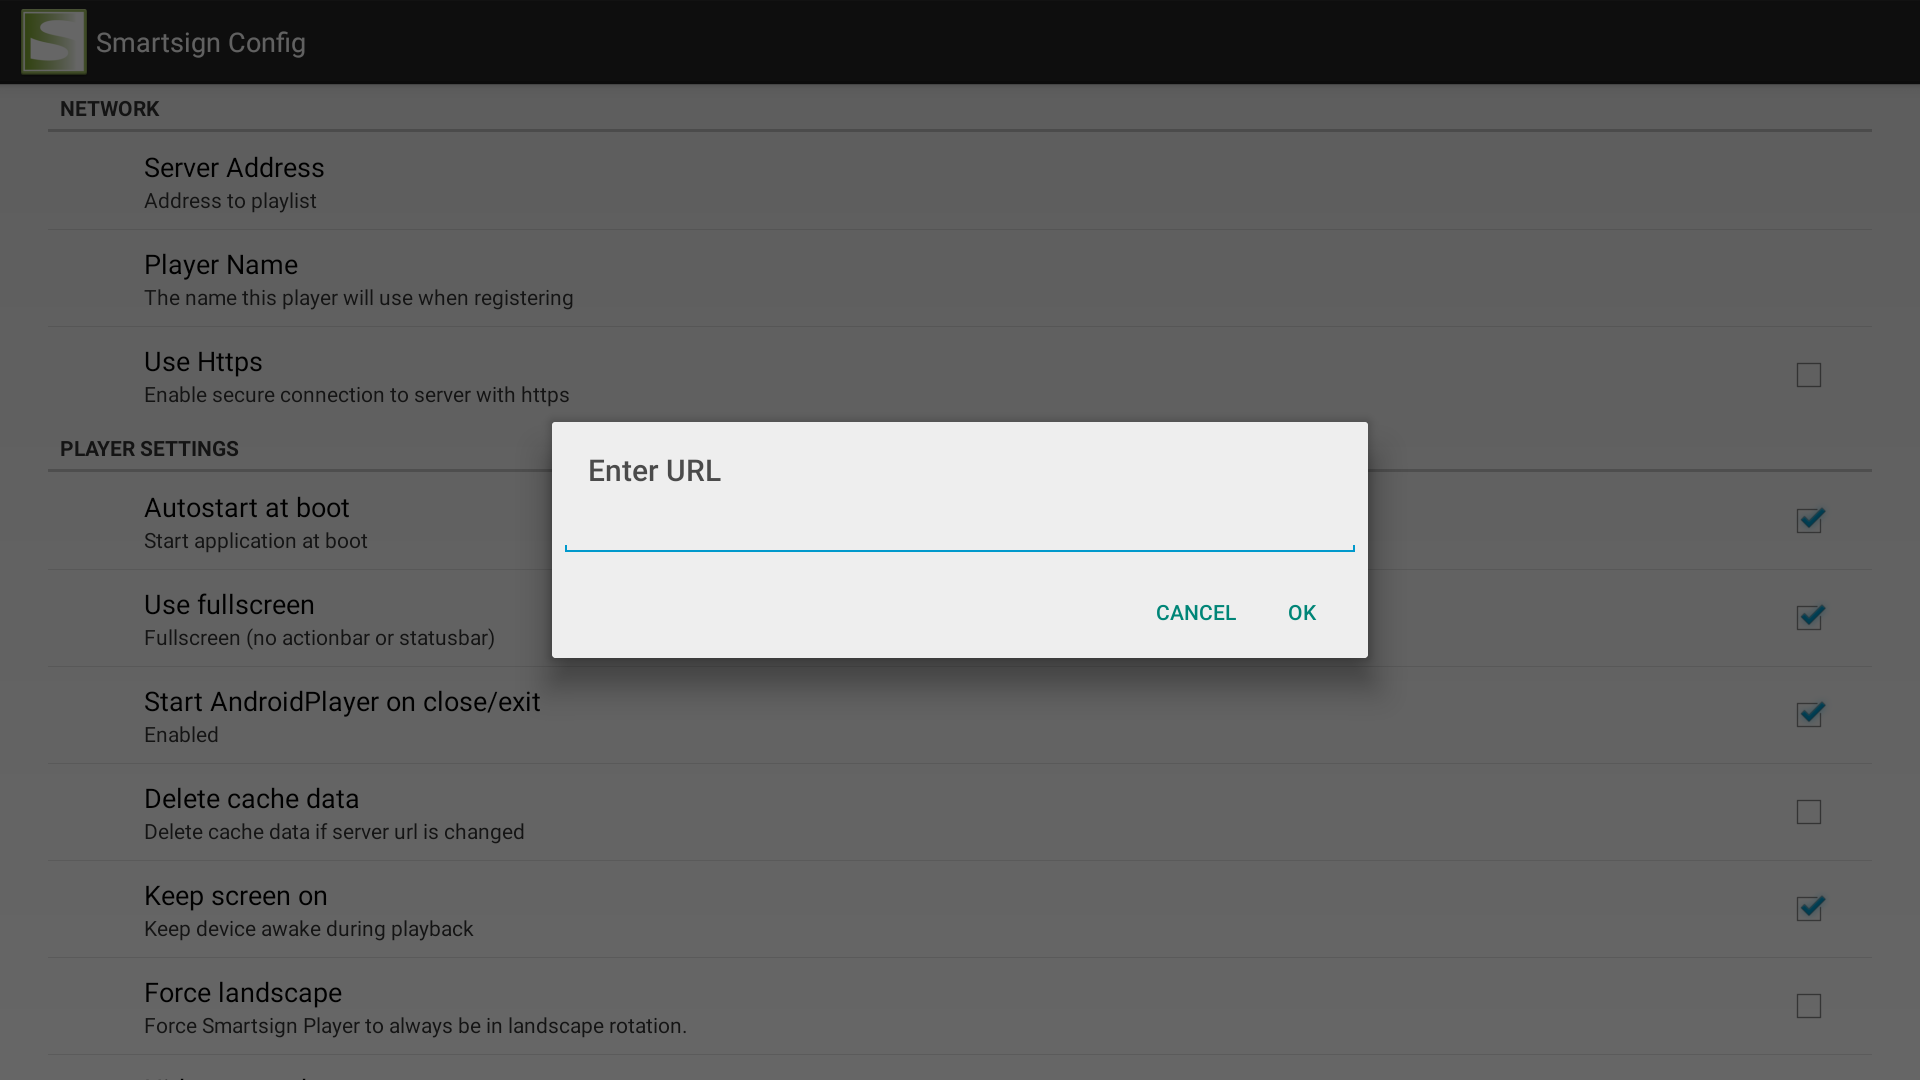
- Select Server Address and input your server (hostname only), then click OK
- EU Cloud service: eu.smartsigncloud.com
- AU Cloud service: au.smartsigncloud.com
- On-premises: Use the hostname or IP that your server is configured with
- Adjust other settings to your liking
- Exit
- The player should now launch and show a registration code after a few moments