Accept invitation and create user account
After an administrator adds you to Smartsign, you’ll receive an email invitation with a link to join the site.
This invitation allows you to create your Smartsign ID and gain access to the resources your administrator has assigned to you.
Follow the steps below to complete your account setup and start using Smartsign.
-
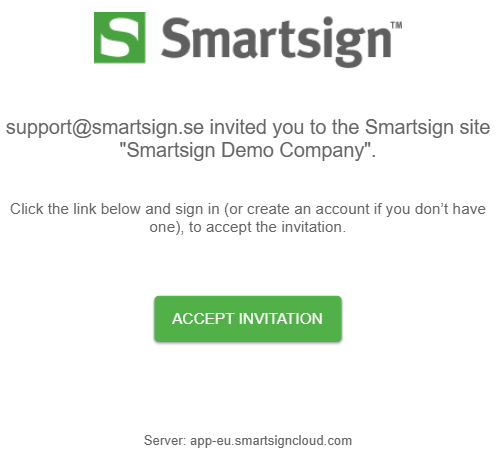
Click on the accept invitation button in the email.
-
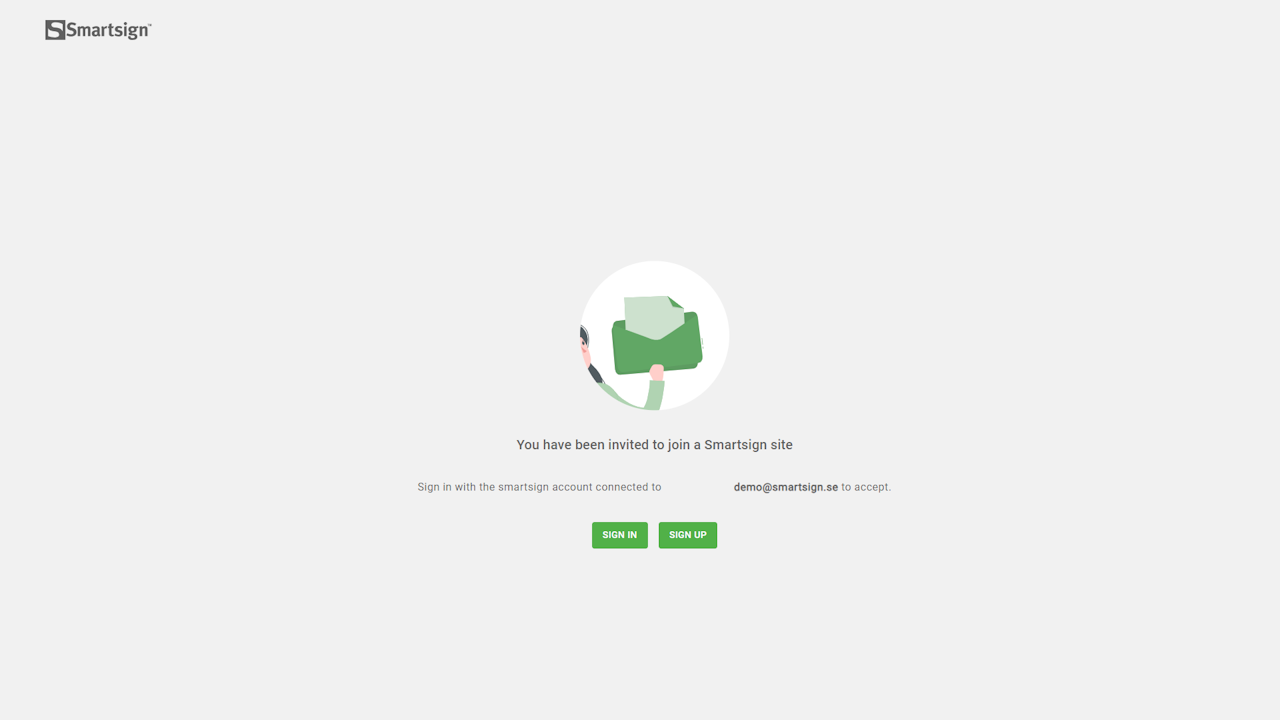
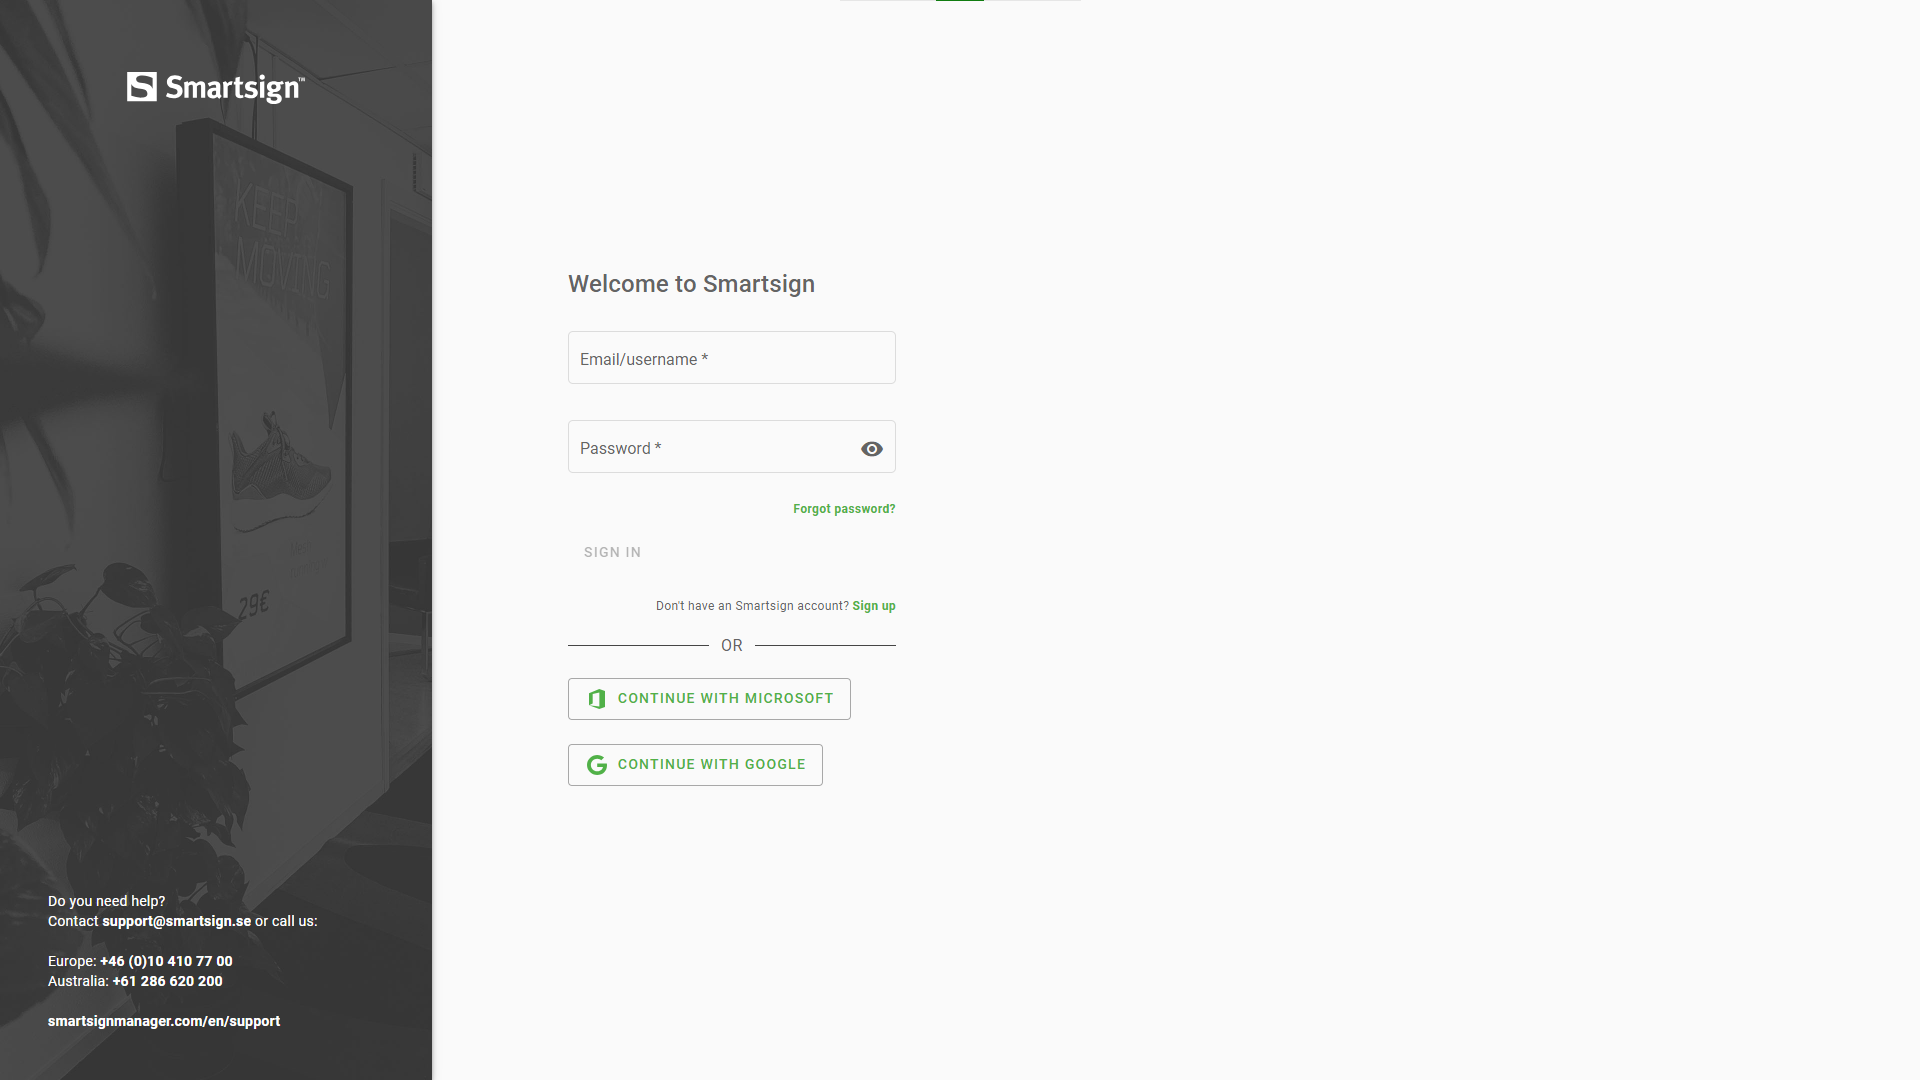
Choose whether to Sign In (if you already have a Smartsign account for other sites) or Sign Up as a new user.
-
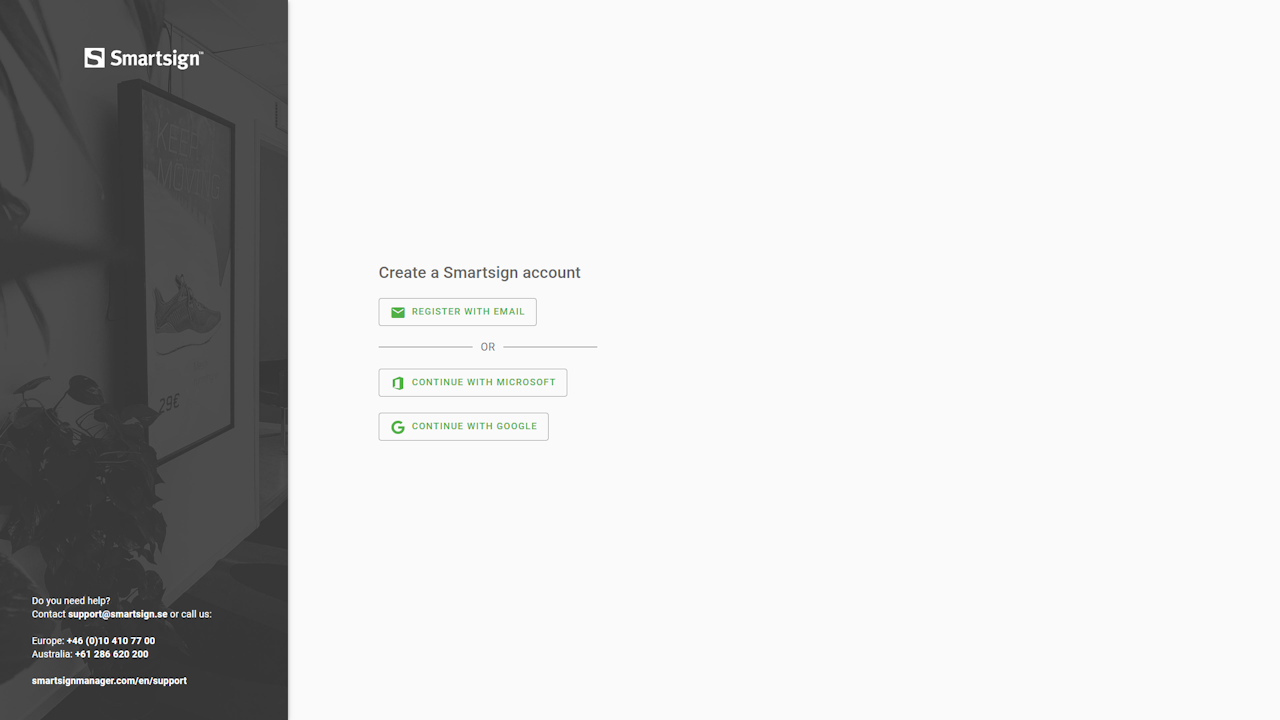
When selecting Sign Up, choose your preferred login method.
- Register with email - register manually by entering your email and selecting a password.
- Continue with Microsoft - use your Microsoft account to sign in.
- Continue with Google - use your Google account to sign in.
-
In this example, we will register with email.
-
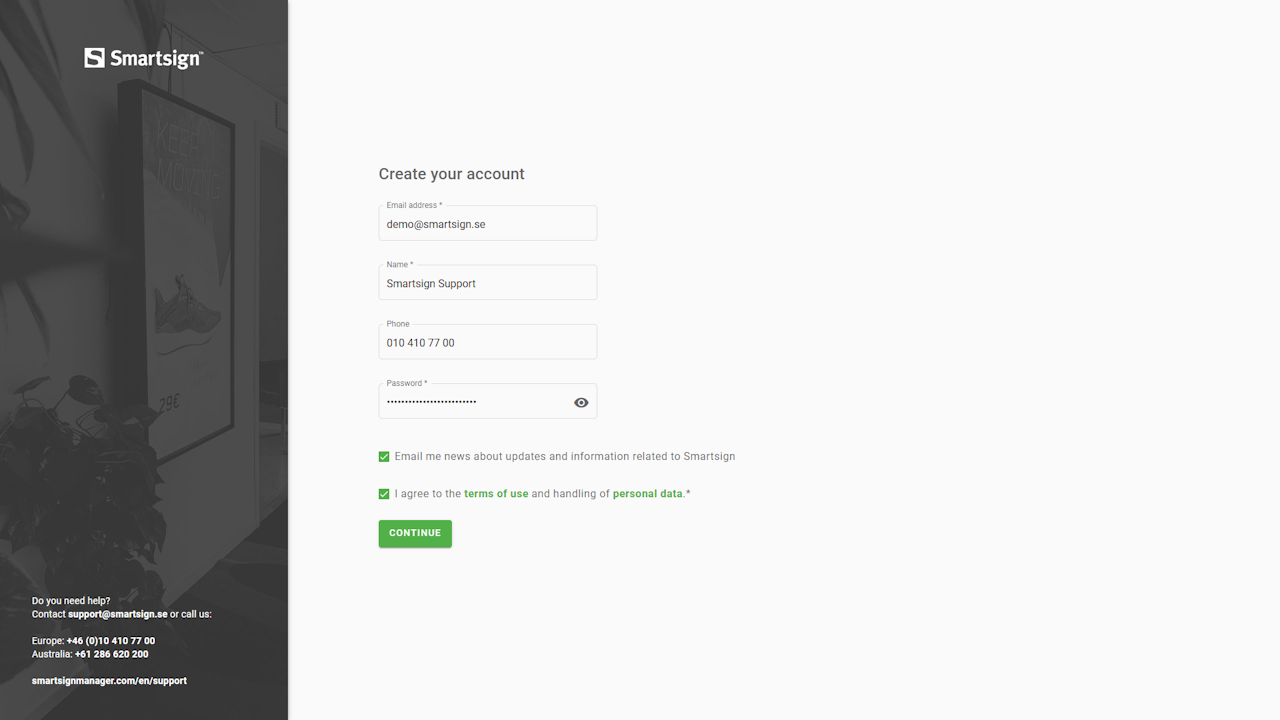
Enter information and continue when done.
-
When registration is complete, sign in with your credentials.
-
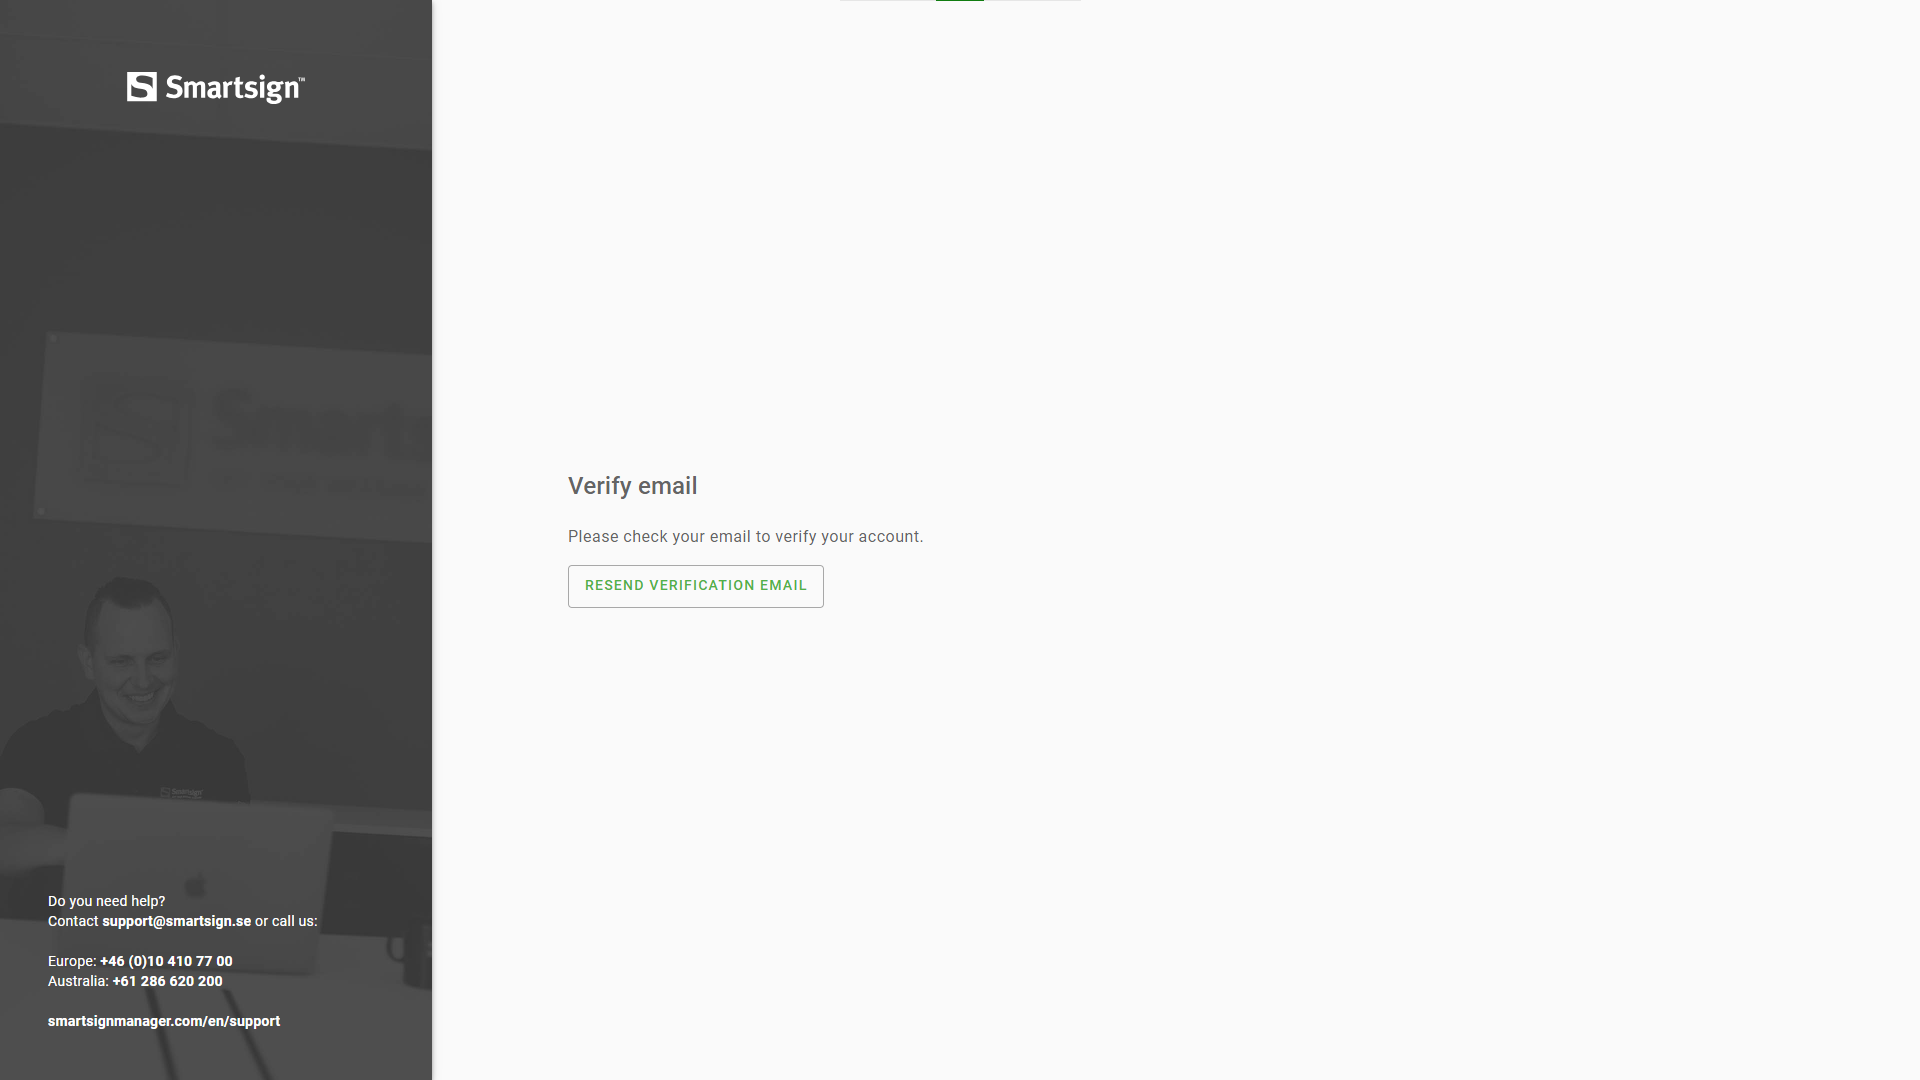
The first time you sign in, you’ll be asked to verify your email address.
-
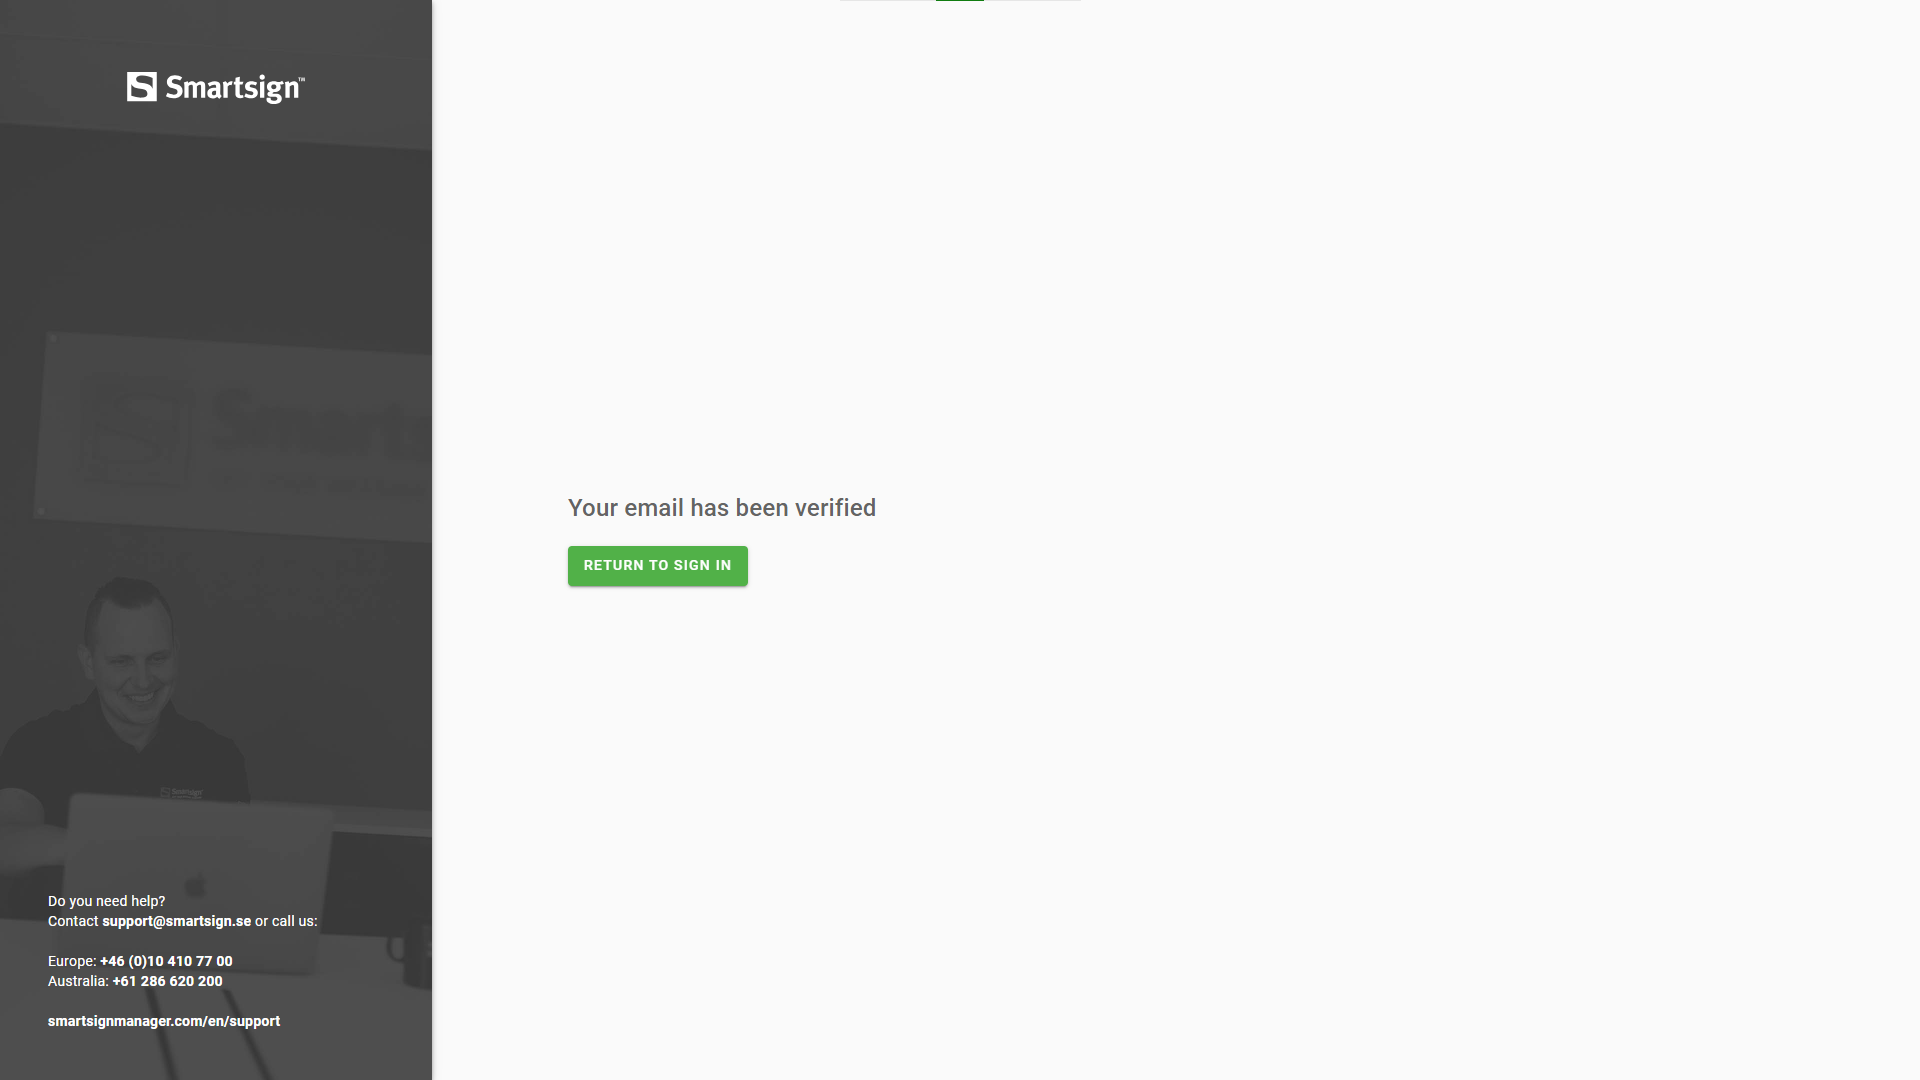
After verification, sign in again.
-
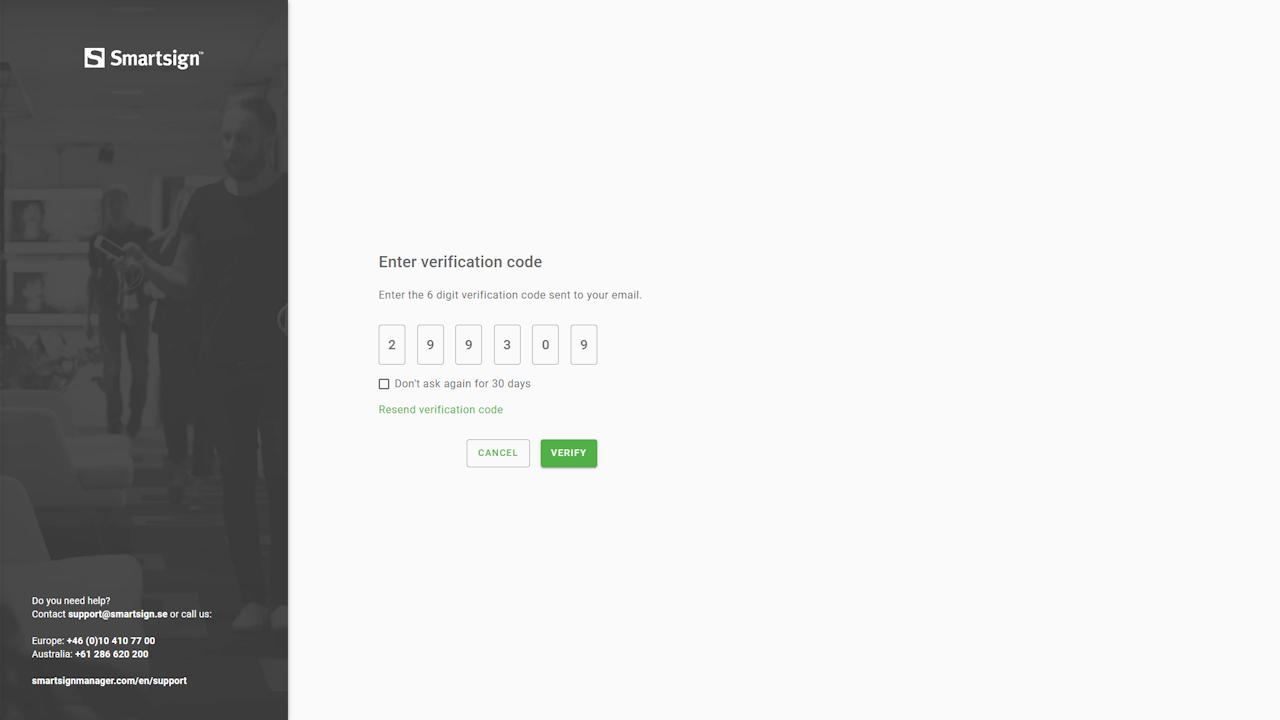
If you sign in using email and password, a verification code will be sent to your email. Enter this code to continue.
-
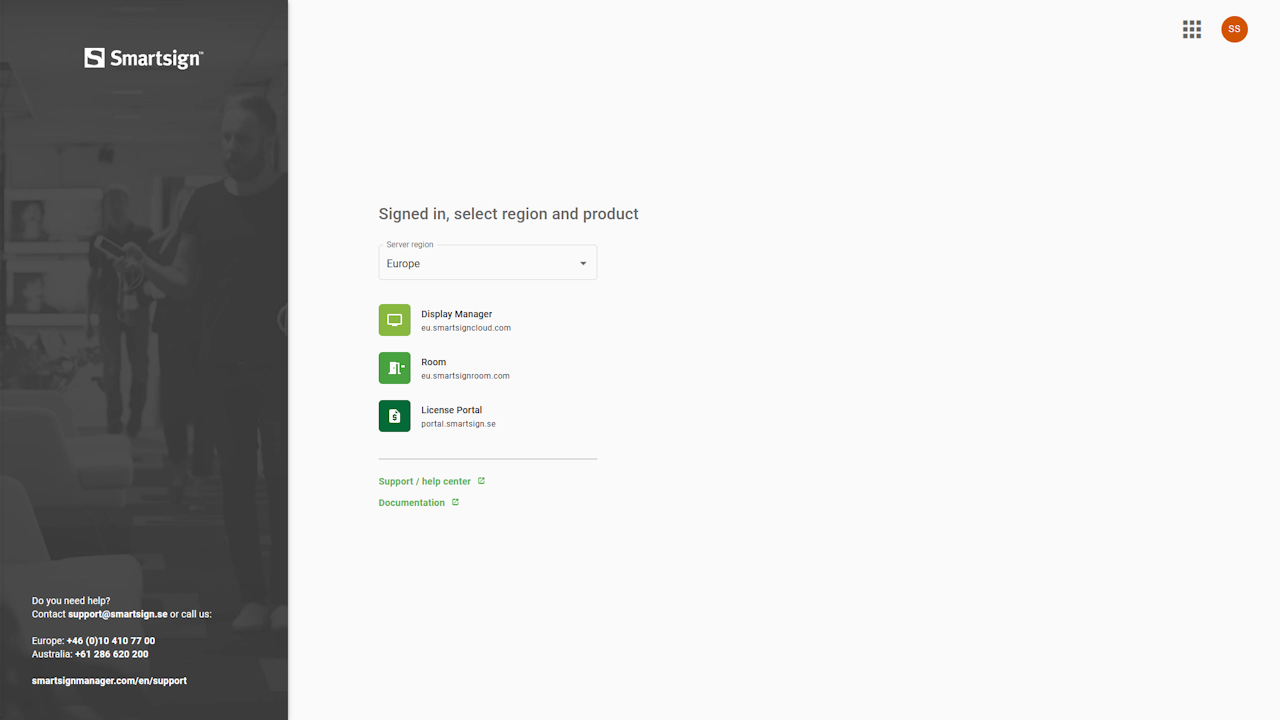
After signing in, select your region and product. Display Manager is the interface for the publisher tool.
-
The invitation dialog will reappear — click Accept to join the site.

-
The user now has access to the specified resources and permissions within their assigned group.

Once verified, you can start publishing and managing content according to your assigned permissions.