Exchange
Introduction
The Exchange data source imports bookings from resource calendars in Exchange so that they can be presented on screen using the Wayfinder widgets.
Server requirements
Exchange Server 2010 to 2016 with EWS API enabled
Smartsign Server 10.2 or higher
Create an Exchange Data Source
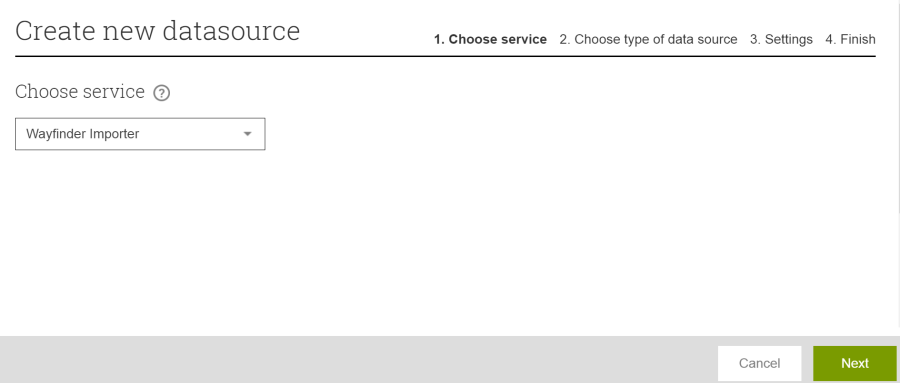
Login to Smartsign Publisher, go to Management -> Data sources and click on Create New.
Select your Wayfinder Importer service in the list and then click
"Next".
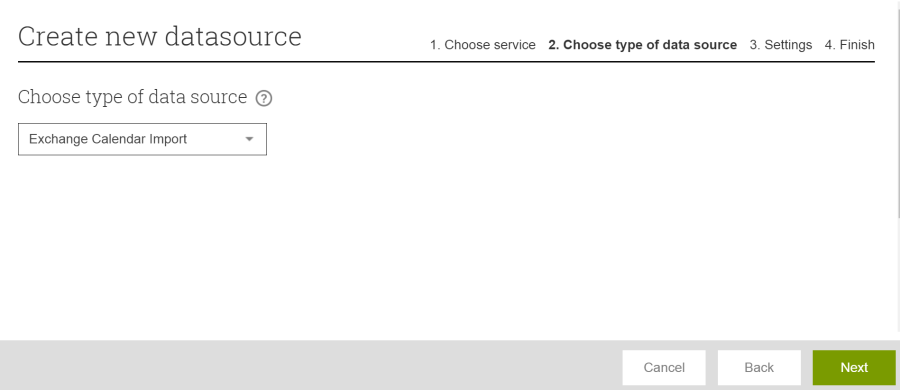
Select Exchange Calendar Import, click "Next" and fill in the necessary
settings to synchronize calendars from your Exchange solution into Smartsign
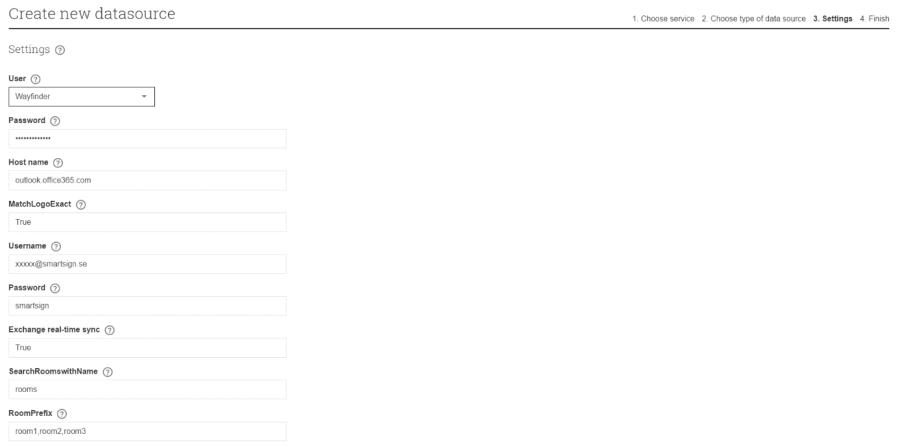
Exchange Calendar Import - Data Source Settings
| Setting | Description |
|---|---|
|
User |
Select a Smartsign user, we recommend creating a specific one for this purpose |
|
Password |
Password for the Smartsign user above |
|
Hostname |
Example: exchange.example.com |
|
ServicePath |
/EWS/Exchange.asmx |
|
Username |
Exchange username with access to all relevant calendars |
|
Password |
Password for the Exchange user |
|
Exchange real-time sync |
False |
|
SearchRoomswithName |
String to search for in room names. If blank, only room mailboxes that are members of a roomlist distribution group can be used. |
|
RoomPrefix |
Can only be used in combination with either Roomlists or the SearchRoomswithName setting. It adds an additional filter so that only rooms found beginning with RoomPrefix are transferred. Multiple Room prefixes can be used by separating them with a comma (,). |
|
TrustedServerName |
This should be the computer name of the Exchange server |
|
Exchange on-premises |
Should normally be set as follows: |
|
HidePrivateBookingNames |
True: Hide the booking name on private bookings. |
|
BookingNameFilter (Available from version 10.5.43) |
Input a string to only import bookings that contain that specific string. |
|
TwoWaySync |
True: Import bookings created in Smartsign (calendar and on screen) into Exchange calendar. Calendar items created in Smartsign can only be modified in Smartsign and vice versa. |
|
LookAheadTime |
Example: 7.00:00:00 = 7 days |
|
CompareWithArchive |
True: Every export from Exchange is compared to the previous one to determine if there are any changes. If no change is detected, no import will be done. This reduces unnecessary updates. |
|
MatchLogos |
True: Search the Media library for images files where the filename or tags match the booking name. If found, the first match will be added to the booking in Smartsign allowing for company logos and similar to be shown on screen together with the booking information. |
|
MatchLogoExact |
True: Only match logos with names or tags matching exactly. |
|
CreateChannels |
True: Automatically create Channels for rooms with bookings found in import data |
|
CombinedRoomNamesSplitFile |
Path to splitfile (only used in special cases) |
Booking names
Exchange resource calendars default to showing the name of the person
that created the appointment. This behaviour can be changed in Exchange
so that it shows the subject of the appointment instead. Please see the
following Microsoft support article for information.
https://support.microsoft.com/en-us/help/2842288/resource-mailbox-s-calendar-shows-the-organizer-s-name-instead-of-the
Exchange Server setup
Exchange Server has several different types of mailboxes that can be created. In this setup guide we'll explore the purpose of a Room Mailbox in Exchange Server, how to create a Room Mailbox and look at different ways to configure a Room Mailbox to suit different scenarios.
Room Mailbox
A Room Mailbox is a special type of mailbox that is assigned to a fixed location such as a meeting space, conference room, classroom, training facility etc. RoomMailbox are fundamentally the same as regular mailbox in Exchange Server. However, when you create a Room Mailbox using Exchange Server the user account password is generated automatically by Exchange, and the users account is disabled by default so that it can't be used for interactive logins.
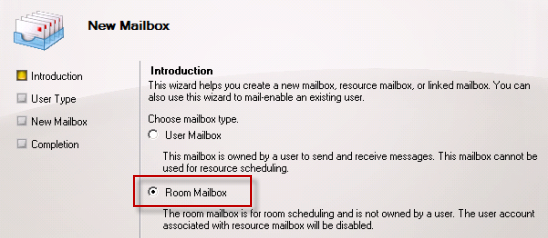
Creating a new Room Mailbox
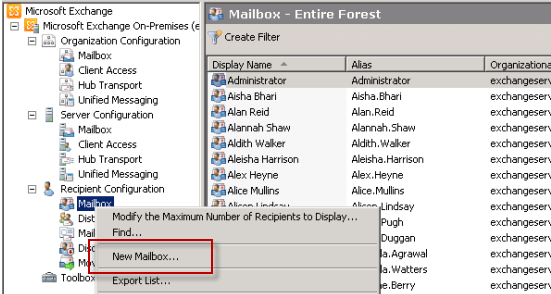
Open the Exchange Management Console and navigate to Recipient
Configuration-> Mailboxes, right click and select the New Mailbox
option.
Select the Room Mailbox as the mailbox type to create.
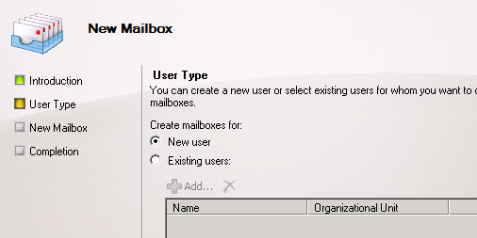
Select New User to create a new user account for the Room
Mailbox.
Configure Room Mailboxes
When you open the properties of a Room Mailbox you will notice some
additional tabs that do not appear for normal User Mailboxes.
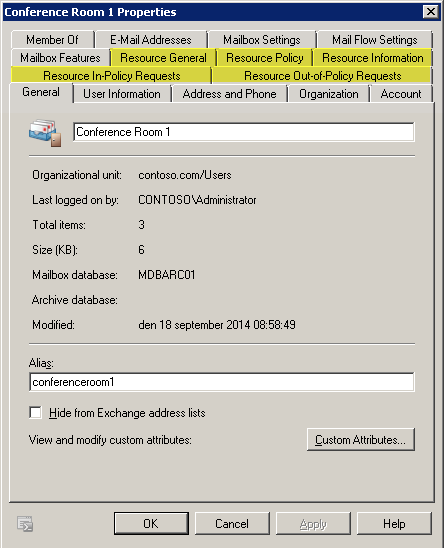
These additional options let you configure the Room Mailbox in different ways, such as:
- Whether meeting requests are automatically accepted by the Room Mailbox
- How the Room Mailbox handles conflicting appointments
- The maximum length of time a meeting can book out the room
- How far into the future bookings can be made
Grant Permissions to Room Mailbox
Delegates also need Editor access to the calendar and free/busy folder
of the mailbox itself so that they can manage meeting requests. There
are two ways to achieve this:
- Grant an administrator Full Access Permission to the Room Mailbox, open it in Outlook, and edit the Calendar and Mailbox Permissions.
- Grant the delegate Full Access Permissions to the Room Mailbox
To grant Full Access Permission we need to use Exchange Management
Shell. Open the Exchange Management Shell and type the following command
replacing with the user that should be given access.
Add-MailboxPermission -Identity "Conference Room 1" -User -AccessRights FullAccess
Creating a RoomList Distribution Group
You can only add Room Mailboxes to a room list distribution group. To
create a room list distribution group use the EMS (Exchange Management
Shell). It cannot be created using the EMC (Exchange Management
Console).
To create a RoomList distribution group, open the Exchange Management
Shell and type the following code. There are two ways to achieve this:
New-DistributionGroup -Name "My Rooms" -OrganizationalUnit "contoso.com/Users" -RoomList
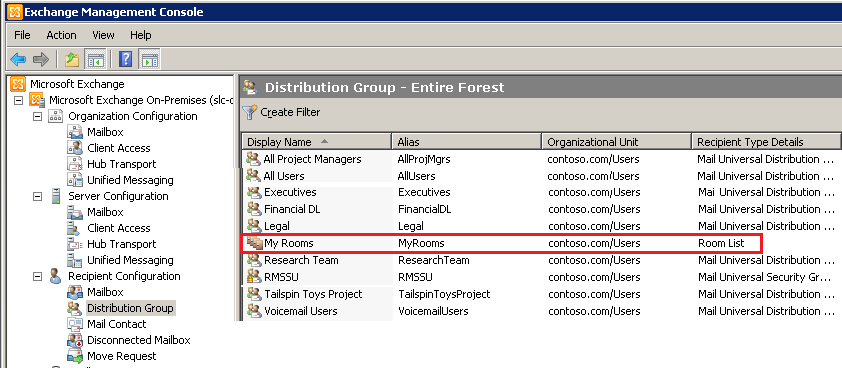
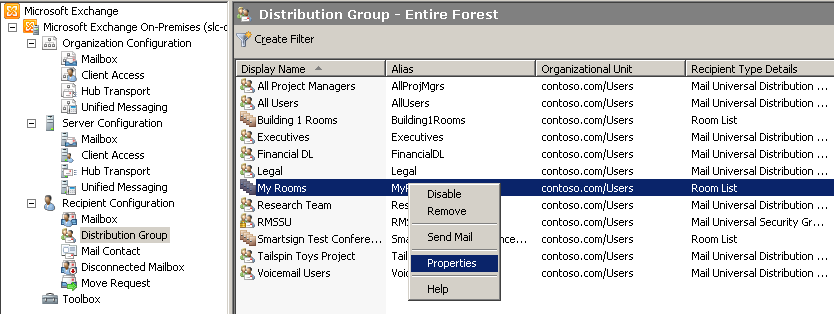
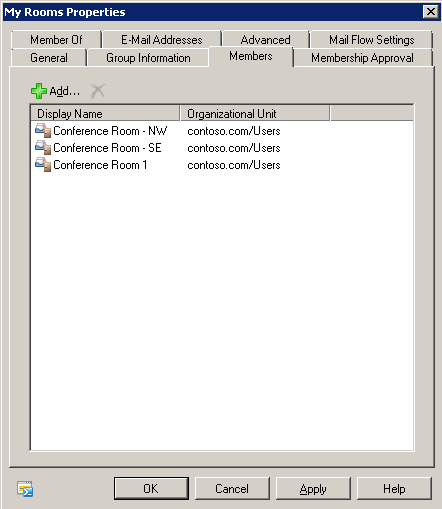
A new RoomList with the name "My Rooms" will be created and you can add
all the rooms to this group. Open the Exchange Management Console and
click on Distribution Group under Recipient Configuration. Right click
the newly created RoomList and go to properties and click on Members,
click add to add the Room Mailboxes which are created earlier (Ex:
Conference Room 1).
There is another alternative that can be achieved using the following code.
$Members = Get-Mailbox -Filter {(RecipientTypeDetails -eq "RoomMailbox")}
New-DistributionGroup -Name "My Rooms" -OrganizationalUnit "contoso.com/Users" -RoomList -Members $Members

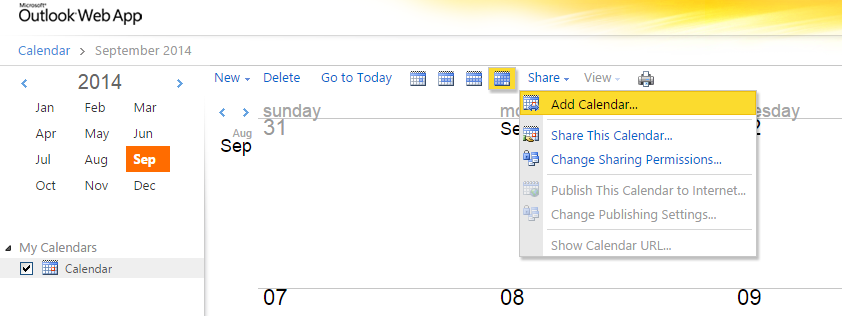
Creating a booking using Outlook Web App
Login to your outlook account and click on Calendar. Then click on share
or My Calendar to add a new calendar resource.
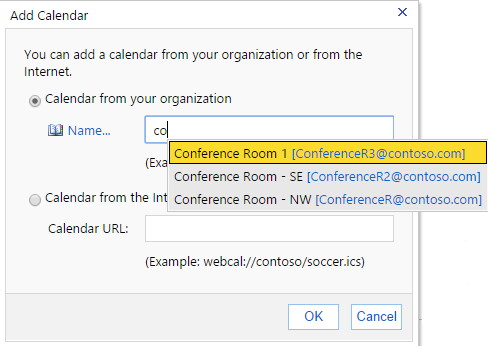
A new window will appear, type the Room Mailbox name or click on the
Name tab to select the available Room Mailboxes and click ok to add new
calendar to your account.
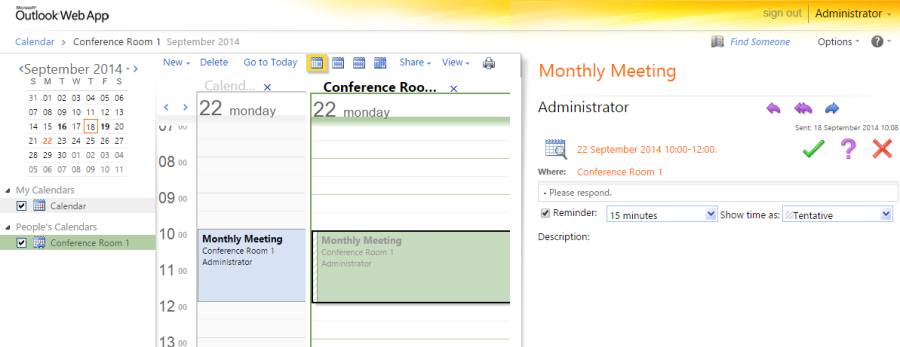
A new calendar resource will be added to your calendars. Create an event
in your default calendar and select the resource as Conference Room 1.
The Conference Room will be booked for your event.
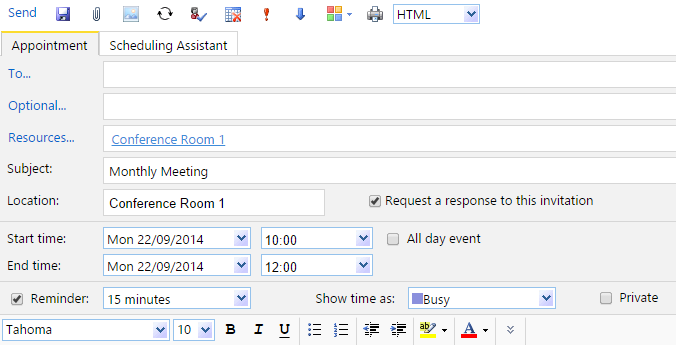
Your new event booking would look like this.
Once the Exchange Server setup has been completed, add a new DataSource
in Smartsign Server to access the events from Exchange Calendar.