Installation
Quick Start
Download the Smartsign Windows Player, install it and connect using the hostname of your service or server.
European (EU) Cloud service: eu.smartsigncloud.com
Australian (AU) Cloud service: au.smartsigncloud.com
On-Premises: Use the hostname (FQDN) or IP that your server is configured with
Configure your display(s) in Windows before configuring Smartsign Windows Player. Make sure everything appears as intended, including landscape/portrait orientation. These settings can not be adjusted from Smartsign.
Please review the full document for additional details and considerations.
Installation
Start the installer
Start the installation by double clicking the .msi-file and follow the instructions.
Installation folder
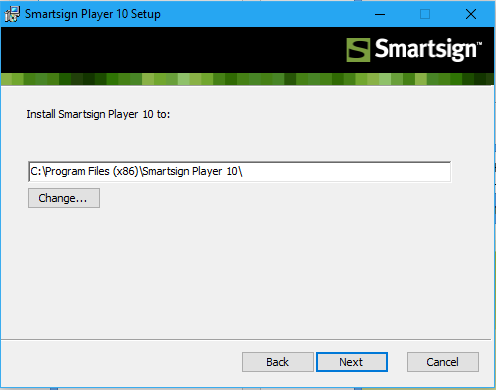
You can optionally choose another location for the application files.
NOTE: you can change the location of the media files after the install.
This may be beneficial on for example embedded PC:s with limited disk space on the system drive.

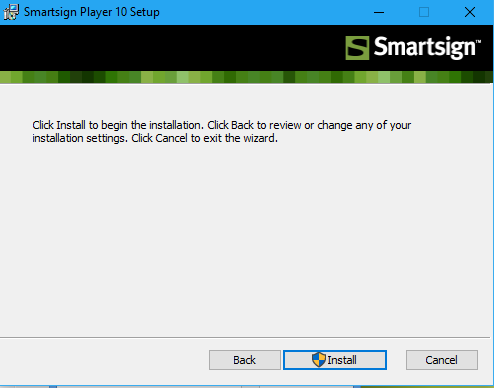
Click Install if you are happy with your choices.
Smartsign Player will now install.
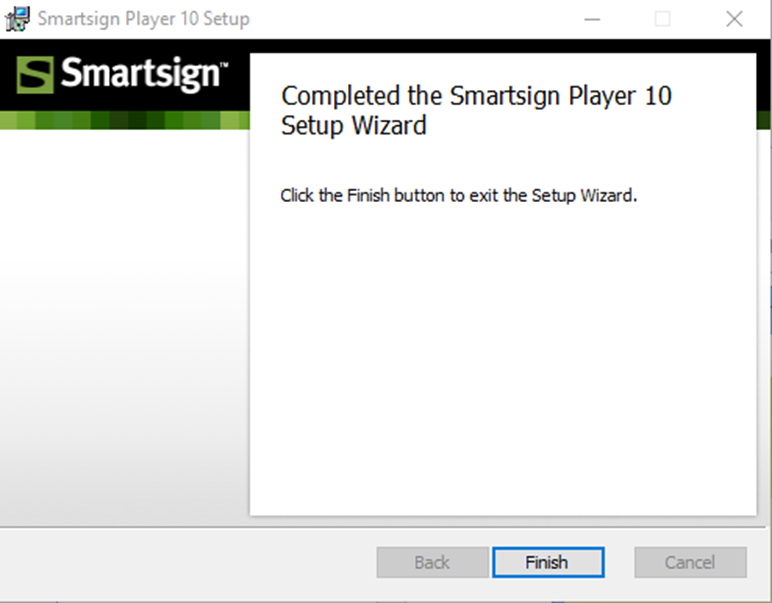
Click Finish to complete the installation.
Configuration
If you want to use multiple instances of the player on one computer read "Multiple windows players setup" first.
When the players starts for the first time it will go through checklist to see how it should be configured. First the player will check for a PlayerSettings.config file in its program folder. This is useful when using centralized deployment like Microsoft system center or other package deployment system. If no PlayerSettings.config is available in the program folder the player will look for old Smartsign Player 9 settings. If found Windows Player 10 will copy display settings, Identifier, server url and start. This behavior is useful when upgrading from Smartsign verison 9 to Smartsign version 10 and makes it possible to auto upgrade a version 9 player to a version 10 player. If no Player 9 settings the "Player setup" gui will be loaded.
Player setup
The first time Smartsign Windows Player is started it will show the setup wizard.
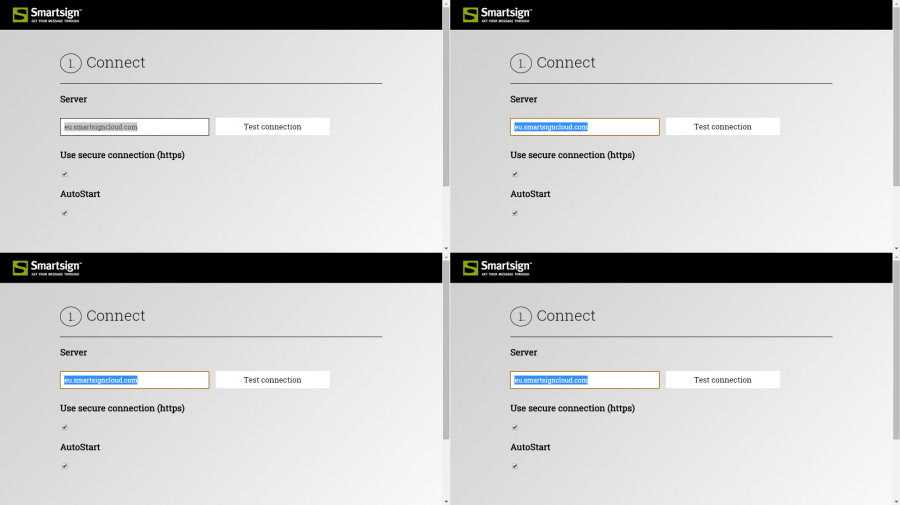
Server |
URL to the Smartsign server. Only the name or ip address. Click "Test connection" to see if the player can contact the server. If connection is "ok" you will get a green background on the server name. European (EU) Cloud service: eu.smartsigncloud.com |
Use secure connection (https) |
All communication will be encrypted. (Recommended for cloud connection) |
Autostart |
If set the player will start when the user login to the system. |
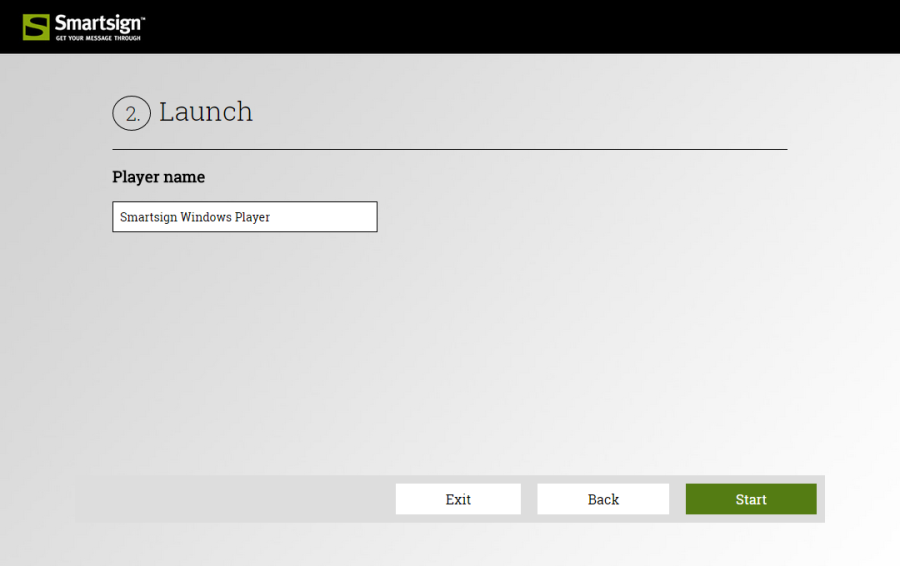
Set a name for the player. The name will be used when the player
connects to Smartsign server. The name can later be changed in
publisher. Default name is Computer name. When done, click "Start" to
save the settings and start the player.
Multiple Players setup
(PREVIEW)
On a system with multiple monitors you sometimes want to run multiple players, for example: one per monitor. To do this you need to use the command prompt. Start by opening a command prompt with administrator rights. Navigate to Smartsign Windows Player installation folder (default is c:\program files (x86)\Smartsign Player). Enter the PlayerInstance.exe followed by /new switch and the /size switch. "/size=x,y,w,h" sets the position and size of the new player. The format for size is:
- x number of pixels from top left the player is on the x-axis.
- y: number of pixels from top left the player is on the y-axis
- w: width in pixels of the player.
- h: height in pixels of the player
When using multiple players the monitors can only go to sleep when all
players have no content to show. Today Smartsign can only control the
windows power save settings. We can´t shut off individual monitors. All
players will register as a standalone player in Smartsign but will run
on the same code. That means if you remotely upgrade one player all the
players will be upgraded and restarted.
Below is a simple example setting up four players on a single monitor.
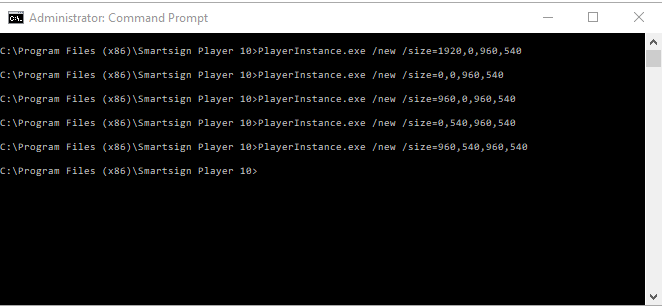
Every individual player are setup separately.
Central Deployment
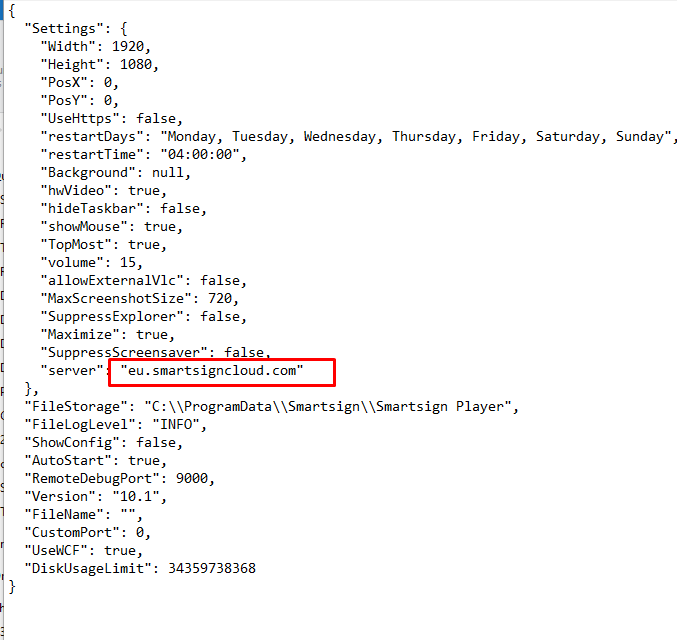
If you are using some type of central package management system you can create a packade of the player containing a settings template file. To do this you first need a correct PlayerSettings.config file.
- Once you have configured and connected the player, you can find the PlayerSettings.config file in "C:\ProgramData\Smartsign\Smartsign Player"
- Open the file and remove the parameters Name and Identifier from it.
- Make sure that at least the server setting is correct.
- Deploy this modified PlayerSettings.config file in the program folder for the Player, default is C:\Program Files\Smartsign Windows Player.
The file will be automatically used as a template if there is no existing configuration. If you intend to install by making a cloned install image, also make sure to remove the configuration folder (C:\ProgramData\Smartsign\Smartsign Player).
Uninstall and removal
The software can be uninstalled by running the Windows Add/Remove
Software application.
For complete removal, complete the following tasks AFTER UNINSTALLATION:
- Reboot the system.
- Delete the "c:\Program Files (x86)\Smartsign Player 10" folder which will contain left over application files (configuration settings).
- Also delete (if found) the following folder (with configuration settings):
"C:\ProgramData\Smartsign\Smartsign Player"
Extra
VLC
The built in video player is capable to play most modern video formats, but lack some when it comes to streaming. For specific needs or better support of streams VLC can be configured to replace the built in video player for video playback and/or video streams. VLC is not bundled with Smartsign Windows Player and it´s downloaded and configured manually. When using VLC, video is always on top.
Installation
Download and install the latest x64 version of VLC from official web site https://videolan.org. If VLC is installed in the default location, the player will find it automatically. If VLC is installed in a custom location the "Custom VLC Path" settings needs to be set on the player. A restart of the player is required for the changes to take effect.
Configuration
In the Player detail view settings tab VLC can be activated for videos
and streams.

As an option you can use VLC settings from installed version. This can
be useful when testing different streams and VLC needs specific settings
for the stream to show correctly.
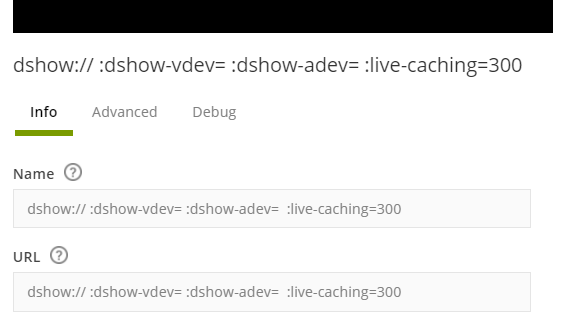
Parameters for streams/capture devices
When using VLC, It's possible to provide additional parameters for
streams directly in the stream URL.
Parameters are separated by spaces and start with the ':' character.
Below is an example of a simple web cam capture.